|
Autodesk Fusion 360Autodesk
|
Woodworks Fusion PC BT Speaker Extension
Greetings and a happy return to all of you!
Here's something loud: a straightforward ZK1002M-based Bluetooth speaker configuration for a previous PC project.
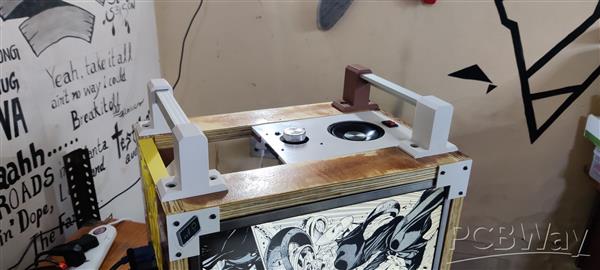
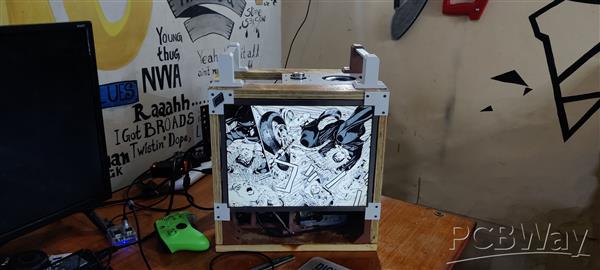
A while back, I worked on a small project called the WoodWorks Fusion PC. It was a specially built wooden cabinet that housed a 21-inch LCD screen and included all the necessary PC hardware, such as an ATX motherboard, power supply, and other hardware.
https://www.hackster.io/Arnov_Sharma_makes/woodworks-fusion-pc-42a520
It is a bummer that the project does not have audio, so I made a Bluetooth speaker that will be installed on the top side of the Wood Works PC using the ZK1002M Audio Module and a 3D printed body with a speaker.
It uses Bluetooth to pair with the PC and stream audio. The PC's sound settings and an additional sound control knob can be used to adjust the sound.
This article is about how the Bluetooth speaker setup was prepared, so let's get started with the build.
Materials Required
These were the materials used in this build-
- Woodworks Fusion PC Project
- ZK-1002M Audio Module: Provided by PCBWAY!
- Speaker: 4 Ohms
- 3D-printed body
- Wood Screws
- M2 Screws
- ATX Supply connector
- Push-On-Off Rocker Switch
ZK-1002M Audio Module

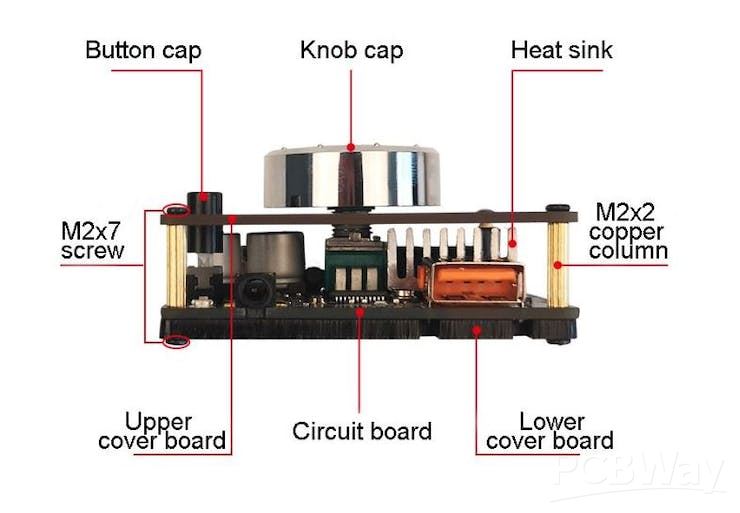
Popular audio amplifiers like the ZK-1002M feature a 3116D2 Power AMP IC, an AUX/USB input, an inbuilt Bluetooth reception IC, and a volume knob.
A kit containing the entire setup is included, and it contains the amplifier board itself, four PCB standoffs and six standoff bolts, a DC Barrel Jack adapter, a plastic knob, a PCB cover, and a tiny screwdriver.
The star or heart of this audio module is the TPA3116D2 Power Amplifier IC, which is a popular integrated circuit (IC) designed for use in audio amplifier applications. It is manufactured by Texas Instruments and is widely used in a variety of audio amplification systems, including consumer electronics and DIY audio projects.
Here are some key features and characteristics of the TPA3116D2:
- Class D Amplification: The TPA3116D2 is a Class D audio amplifier IC, which means it operates as a digital amplifier. Class D amplifiers are known for their efficiency and ability to deliver high-quality audio with minimal heat generation.
- High Efficiency: This IC offers high power efficiency, making it suitable for battery-powered devices and applications where minimizing power consumption is crucial.
- Output Power: The TPA3116D2 can deliver a substantial amount of power to drive speakers. The exact output power depends on the application circuit and supply voltage, but it can typically deliver several watts to tens of watts per channel.
- Wide Voltage Range: It can operate over a wide supply voltage range, typically from around 4.5V to 26V, making it versatile for various power supply configurations.
- Flexible Input Options: The TPA3116D2 supports various input configurations, including single-ended and differential inputs, allowing it to interface with different audio sources.
- Built-in Protection Features: This IC includes several protection features to safeguard against overcurrent, overtemperature, undervoltage, and short-circuit conditions, helping to prolong the life of the amplifier and connected speakers.
- Configuration Options: The TPA3116D2 is available in various package options, such as HTSSOP, VQFN, and PowerPAD, offering flexibility for different PCB layouts and thermal considerations.
- Audio Quality: It is designed to provide high-quality audio reproduction with low distortion and noise, making it suitable for both consumer and professional audio applications.
- Application Examples: The TPA3116D2 is commonly used in home audio systems, portable speakers, soundbars, and automotive audio amplifiers, among others.
When using the TPA3116D2 in a specific application, it's important to refer to the manufacturer's datasheet and application notes to properly configure and design the amplifier circuit for optimal performance.
Here's the datasheet if you want to know more about this IC-
https://www.ti.com/product/TPA3116D2
PCBWAY'S GIFTSHOP
As for sourcing this Audio Module, I got this circuit from PCBWAY's Giftshop
https://www.pcbway.com/project/gifts_detail/MINI_2_50W_Bluetooth_5_0_Power_Amplifier_Module.html
PCBWAY Gift Shop is an online marketplace where you can get a variety of electronics modules and boards for their genuine price, or you could use the PCBWAY currency, which is called beans.
You get beans after ordering something from PCBWAY as reward points, or you can also get them by posting any project in the PCBWAY community.
Additionally, PCBWAY is now running a Christmas campaign that offers a range of services, such as free coupons on orders for PCBs, PCBAs, 3D printing, CNC, and even free PCB service for designs with a Christmas theme.
https://www.pcbway.com/activity/christmas2023.html
Check PCBWAY out for great PCB service from here: https://www.pcbway.com/
3D Design

The 3D design of this basic project starts with a Woodworks Fusion PC's CAD file and the addition of a box that fits between two wooden panels on the top side of the PC.
This box will house the speaker on one side and the audio module on the other.
We added four mounting pillars from the inside for the speaker, which will be used to mount the speaker in its place using four M2 screws, and we made four holes and one large hole of diameter 40mm in the center for the audio module's volume control knob.
Furthermore, we built a rocker switch slot near the speaker, which will house the push-on/off rocker switch that will be used to turn the PC on and off.
After finishing the design, we exported the STL file and 3D printed it with white PLA through a 0.8mm nozzle.
SPEAKER
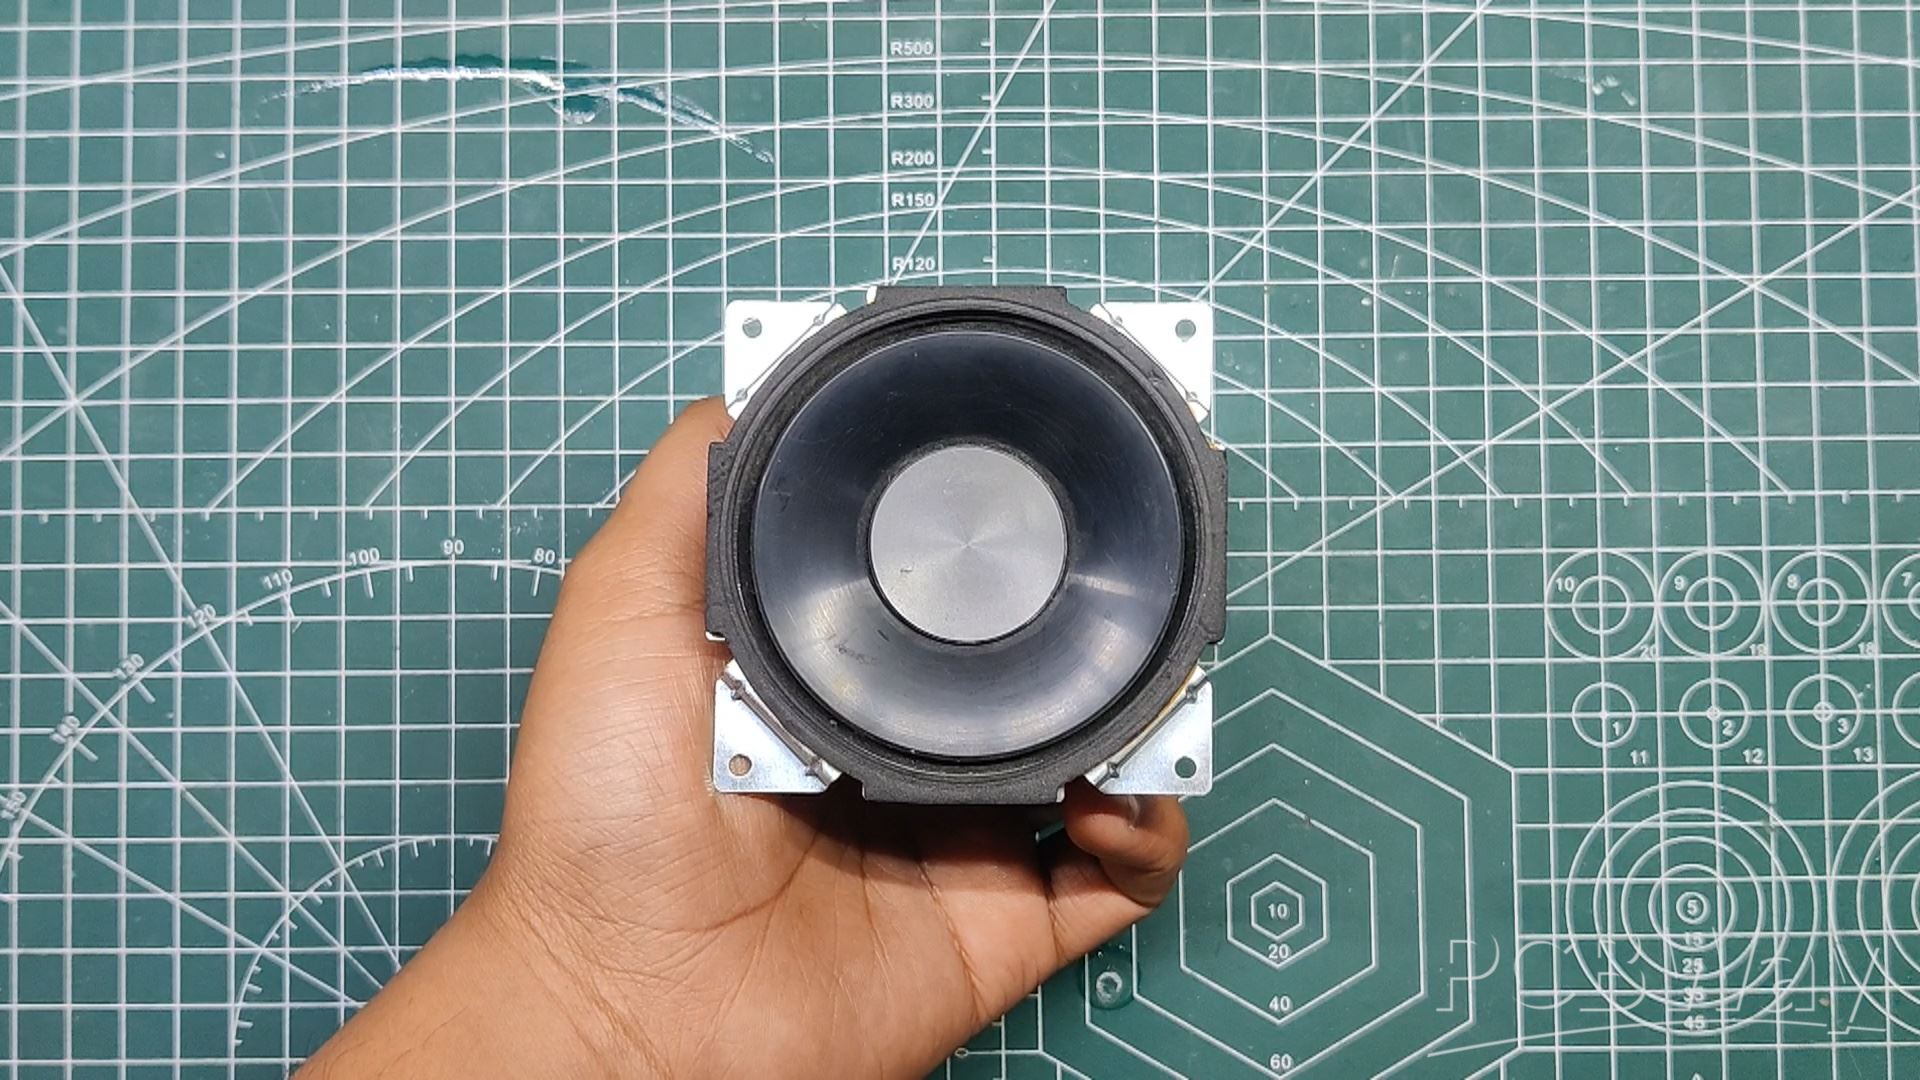
We are using 4Ohms speakers recovered from an old Samsung home theater system; these speakers are generic and can be bought easily in RadioShack stores or even on Amazon.
Power Source: PCIE Connector from ATX Power Supply


We needed 12V to power the ZK1002M audio module, which we simply obtained from the existing ATX power supply.
The ATX power supply for the PC gives voltage ranging from 3.3V to 24V; in our instance, we are utilizing a Deepcool PF550 PSU, which is a 550Watt power supply capable of operating everything from a power hungry graphic card to a little 12V powered audio module.
We salvage a connector from an old SMPS and link it to the ATX's 12V connector, then use a voltmeter to determine which port provides 12V and power the speaker.
Later, we will solder the connector to the audio module's power IN port with a soldering iron and wires so that we may connect the wire to the 12V PCIE connector and power the audio module.
Basic Setup
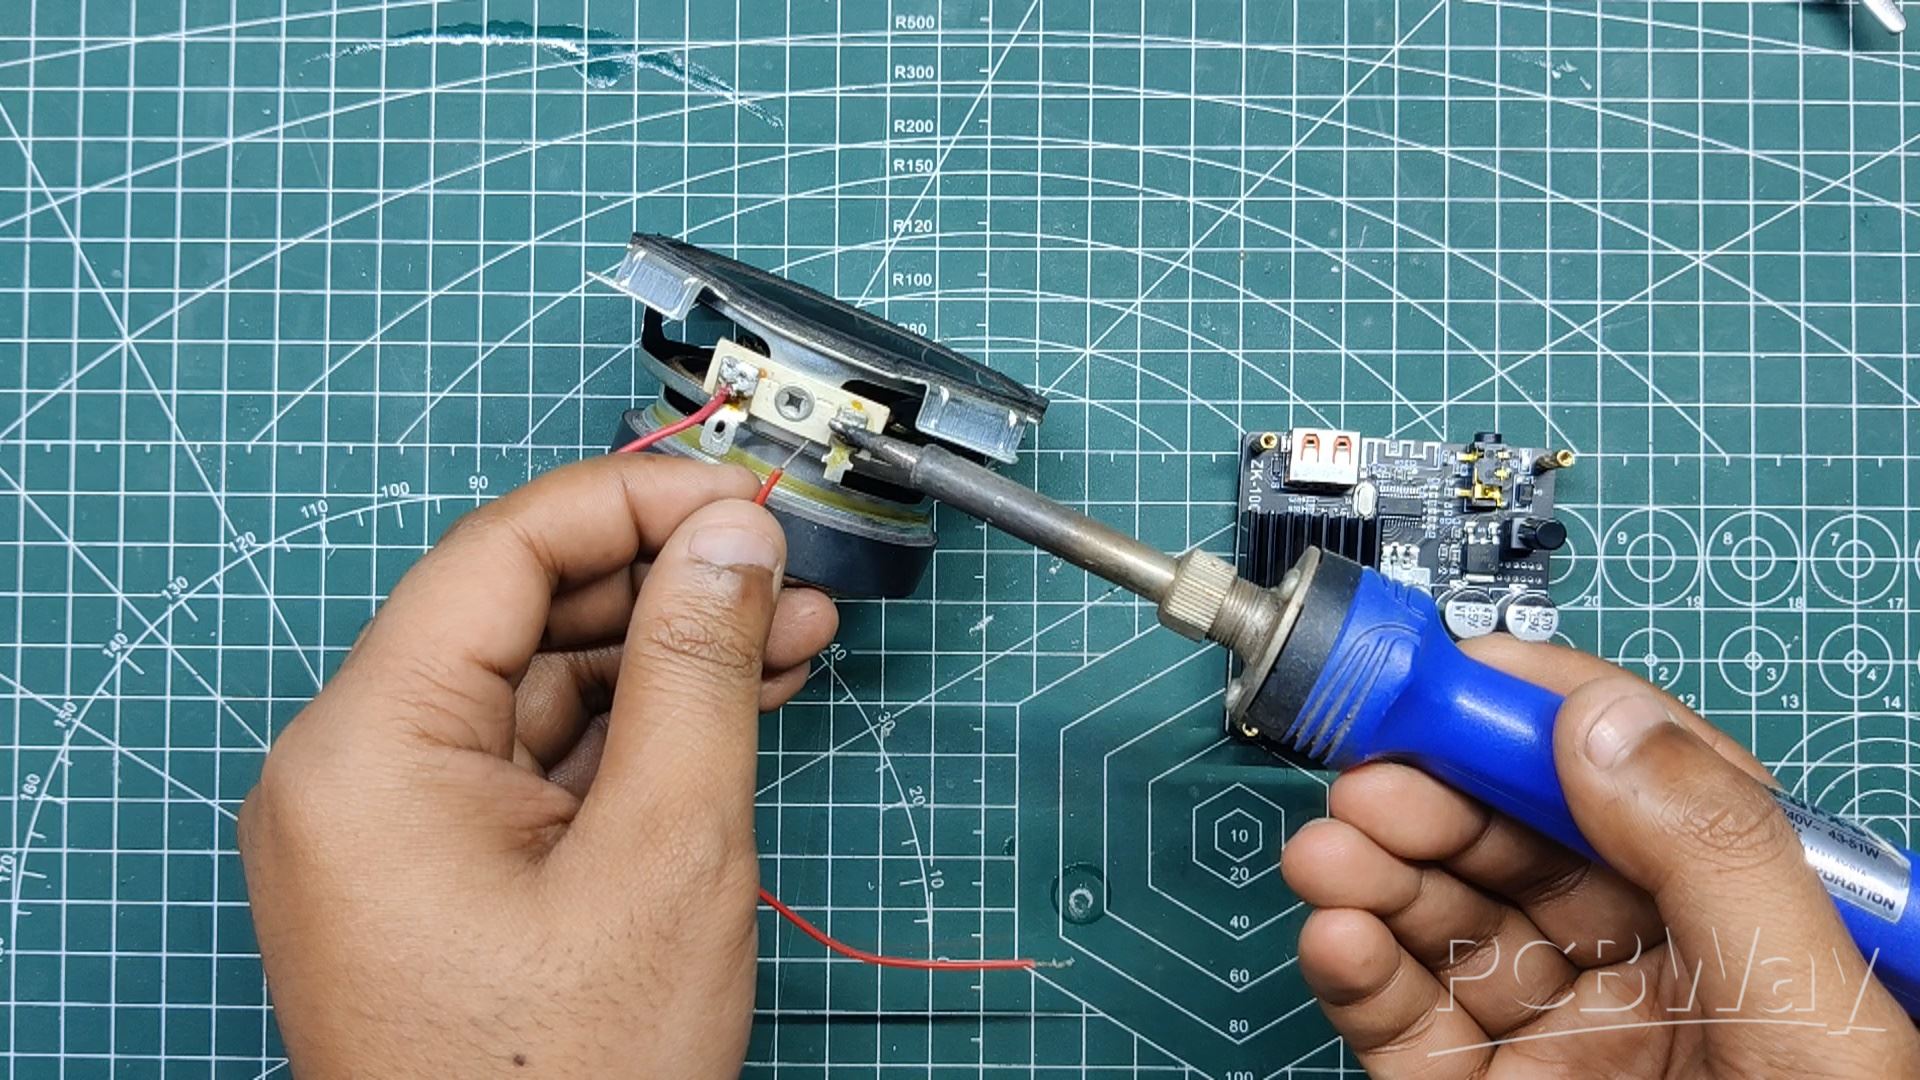

- Using a soldering iron, we begin by connecting two wires to the speaker's positive and negative.
- Next, we connect the positive and negative ports to the ZK10002M Speaker module's speaker output.
TEST VIDEO-
For testing purposes, we utilize a 12V adaptor with a 5mm barrel jack, plug the adaptor's jack into the audio module power jack, and the audio module is powered.
Speaker Assembly
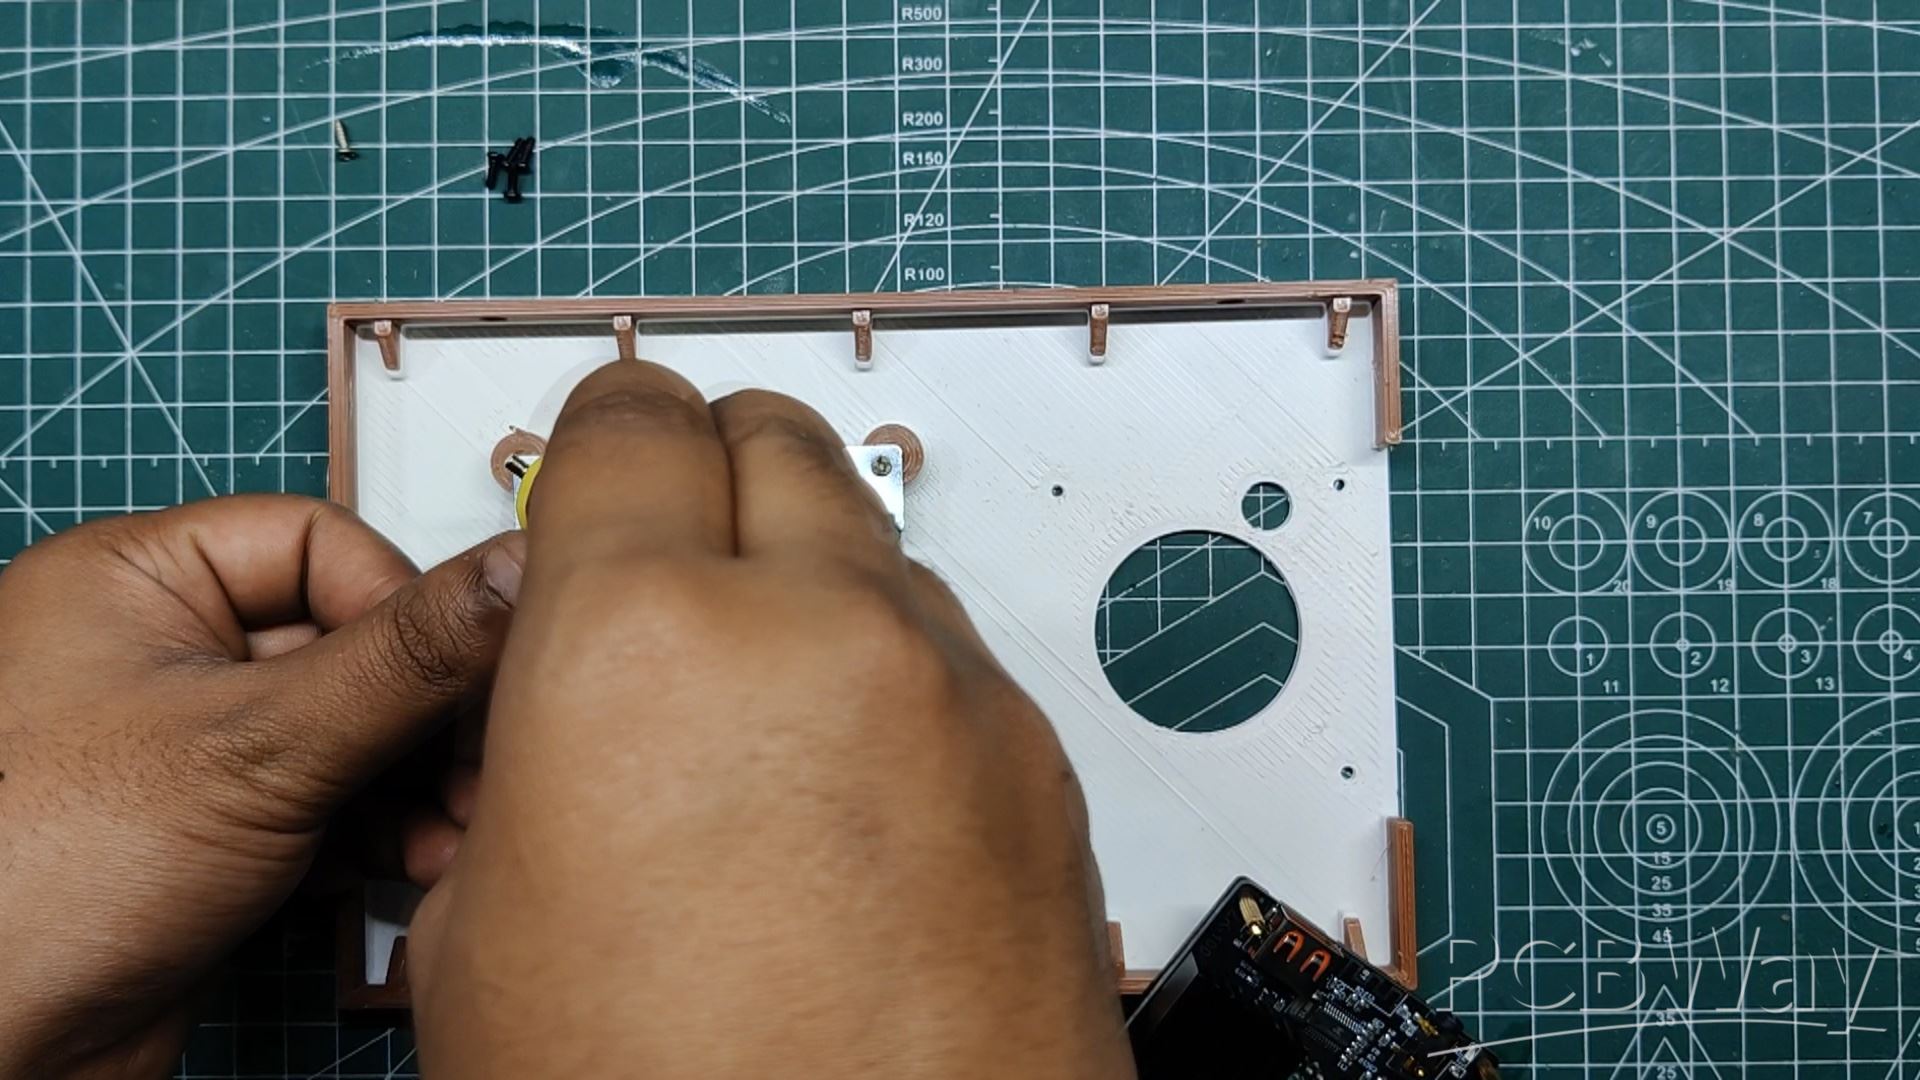

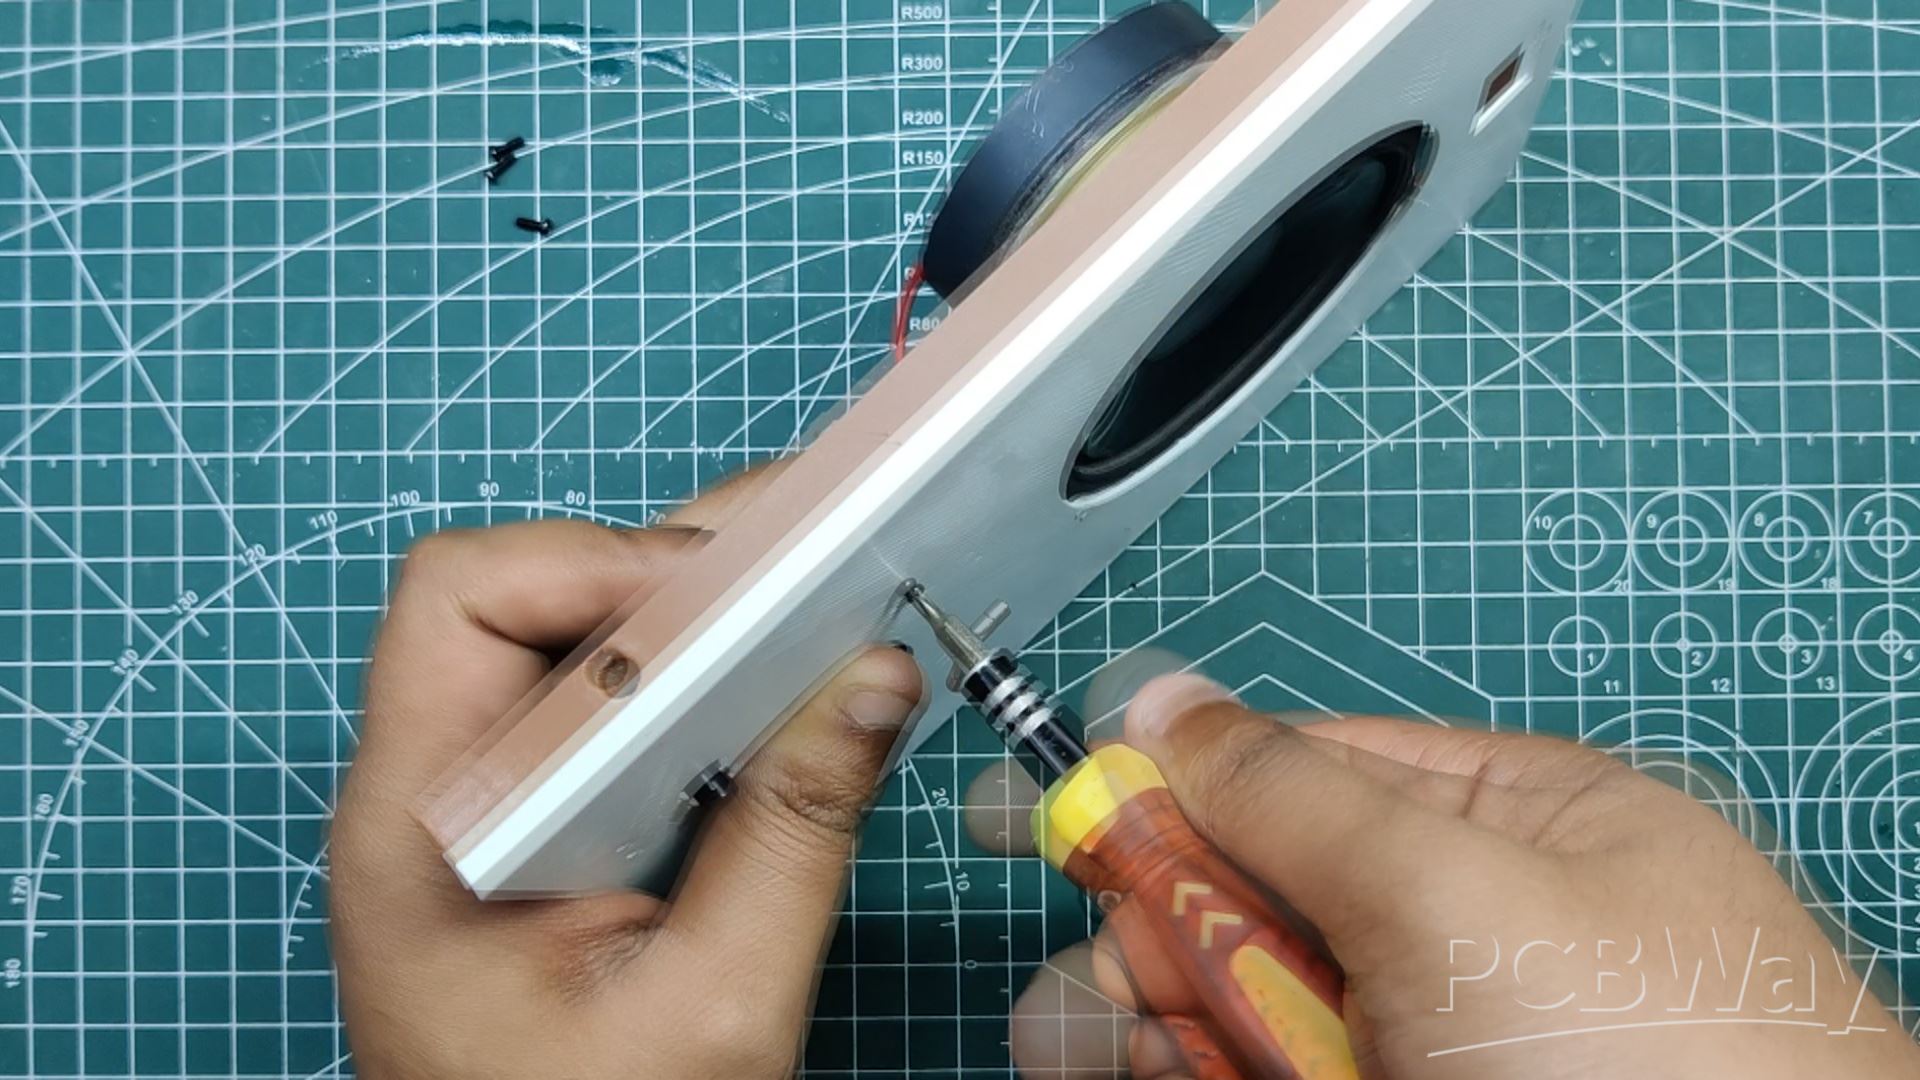
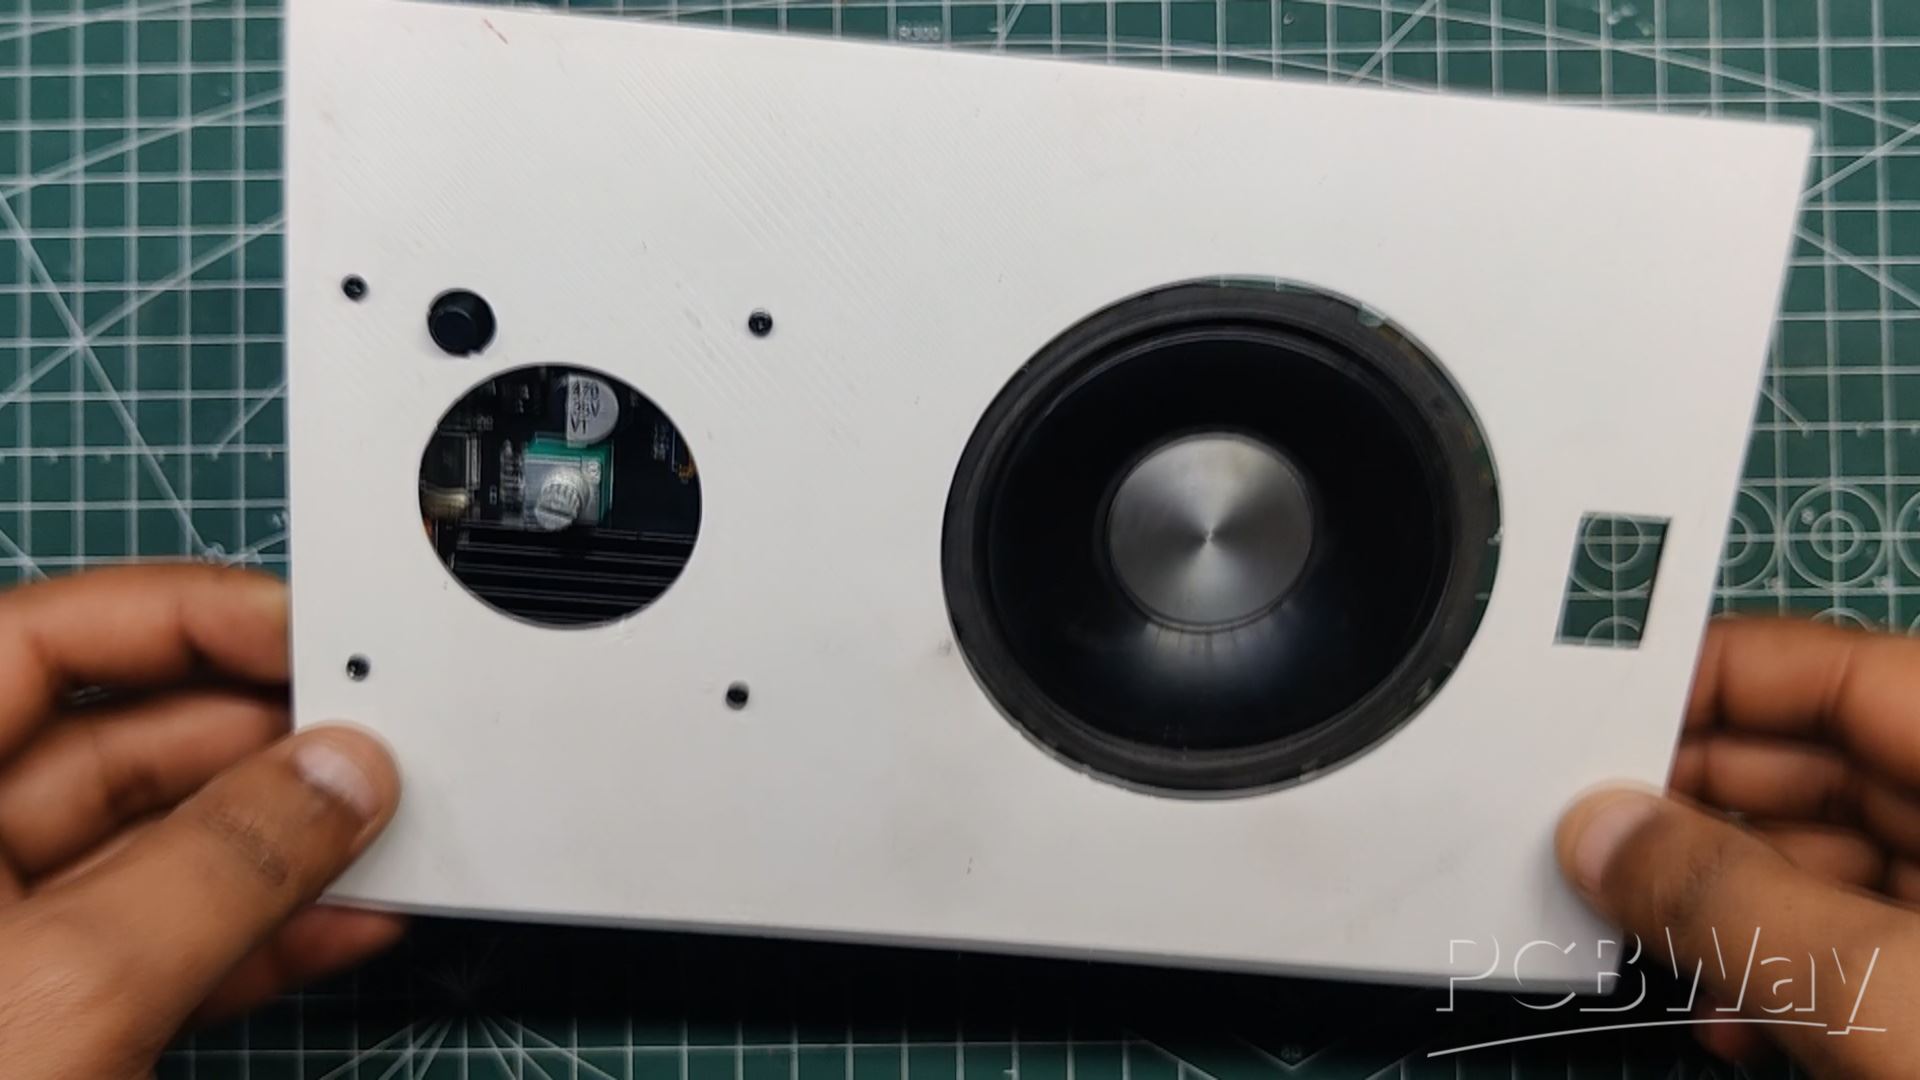


- The assembly process was rather simple; we first positioned the speaker according to the design and used four M2 screws to secure the speaker in place.
- Then we fitted the audio module and tightened it with the screws that came with the audio module.
- After installing the audio module, we attached the knob to the potentiometer of the audio module.
- Next, we used two wires and a soldering iron to connect the CON2 salvaged from an ATX supply with input port and negative of audio module. This CON2 will be connected to an ATX supply for power.
Adding the Speaker Assembly to Woodworks Fusion PC
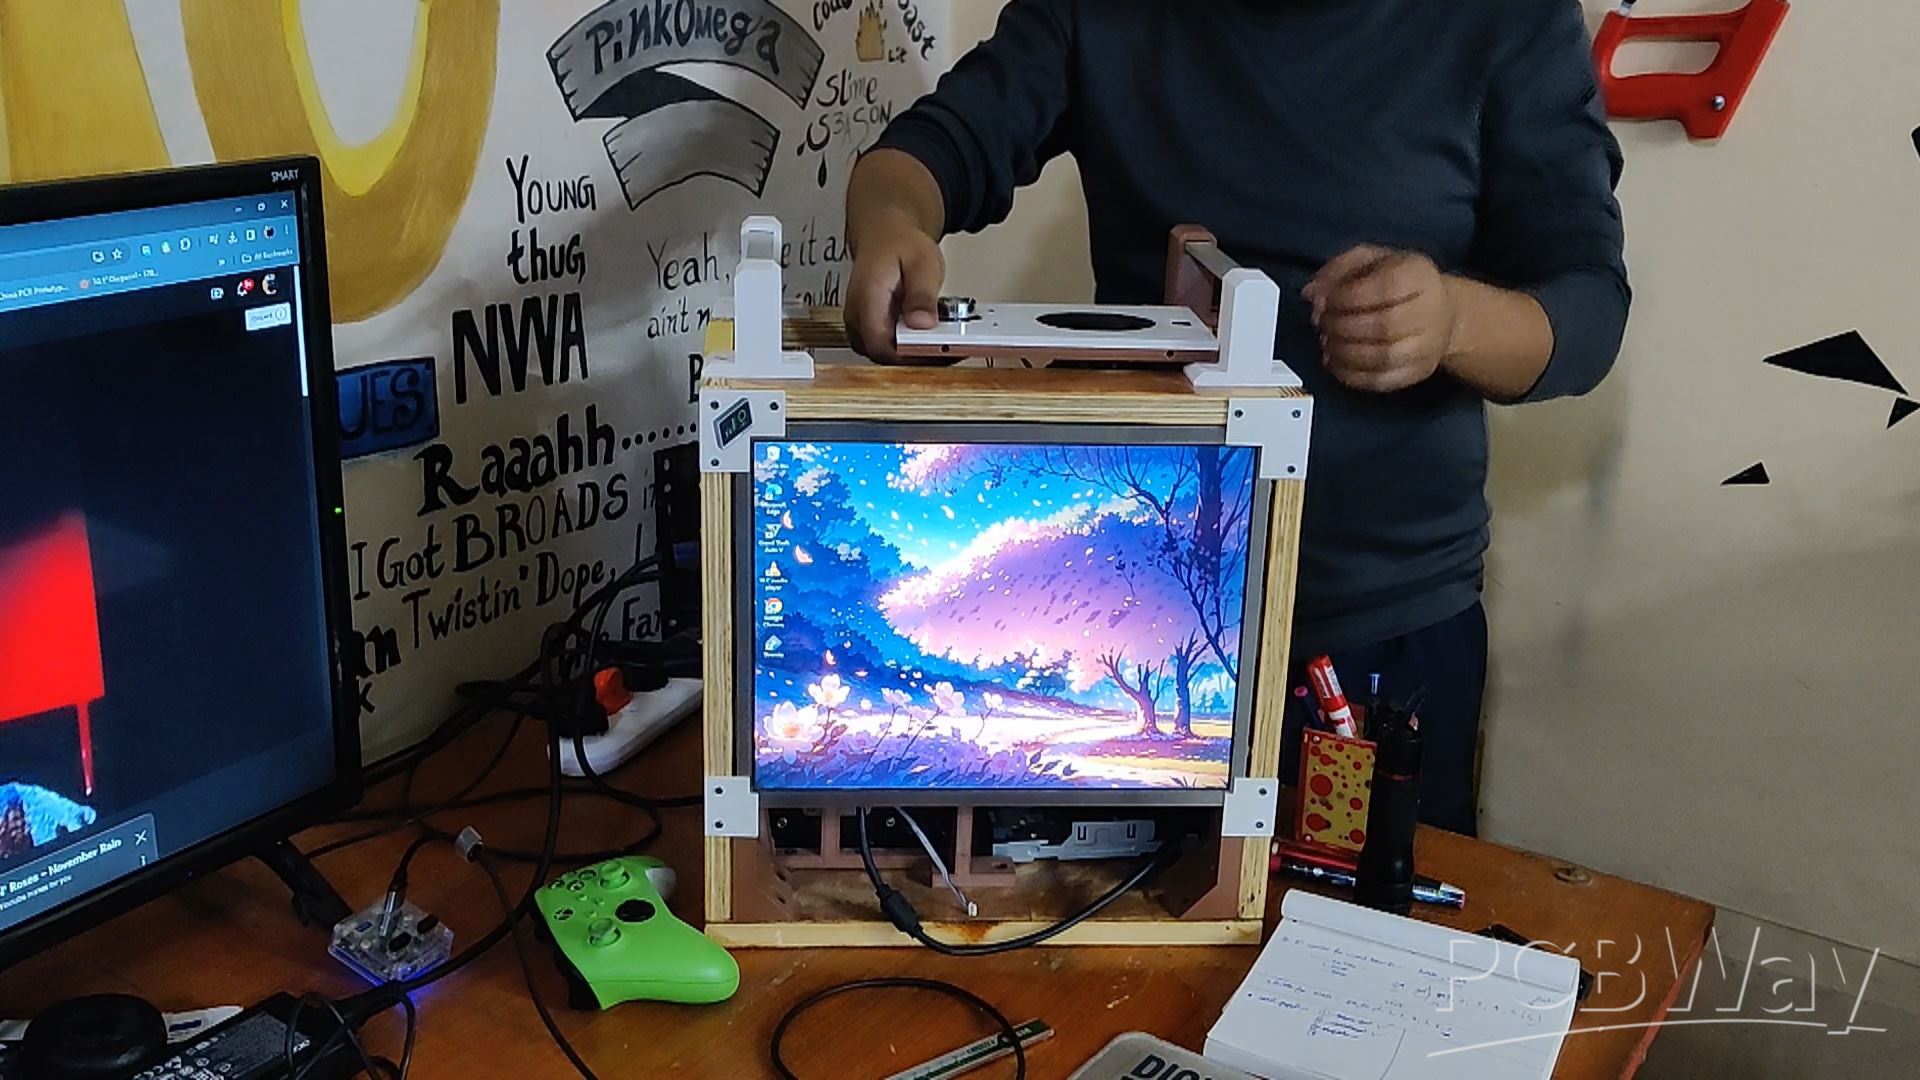
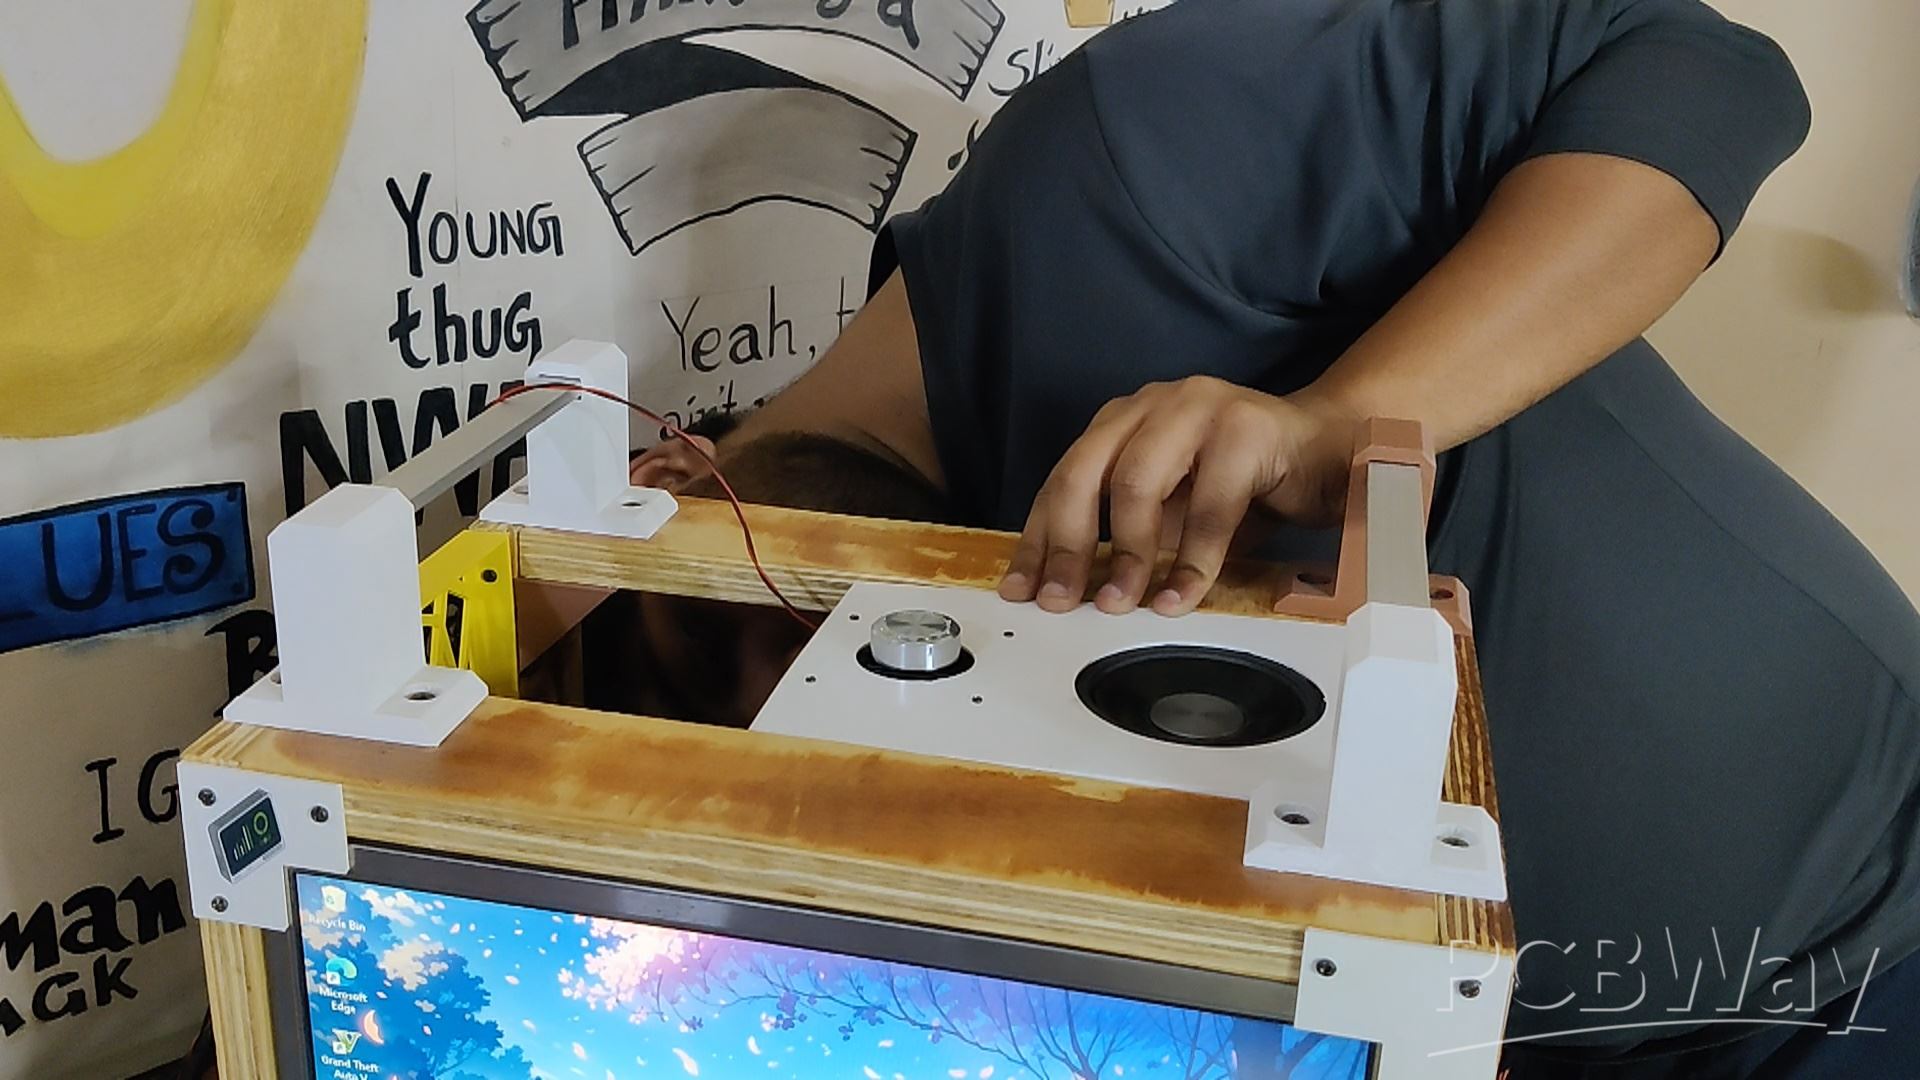
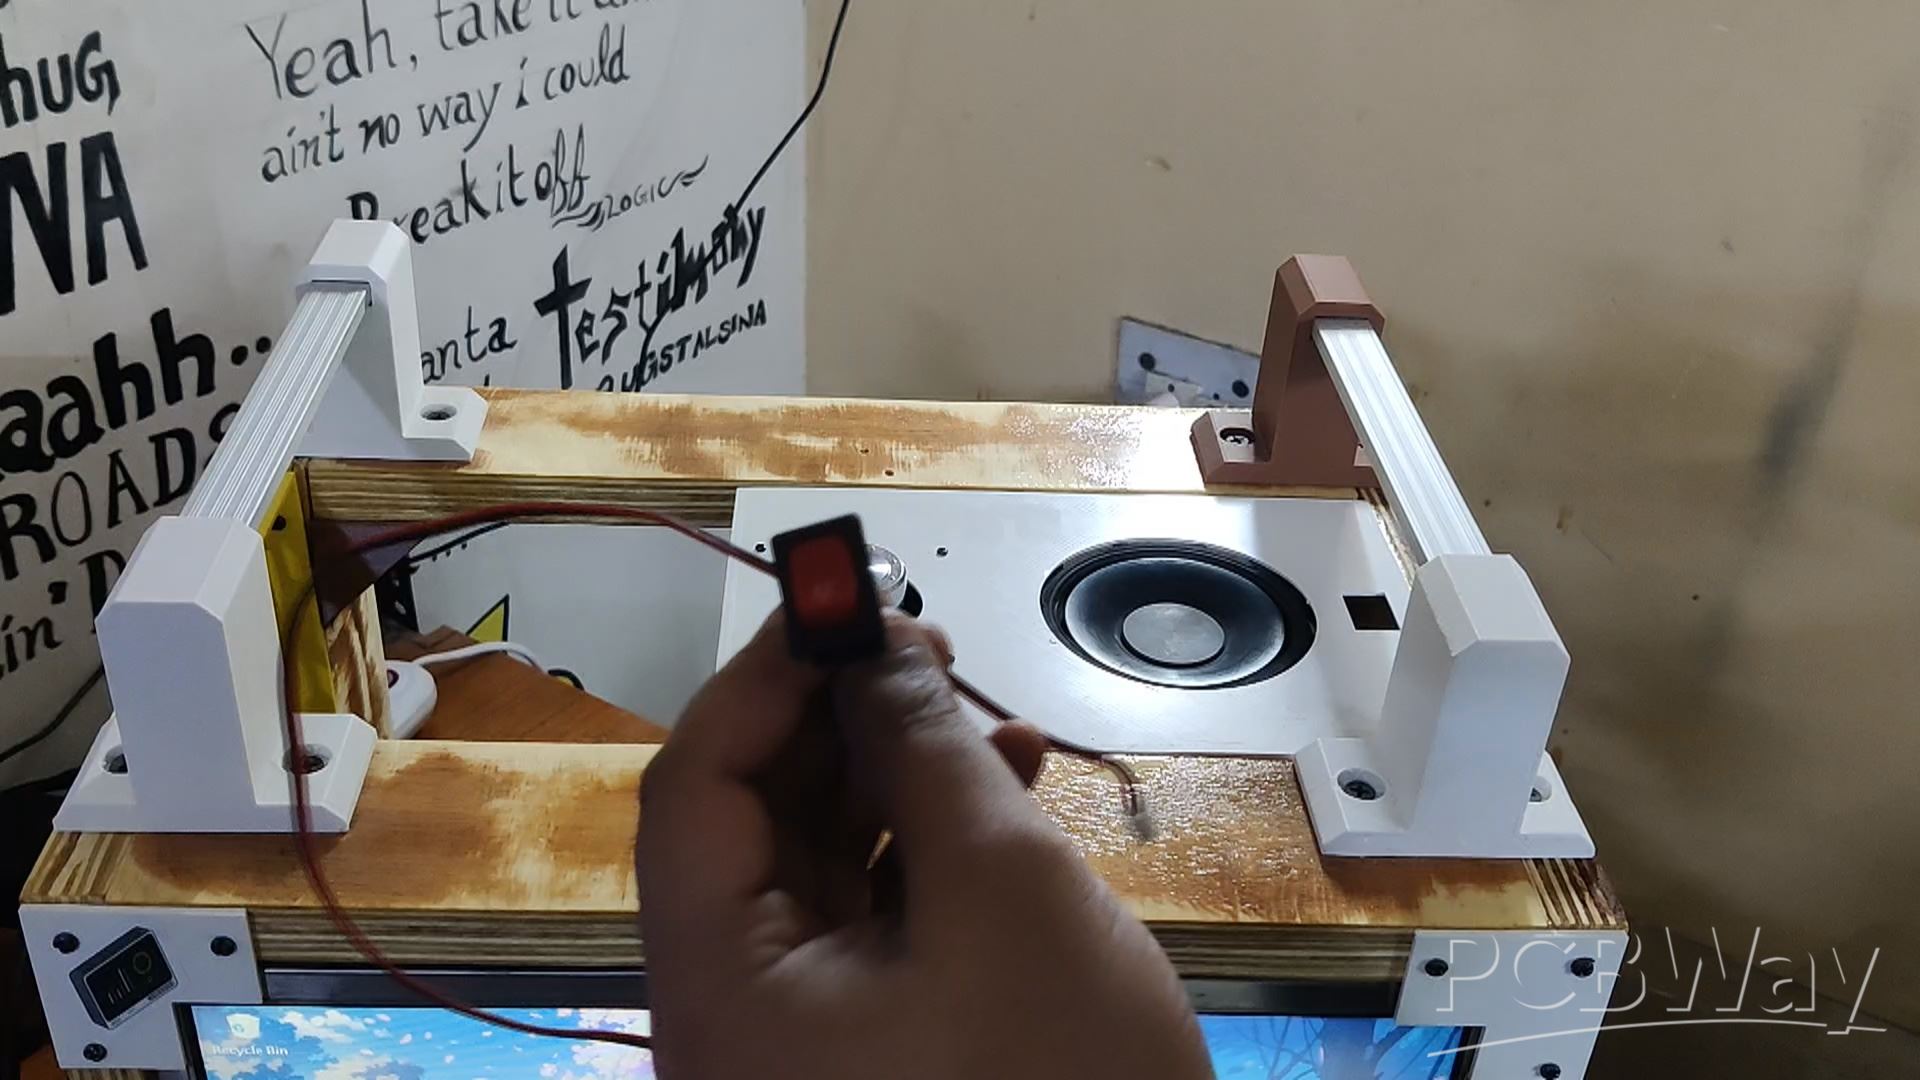
- We now position the audio module setup on top of the woodwork fusion PC and use a punch tool to create the holes for the module's placement.
- We next use wood screws to tighten the audio module setup with both wooden panels.
- Furthermore, we put a push-on/off rocker switch on the body of the audio module that will be connected to the motherboard power-on switch; this rocker switch will be used to turn the PC on and off.
RESULT

This simple-built, wooden fusion PC now has sound.
The ZK1002M allows you to connect to your PC over Bluetooth to play music, watch movies, and do other things.
The setup is extremely loud due to the power AMP IC.
Watch the video for the sound inspection; this project demonstrates how the ZK1002M Module may be used to create sound-related projects.
Special thanks to PCBWAY for supporting this project and providing the audio through their gift shop.
You can reach them for a variety of services, ranging from 3D printing to PCB and PCB assembly.
Thanks for getting this far and I will be back with a new project pretty soon.
Peace.
Woodworks Fusion PC BT Speaker Extension
*PCBWay community is a sharing platform. We are not responsible for any design issues and parameter issues (board thickness, surface finish, etc.) you choose.
- Comments(0)
- Likes(0)
- 0 USER VOTES
- YOUR VOTE 0.00 0.00
- 1
- 2
- 3
- 4
- 5
- 6
- 7
- 8
- 9
- 10
- 1
- 2
- 3
- 4
- 5
- 6
- 7
- 8
- 9
- 10
- 1
- 2
- 3
- 4
- 5
- 6
- 7
- 8
- 9
- 10
- 1
- 2
- 3
- 4
- 5
- 6
- 7
- 8
- 9
- 10
 More by Arnov Arnov sharma
-
 Pocket SNES
Greetings everyone, and welcome back! Today, I’ve got something fun and tiny to share—the Pocket SNE...
-
 Batocera Arcade Box
Greetings everyone and welcome back, Here's something. Fun and nostalgic. Right now, we are using ou...
-
 64x32 Matrix Panel Setup with PICO 2
Greetings everyone and welcome back.So here's something fun and useful: a Raspberry Pi Pico 2-powere...
-
 Portable Air Quality Meter
Hello everyone, and welcome back! Today, I have something incredibly useful for you—a Portable Air Q...
-
 WALKPi PCB Version
Greetings everyone and welcome back, This is the WalkPi, a homebrew audio player that plays music fr...
-
 Delete Button XL
Greetings everyone and welcome back, and here's something fun and useful.In essence, the Delete Butt...
-
 Arduino Retro Game Controller
Greetings everyone and welcome back. Here's something fun.The Arduino Retro Game Controller was buil...
-
 Super Power Buck Converter
Greetings everyone and welcome back!Here's something powerful, The SUPER POWER BUCK CONVERTER BOARD ...
-
 Pocket Temp Meter
Greetings and welcome back.So here's something portable and useful: the Pocket TEMP Meter project.As...
-
 Pico Powered DC Fan Driver
Hello everyone and welcome back.So here's something cool: a 5V to 12V DC motor driver based around a...
-
 Mini Solar Light Project with a Twist
Greetings.This is the Cube Light, a Small and compact cube-shaped emergency solar light that boasts ...
-
 PALPi V5 Handheld Retro Game Console
Hey, Guys what's up?So this is PALPi which is a Raspberry Pi Zero W Based Handheld Retro Game Consol...
-
 DIY Thermometer with TTGO T Display and DS18B20
Greetings.So this is the DIY Thermometer made entirely from scratch using a TTGO T display board and...
-
 Motion Trigger Circuit with and without Microcontroller
GreetingsHere's a tutorial on how to use an HC-SR505 PIR Module with and without a microcontroller t...
-
 Motor Driver Board Atmega328PU and HC01
Hey, what's up folks here's something super cool and useful if you're making a basic Robot Setup, A ...
-
 Power Block
Hey Everyone what's up!So this is Power block, a DIY UPS that can be used to power a bunch of 5V Ope...
-
 Goku PCB Badge V2
Hey everyone what's up!So here's something SUPER cool, A PCB Board themed after Goku from Dragon Bal...
-
 RGB Mixinator V2
Hey Everyone how you doin!So here's a fun little project that utilizes an Arduino Nano, THE MIXINATO...
-
-
mammoth-3D SLM Voron Toolhead – Manual Drill & Tap Edition
229 0 0 -
-
AEL-2011 Power Supply Module
755 0 2 -
AEL-2011 50W Power Amplifier
627 0 2 -
-
-
Custom Mechanical Keyboard
822 0 0 -
Tester for Touch Screen Digitizer without using microcontroller
448 2 2 -
Audio reactive glow LED wristband/bracelet with NFC / RFID-Tags
399 0 1 -
-


