


|
|
ESP32 DEV KIT microcontroller board |
x 1 | |
|
|
ILI9341 TFT touch Display 240x320 |
x 1 | |
|
|
Pushbutton Switch |
x 1 |

|
arduino IDEArduino
|
|

|
Soldering Iron Kit |
Advanced ESP32 Internet Weather Station with 5 day Forecast
A weather station typically includes sensors that measure various environmental factors, and data collected by these sensors is then utilizes to predict the weather for the next few hours or days. In this case the data is taken from Opeweathermap site where we can create a free API key, so the device contains a minimum number of components.
Some time ago I happened to watch a video with this weather station. The author of this project is Andrey Ushakov , and all credits go to him. He was also provide a link to the code . However, the archive is full of many different versions, and other data. In addition, the code is relatively complex and has too many options, such as the type of microcontroller used, MP3 player, FM radio, support for external sensors, different types of displays, the option of two displays for greater visibility, infrared control, calendar, and many others. It was really hard to navigate through all the code versions, options, and information.
So I decided to make and document this project in a little more detail, so that anyone can make it in no time. At the same time, I decided to leave out all accessories and options, and stick to the basic purpose of the device, which is just a advanced Weather station with a big clock. I say Advanced, because it contains all possible weather information, including a five-day forecast.
As I mentioned before, the device is extremely simple to make and consists of only few components:
- Esp32 dev module microcontroler board,
- 2.8 Inch TFT color Display with IL9341 control chip,
- and one Button, or as in my case, a metal plate connected to the specified pin of the ESP32
If you want to make a PCB for this project, or for any other electronic project, PCBway is a great choice for you. PCBway is one of the most experienced PCB manufacturing company in China in field of PCB prototype and fabrication. They provide completed PCB assembly service with worldwide free shipping , and ISO9001 quality control system. Also, on their site there is an online gerber viewer where you can upload your gerber and drill files to render your board.
Now let's follow the order and method of installation of the microcontroller. First, you need to install ESP32 Board in Arduino IDE.
1. In your Arduino IDE, go to File> Preferences

2. Enter the following into the “Additional Board Manager URLs” field:
https://raw.githubusercontent.com/espressif/arduino-esp32/gh-pages/package_esp32_index.json
Then, click the “OK” button:

3. Open the Boards Manager. Go to Tools > Board > Boards Manager…

4. Search for ESP32 and press install button for the “ESP32 by Espressif Systems“. Just to mention that in my case I used arduino core for ESP32 ver.2.0.4 :

5. That’s it. It should be installed after a few seconds.

Next, the ESP32 filesystem uploader should be installed on the Arduino IDE.
1. Go to the given page and click the ESP32FS-1.0.zip file to download.
https://github.com/me-no-dev/arduino-esp32fs-plugin/releases/

2. Find your Sketchbook location. In your Arduino IDE, go to File > Preferences and check your Sketchbook location.

3. Go to the sketchbook location, and create a tools folder.

4. Unzip the downloaded .zip folder. Open it and copy the ESP32FS folder to the tools folder you created in the previous step.

5. Finally, restart your Arduino IDE.
To check if the plugin was successfully installed, open your Arduino IDE. Select your ESP32 board, go to Tools and check that you have the option “ESP32 Sketch Data Upload“.

As for the Arduino IDE, I specifically used version 1.8.16. Next, all the libraries provided in the Library folder should be installed. Just to emphasize that in order to compile the code without errors the given versions of libraries need to be installed. If you previously had newer or older versions, they should be deleted. Also, in this folder there is a modified E TFT SPI library that matches the given schematic diagram.
Next, in the text file "data.txt" located in the "meteo" folder, enter the data for the API key that we previously generated on the Openweathermap page.
Then in the Arduino IDE we open the meteo.ino sketch located in the folder of the same name, compile it, and upload it to the microcontroller. If during compilation an error appears with the description that there is not enough space, we need to go to Tools-Partition Scheme, and select Huge APP.
With this step, the initial installation is completed successfully and when starting the device, a certain message appears on the screen.

Based on this message, we need to connect with a smartphone to the Access Point with a name "ESP-Meteo" and password is 11111111. Then, enter the address 192.168.11.11 in a web browser. When the page opens, we enter the credentials from our local Wi-Fi network in the blank fields.

With this step, the complette installation ends. Now we restart the device, and after a certain time information should appear on the display.

This is the main screen with basic informations. It contains a medium-sized clock, date, current weather with UV index, wind speed and direction and air pressure, sunrise and sunset time, forecast for the next 3 and 6 hours, as well as for the next four days. Really a lot of useful weather information on one screen.

By touching the metal plate on top of the device, we move through several screens containing different weather information. Below you can see screenshots of these screens:


And finally a short conclusion. This is probably the most advanced weather station for the construction of which instructions can be found on the Internet, especially if you know that the device I presented in the video is only a small part of the whole project. Also, this is a very good example of how a great device can be made with very little hardware and good software.
The device is installed in a suitable box made of PVC material with a thickness of 5 mm and covered with self-adhesive colored wallpaper.
UPDATE:

The code also contains a mini analog clock and internet radio. This menu is accessed by a long click from any previous condition. In order to enter Internet stations according to our own desire, we need to modify the text file "i_stat" which is located in the "meteo" folder. The digitasl audio signal is generated on pins 25 and 26 and we need to use audio decoder chip and small audio amplifier. For example MAX98357 audio decoder with amplifier board cost less than a dollar. Also, with a small modification of the code, high-ohm headphones can be connected directly to the microcontroller.

Advanced ESP32 Internet Weather Station with 5 day Forecast


- Comments(0)
- Likes(2)
More by Mirko Pavleski
-
 Arduino 3D Printed self Balancing Cube
Self-balancing devices are electronic devices that use sensors and motors to keep themselves balanc...
Arduino 3D Printed self Balancing Cube
Self-balancing devices are electronic devices that use sensors and motors to keep themselves balanc...
-
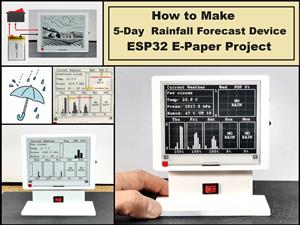 DIY 5-Day Rainfall Forecast Device - ESP32 E-Paper Project
In several of my previous projects I have presented ways to make weather stations, but this time I ...
DIY 5-Day Rainfall Forecast Device - ESP32 E-Paper Project
In several of my previous projects I have presented ways to make weather stations, but this time I ...
-
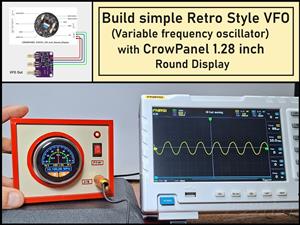 Build simple Retro Style VFO (Variable frequency oscillator) with Crowoanel 1.28 inch Round Display
Today I received a shipment with a Small round LCD display from Elecrow. The device is packed in tw...
Build simple Retro Style VFO (Variable frequency oscillator) with Crowoanel 1.28 inch Round Display
Today I received a shipment with a Small round LCD display from Elecrow. The device is packed in tw...
-
 Human vs Robot – Rock Paper Scissors with MyCobot 280 M5Stack
Today I received a package containing the few Elephant Robotics products. The shipment is well pack...
Human vs Robot – Rock Paper Scissors with MyCobot 280 M5Stack
Today I received a package containing the few Elephant Robotics products. The shipment is well pack...
-
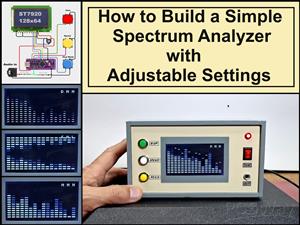 How to Build a Simple Audio Spectrum Analyzer with Adjustable Settings
An audio spectrum analyzer is an electronic device or software tool that measures and visually disp...
How to Build a Simple Audio Spectrum Analyzer with Adjustable Settings
An audio spectrum analyzer is an electronic device or software tool that measures and visually disp...
-
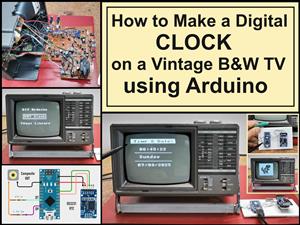 How to Make a Digital Clock on a Vintage B&W TV using Arduino
These days I accidentally came across this small retro Black and White TV with a built-in Radio, so ...
How to Make a Digital Clock on a Vintage B&W TV using Arduino
These days I accidentally came across this small retro Black and White TV with a built-in Radio, so ...
-
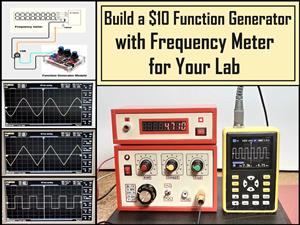 Build a $10 Function Generator with Frequency Meter for Your Lab
A function generator is a piece of electronic test equipment used to generate various types of elec...
Build a $10 Function Generator with Frequency Meter for Your Lab
A function generator is a piece of electronic test equipment used to generate various types of elec...
-
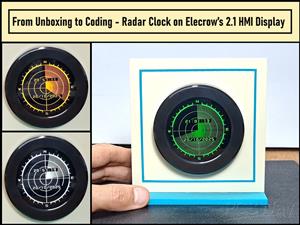 From Unboxing to Coding - Radar Clock on Elecrow’s 2.1 HMI Display
Today I received a shipment with a large round LCD display from Elecrow. The device is packed in two...
From Unboxing to Coding - Radar Clock on Elecrow’s 2.1 HMI Display
Today I received a shipment with a large round LCD display from Elecrow. The device is packed in two...
-
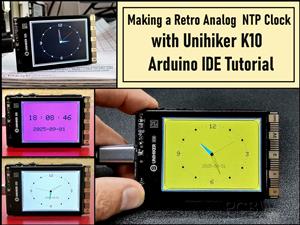 Making a Retro Analog NTP Clock with Unihiker K10 - Arduino IDE Tutorial
Some time ago I presented you a way to use standard Arduino libraries on the Unihiker k10 developme...
Making a Retro Analog NTP Clock with Unihiker K10 - Arduino IDE Tutorial
Some time ago I presented you a way to use standard Arduino libraries on the Unihiker k10 developme...
-
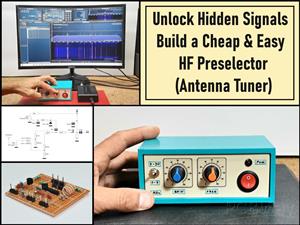 Build a Cheap & Easy HF Preselector - Antenna Tuner
HF antenna preselector is an electronic device connected between an HF radio antenna, and a radio r...
Build a Cheap & Easy HF Preselector - Antenna Tuner
HF antenna preselector is an electronic device connected between an HF radio antenna, and a radio r...
-
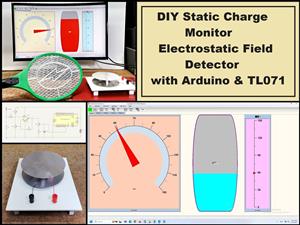 DIY Static Charge Monitor - Electrostatic Field Detector (Arduino & TL071)
A Static Charge Monitor also known as a Static Field Meter or Electrostatic Voltmeter is a device u...
DIY Static Charge Monitor - Electrostatic Field Detector (Arduino & TL071)
A Static Charge Monitor also known as a Static Field Meter or Electrostatic Voltmeter is a device u...
-
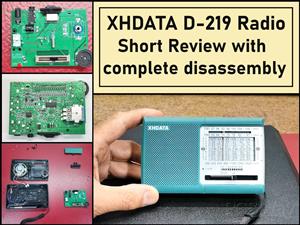 XHDATA D-219 Radio Short Review with complete disassembly
Some time ago I received an offer from XHDATA to be one of the first test users of their new radio m...
XHDATA D-219 Radio Short Review with complete disassembly
Some time ago I received an offer from XHDATA to be one of the first test users of their new radio m...
-
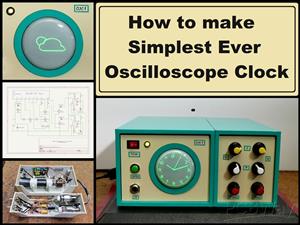 How to make Simplest ever Oscilloscope Clock
An oscilloscope clock is a unique and creative way to display the time using an oscilloscope, which...
How to make Simplest ever Oscilloscope Clock
An oscilloscope clock is a unique and creative way to display the time using an oscilloscope, which...
-
 DIY Digital Barograph with BME280 and ESP32 - 24 Hour Pressure Trends
A barograph is a self-recording barometer that continuously measures and records atmospheric pressu...
DIY Digital Barograph with BME280 and ESP32 - 24 Hour Pressure Trends
A barograph is a self-recording barometer that continuously measures and records atmospheric pressu...
-
 Build a Raspberry Pi Pico SDR Radio with Waterfall Display
Software-defined radio (SDR) is a radio communication system where components that have traditional...
Build a Raspberry Pi Pico SDR Radio with Waterfall Display
Software-defined radio (SDR) is a radio communication system where components that have traditional...
-
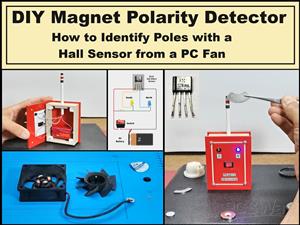 DIY Magnet Polarity Detector - How to Identify Poles with a Hall Sensor from a PC Fan
Recently, while working on a project, I needed to determine the polarity of several permanent magne...
DIY Magnet Polarity Detector - How to Identify Poles with a Hall Sensor from a PC Fan
Recently, while working on a project, I needed to determine the polarity of several permanent magne...
-
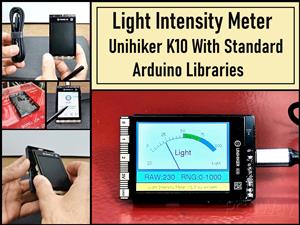 Light Meter Project - Making Dfrobot Unihiker K10 Work with Standard Arduino Libraries
The other day I received a shipment with a UNIHIKER K10 development board from DFRobot, which I rec...
Light Meter Project - Making Dfrobot Unihiker K10 Work with Standard Arduino Libraries
The other day I received a shipment with a UNIHIKER K10 development board from DFRobot, which I rec...
-
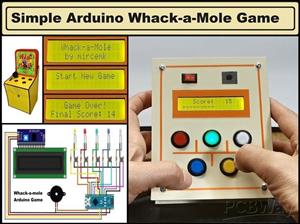 DIY Simple Arduino Whack-a-Mole Game
A "Whack-a-Mole" game is a classic arcade-style game where moles pop up randomly from holes, and th...
DIY Simple Arduino Whack-a-Mole Game
A "Whack-a-Mole" game is a classic arcade-style game where moles pop up randomly from holes, and th...
-
-
-
-
Tester for Touch Screen Digitizer without using microcontroller
330 2 2 -
Audio reactive glow LED wristband/bracelet with NFC / RFID-Tags
310 0 1 -
-
-


