|
|
Arduino Nano R3 |
x 1 | |
|
|
MPU-6050 |
x 1 | |
|
|
Nidec 24H type motor |
x 3 | |
|
|
Buzzer |
x 1 | |
|
|
General Purpose Transistor NPN |
x 1 | |
|
|
Li-Ion Battery 1000mAh |
x 3 | |
|
|
HC-05 Bluetooth Module |
x 1 | |
|
|
resistors |
x 1 |

|
Soldering Iron Kit |
|

|
arduino IDEArduino
|
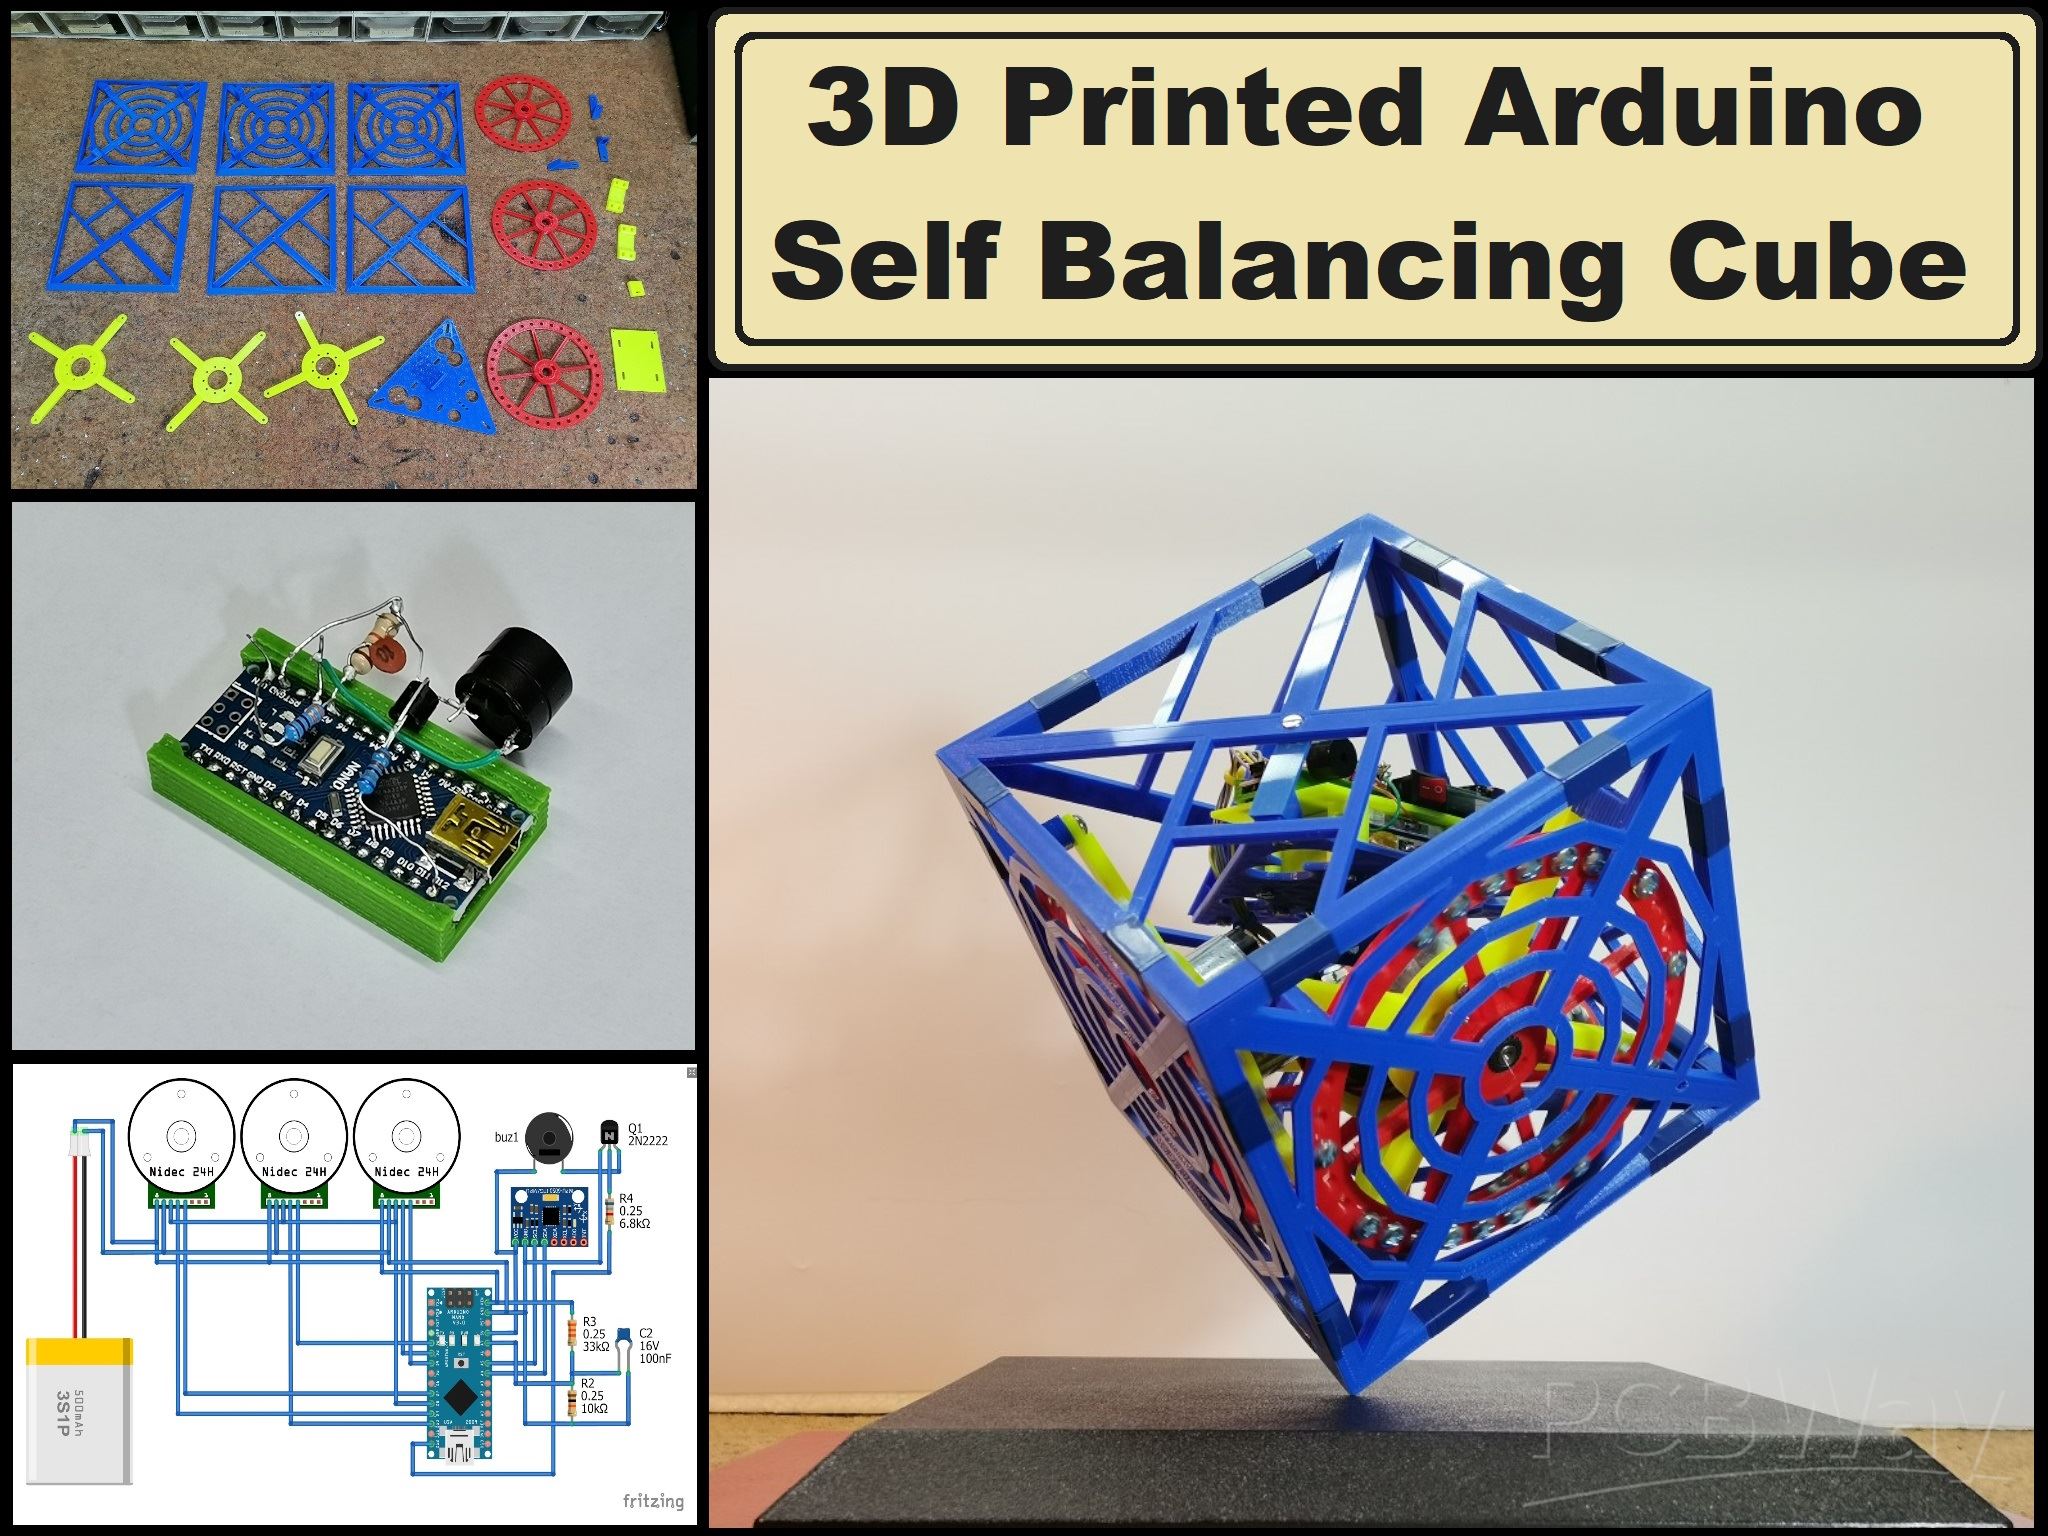
Arduino 3D Printed self Balancing Cube
Self-balancing devices are electronic devices that use sensors and motors to keep themselves balanced while in use. They uses gyroscopic sensors and accelerometers to detect the movement of the balanced object and adjust the speed and direction of the wheels accordingly, allowing to control the device through shifts in their weight.
This time I will present you a project in which the balanced object is a 3D printed plastic cube, inside which the reaction wheels and control electronics are located.
This project is sponsored by PCBWay. This year, PCBWay organizes the Seventh Project Design Contest where, in addition to Electronic and Mechanical Project, also has been added a new category: STM32 Project. For the best selected projects are provided rich prizes in cash, coupons and special gifts. Submit your project for participation in this Contest from 2nd, Sep, 2024 to 19th, Jan, 2025. For more details and instructions visit the given page. Let PCBway always be your first choice.

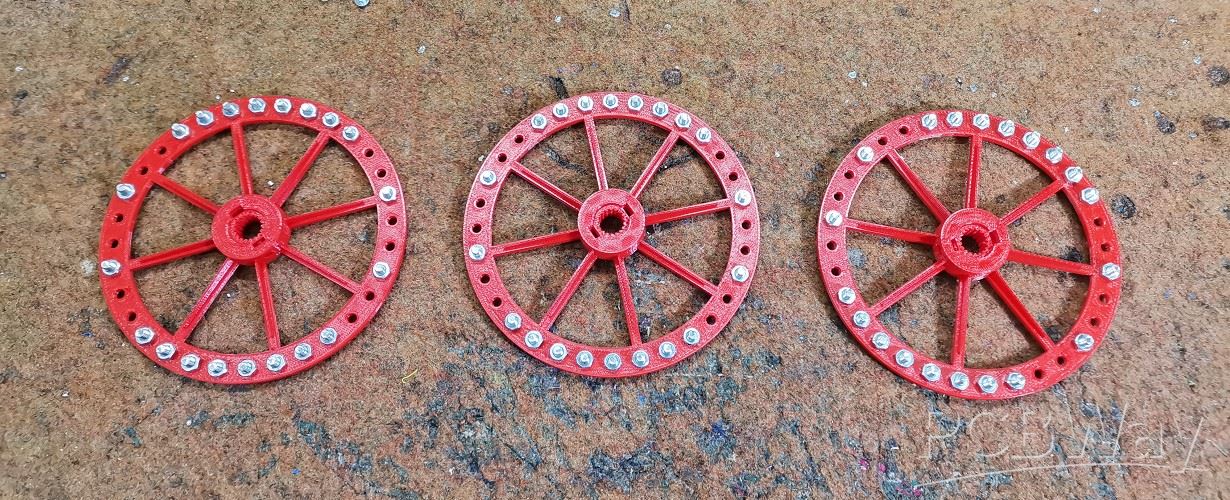
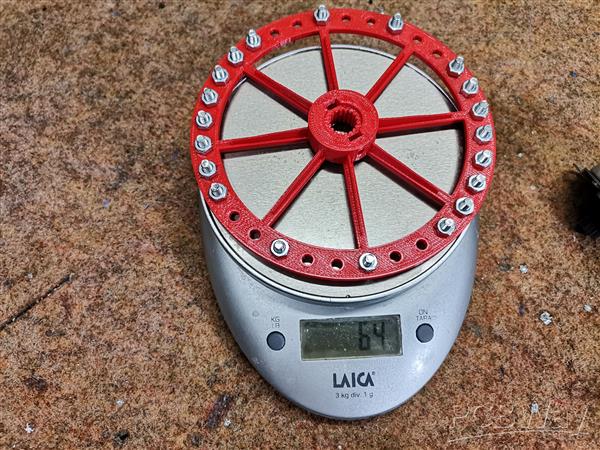
Nuts and bolts are added to the wheel in order to increase its weight, thus increasing the impact of the rotation on the whole device.
Otherwise, this is an open source project and the original code and .STL parts for 3D printing can be downloaded from ReM-RC GitHub . After a long search for such similar projects on the Internet, I can confidently say that this is the best-made project in this area in every way, such as simplicity, easy setup, and stable operation.
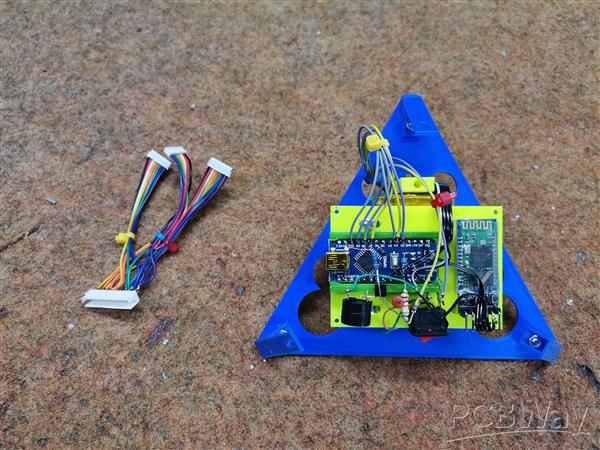
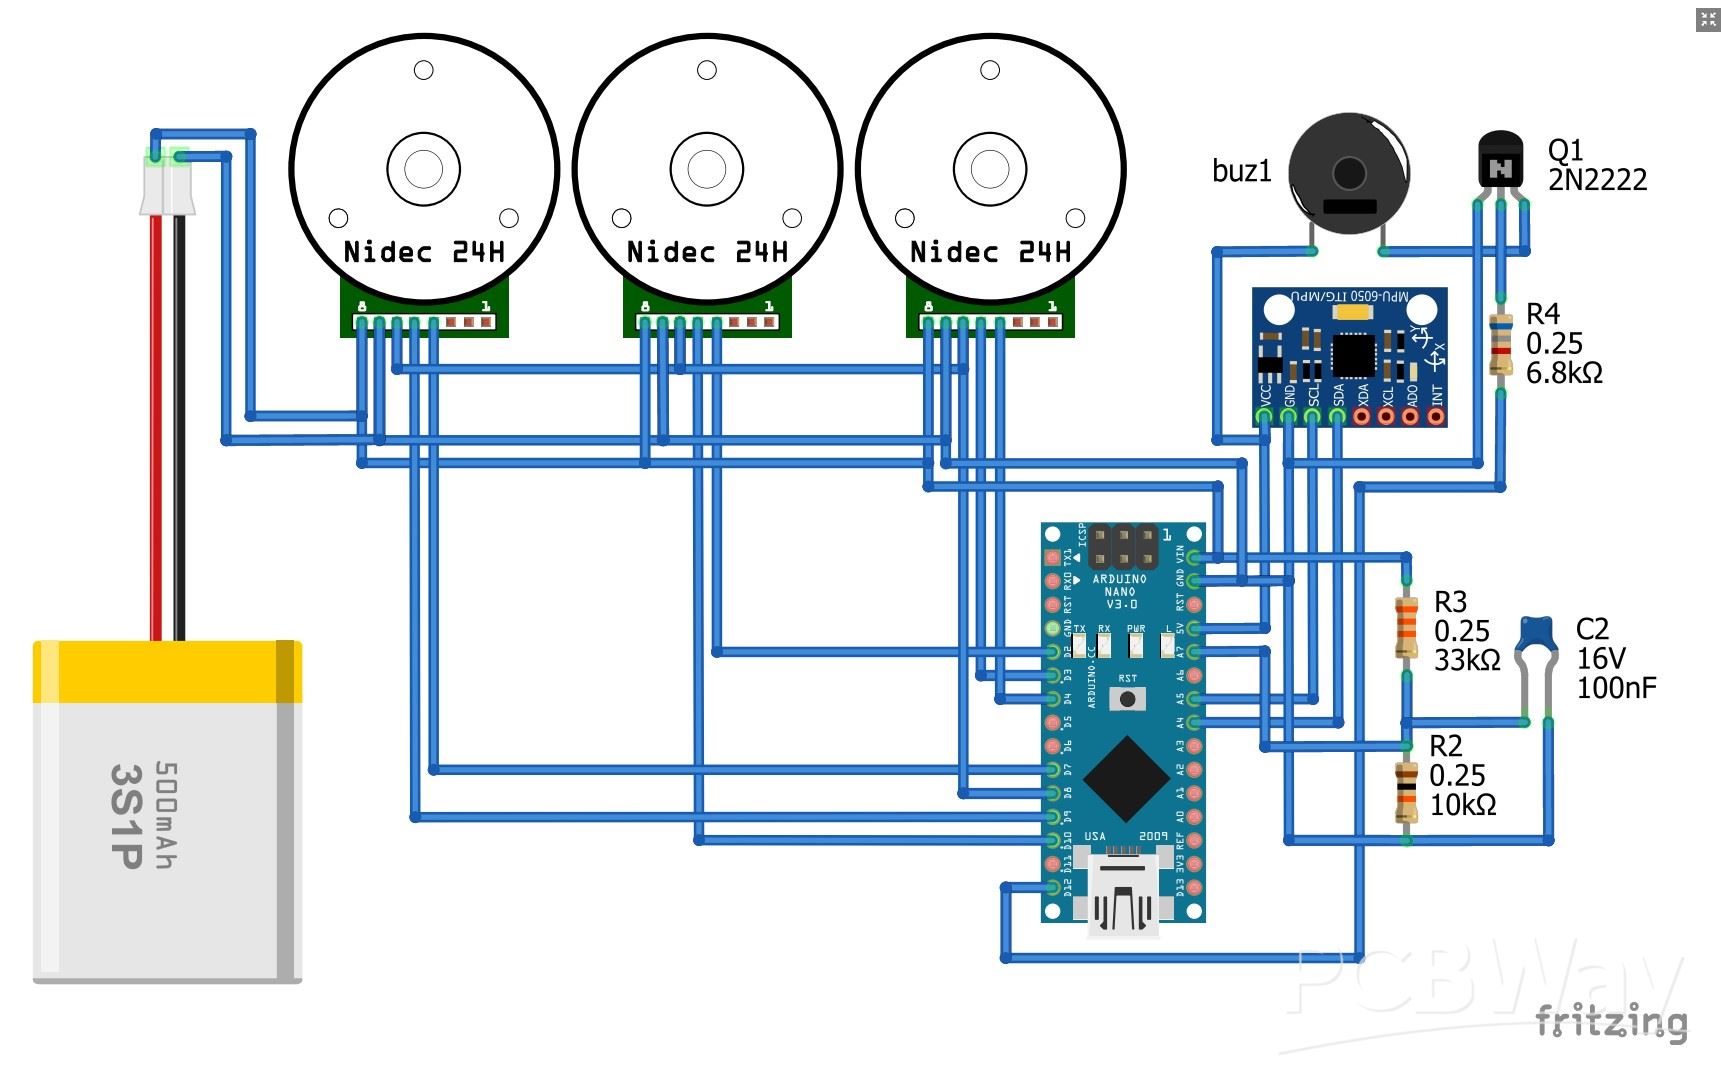
The control part of the device consists of several components:
- Arduino Nano microcontroler board
- MPU6050 Gyroscope and Accelerometer module
- NPN Transistor
- Buzzer
- three resistors
- Battery
- and optionally Bluetooth module for easier tuning
3D printed part consist also several components. Each large part takes more than 2-3 hours to print, so it took me a few days to print all the parts.
- reaction wheel sides and we need three such part
- other three sides of the cube
- reaction wheels that serve to balance the cube
- mount plate for the batteries and the controller, on which there is a mounting surface for the mpu6050 sensor board.
- Battery holders
- and controller mount plate, and mount plate holders

Otherwise, an ESP32 microcontroller can be used instead of an Arduino, and in that case Bluetooth is built into the microcontroller.
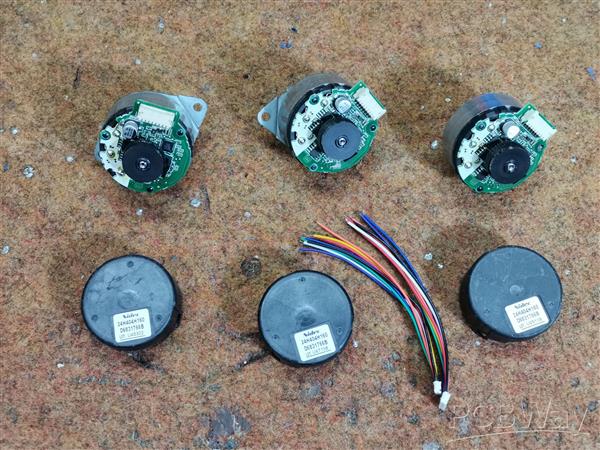
The three motors are "Nidec 24H" type:
First let's see how the device works in real conditions. Before putting it into operation, it should be calibrated. Setting procedure is very simple. Setting procedure is very simple. First connect to controller over bluetooth. You will see a message that you need to calibrate the balancing points. Send c+ from serial monitor. This activates the calibrating procedure. Set the cube to one of the balancing points (edge or vertex). Hold still when the cube does not fall to either side. Send c- from serial monitor. This will write the offsets to the EEPROM.
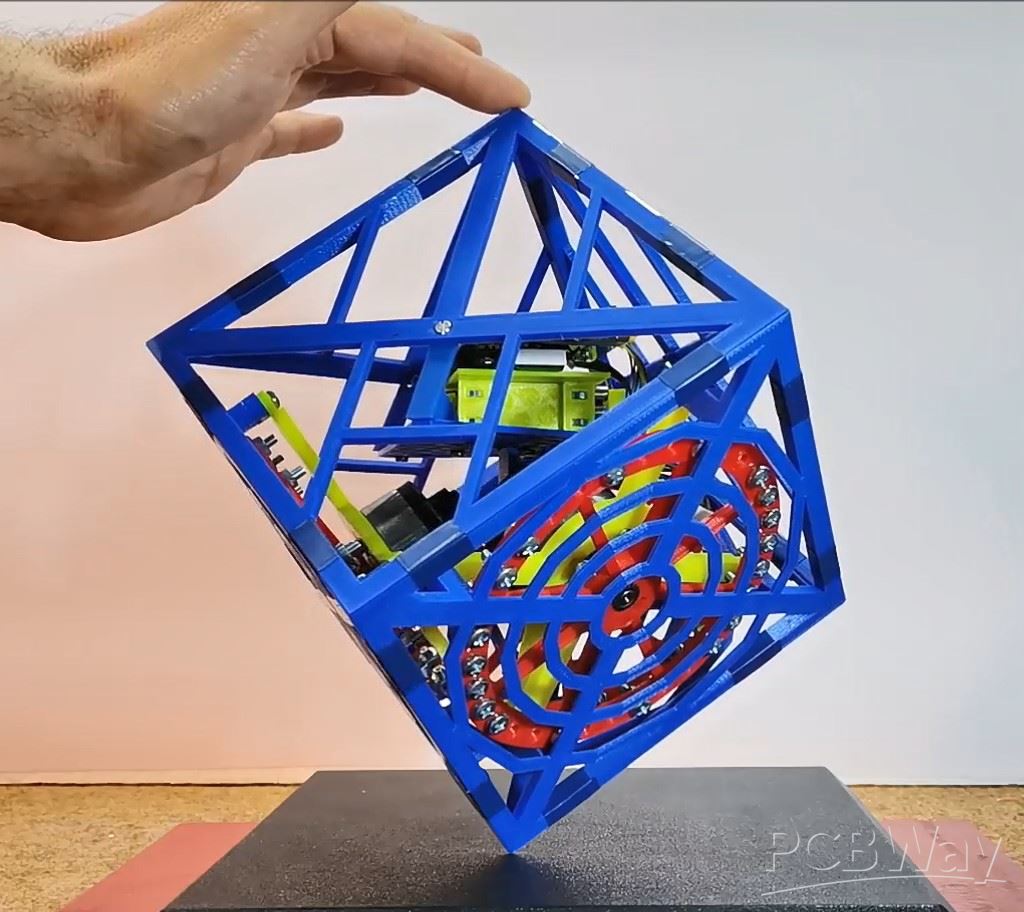
Repeat this procedure four times (3 edges and vertex). After calibrating all offsets, the cube will begin to balance.
And finally a short conclusion. This is a really interesting Arduino project to make, of course if you own a 3D Printer. It is perfectly conceived and executed by ReM-RC and I will mention again, all credits go to him.

Arduino 3D Printed self Balancing Cube
*PCBWay community is a sharing platform. We are not responsible for any design issues and parameter issues (board thickness, surface finish, etc.) you choose.
- Comments(0)
- Likes(2)
- 0 USER VOTES
- YOUR VOTE 0.00 0.00
- 1
- 2
- 3
- 4
- 5
- 6
- 7
- 8
- 9
- 10
- 1
- 2
- 3
- 4
- 5
- 6
- 7
- 8
- 9
- 10
- 1
- 2
- 3
- 4
- 5
- 6
- 7
- 8
- 9
- 10
- 1
- 2
- 3
- 4
- 5
- 6
- 7
- 8
- 9
- 10
 More by Mirko Pavleski
-
 Arduino 3D Printed self Balancing Cube
Self-balancing devices are electronic devices that use sensors and motors to keep themselves balanc...
-
 DIY 5-Day Rainfall Forecast Device - ESP32 E-Paper Project
In several of my previous projects I have presented ways to make weather stations, but this time I ...
-
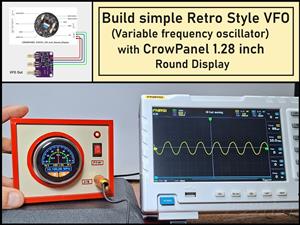 Build simple Retro Style VFO (Variable frequency oscillator) with Crowoanel 1.28 inch Round Display
Today I received a shipment with a Small round LCD display from Elecrow. The device is packed in tw...
-
 Human vs Robot – Rock Paper Scissors with MyCobot 280 M5Stack
Today I received a package containing the few Elephant Robotics products. The shipment is well pack...
-
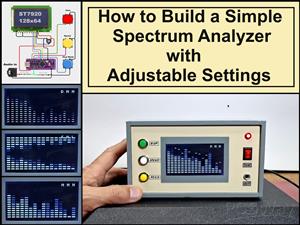 How to Build a Simple Audio Spectrum Analyzer with Adjustable Settings
An audio spectrum analyzer is an electronic device or software tool that measures and visually disp...
-
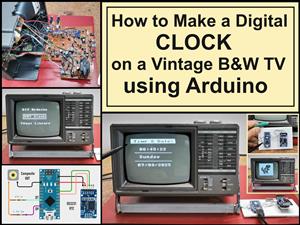 How to Make a Digital Clock on a Vintage B&W TV using Arduino
These days I accidentally came across this small retro Black and White TV with a built-in Radio, so ...
-
 Build a $10 Function Generator with Frequency Meter for Your Lab
A function generator is a piece of electronic test equipment used to generate various types of elec...
-
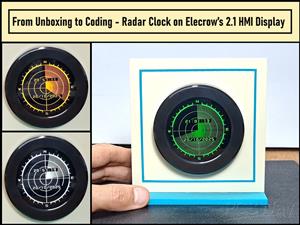 From Unboxing to Coding - Radar Clock on Elecrow’s 2.1 HMI Display
Today I received a shipment with a large round LCD display from Elecrow. The device is packed in two...
-
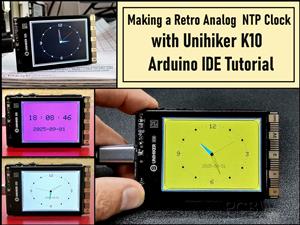 Making a Retro Analog NTP Clock with Unihiker K10 - Arduino IDE Tutorial
Some time ago I presented you a way to use standard Arduino libraries on the Unihiker k10 developme...
-
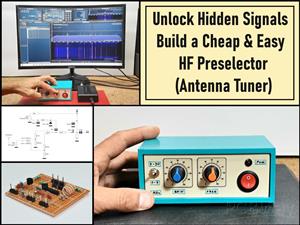 Build a Cheap & Easy HF Preselector - Antenna Tuner
HF antenna preselector is an electronic device connected between an HF radio antenna, and a radio r...
-
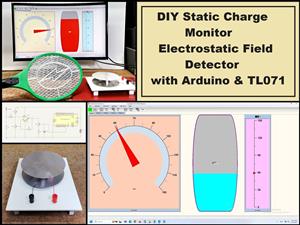 DIY Static Charge Monitor - Electrostatic Field Detector (Arduino & TL071)
A Static Charge Monitor also known as a Static Field Meter or Electrostatic Voltmeter is a device u...
-
 XHDATA D-219 Radio Short Review with complete disassembly
Some time ago I received an offer from XHDATA to be one of the first test users of their new radio m...
-
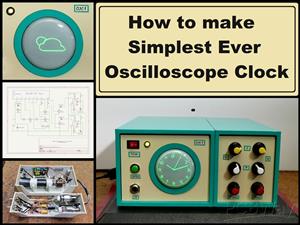 How to make Simplest ever Oscilloscope Clock
An oscilloscope clock is a unique and creative way to display the time using an oscilloscope, which...
-
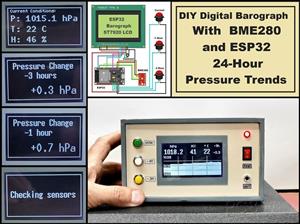 DIY Digital Barograph with BME280 and ESP32 - 24 Hour Pressure Trends
A barograph is a self-recording barometer that continuously measures and records atmospheric pressu...
-
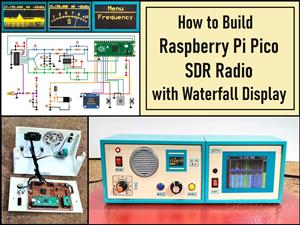 Build a Raspberry Pi Pico SDR Radio with Waterfall Display
Software-defined radio (SDR) is a radio communication system where components that have traditional...
-
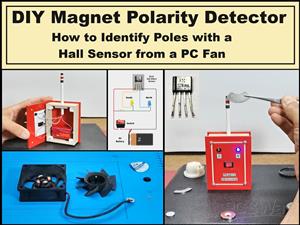 DIY Magnet Polarity Detector - How to Identify Poles with a Hall Sensor from a PC Fan
Recently, while working on a project, I needed to determine the polarity of several permanent magne...
-
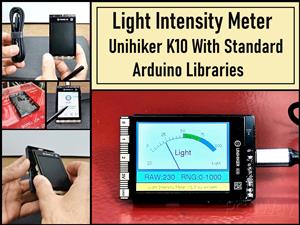 Light Meter Project - Making Dfrobot Unihiker K10 Work with Standard Arduino Libraries
The other day I received a shipment with a UNIHIKER K10 development board from DFRobot, which I rec...
-
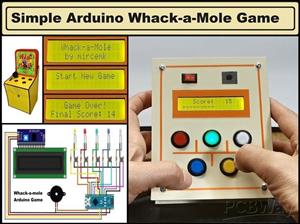 DIY Simple Arduino Whack-a-Mole Game
A "Whack-a-Mole" game is a classic arcade-style game where moles pop up randomly from holes, and th...
-
-
AEL-2011 Power Supply Module
524 0 2 -
AEL-2011 50W Power Amplifier
485 0 2 -
-
-
Custom Mechanical Keyboard
693 0 0 -
Tester for Touch Screen Digitizer without using microcontroller
329 2 2 -
Audio reactive glow LED wristband/bracelet with NFC / RFID-Tags
310 0 1 -
-
-


