


|
|
Theremino Master module |
x 1 | |
|
|
Ultrasonic Sensor - HC-SR04 |
x 1 | |
|
|
SG90 Micro-servo motor |
x 1 | |
|
|
Resistor 1k ohm |
x 1 | |
|
|
Resistor, 1.8 kohm |
x 1 |
|
|
Theremino HAL |
|

|
Soldering Iron Kit |
DIY Advanced Theremino Sonar
Theremino is an open-source platform designed for hobbyists and makers, providing a versatile framework for creating and interfacing with various electronic projects. Unlike similar systems (for example Arduino), the system works immediately, and does not require any firmware programming. The communication between the PC and the external components is done through "Theremino Master" board which is just an input-output device and not a micro programmable controller as Arduino.

You can get the Theremino Master board ready for about twenty dollars on this site or make it yourself, because the code and instructions for making it are free. You now have more than 150 great Windows applications on the Theremino websitethat allow you to control the components, modules, or sensors connected to the Theremino Master board. The Thermino system uses the power of the PC and the flexibility and low cost of the microcontrollers, so with this combination we can make great devices.
This time I will present you a simple way to make an ultrasonic sonar where the radar-like display is actually a windows-based application with the possibility of more settings. The excellent Windows application was developed by Mauro Roboni, and reworked by Theremino Team, and you can view the original project on the Theremino site .

This project is sponsored by PCBway). This year PCBway is celebrating the 10th anniversary of its successful existence. On the occasion of this event, PCBway provided its users with more conveniences such as big savings for certain products, as well as discounts of up to 80%. From July 1st to July 31st, log in to the PCBway site, and start the PCBway 10th Anniversary Tour, where you will enjoy Coupons, Lucky Draw, Exclusive Badges, unboxing blind boxes, and many other surprises. PCBway is always your great choice.
The device is extremely simple to build, in fact, like all Theremino projects, and consists of only a few components:
- Theremino Master board
- HC-SR04 ultrasonic sensor module
- and a cheap 9g servo
 .
.
In order to save time, this time I used cases from some of my previous projects.
And now let me explain the installation and setup method in a little more detail.
First we connect the device to a USB port and open the Theremino-Hal application. As we can see in the schematic diagram, the servo motor is connected to PIN1, and the ultrasonic sensor to PIN2 on the Master board. So we need to configure these two pins. For PIN1 we select pin type "Servo_16", and for PIN2 we select pin type "Usound sensor". According to the author's instructions, here you should put "Response speed" = 100 and disable "Remove errors". Also the “Max dist” that you set in the properties of the PIN type “Usund sensor”, in application HAL must match the scale you set in ThereminoRadar application.


Next, we need to define the slots that should correspond to the ones given in the Theremino Radar application, in our case the Servo slot is 931 and the Usound slot is 932. This completes the setup of the Theremino Hal and we can start testing the the device.
Now let's take a look at the Theremino Radar app. The bottom tab shows the current angle of the ultrasonic sensor, the distance to the obstacle, as well as the defined slots for the servo and the ultrasonic sensor.

These slots need to be entered into the Theremino Hal app. On the right side of the interface there are three sliders, one for default setting of the scanning angle, the second for the scanning speed, and the third for determining the distance at which we want to scan. This distance can be changed from 10 cm to 10 m, but in our case it is limited by the limit of the sensor of 4 m. There is also an auto scan button.
Now let's see how the device works in real conditions. By starting the Theremino Radar application, Theremino Hal, which we set up earlier, is also automatically started. The scale distance should be set to equal the distance defined in theremino hall, which is currently 1m. By pressing the Auto Scan button, the scan starts. The radar-like display shows the obstacles that are placed in front of the sensor, and their distance is read on a scale of concentric semicircles.

With the speed slider the speed is changed, and with the angle slider we can scan a certain range in front of the sensor. As we can see the movement of the sensor is homogeneous without jumps and shaking. Next, we'll decrease the scan distance, which will increase the accuracy of closer objects.
And finally a short conclusion. As far as I could tell, this is the first version of the DIY Radar-Look Display Sonar, based on which many Arduino versions were later made. However, this Theremino version, thanks to the stronger microprocessor and the well-made software, is in every way better than the later similar devices made with an Arduino microcontroller board. In fact, the basic feature of all Theremino projects is minimal hardware without programming and visually and functionally superior Windows software, which ultimately results in a great project.


DIY Advanced Theremino Sonar


- Comments(0)
- Likes(1)
More by Mirko Pavleski
-
 Arduino 3D Printed self Balancing Cube
Self-balancing devices are electronic devices that use sensors and motors to keep themselves balanc...
Arduino 3D Printed self Balancing Cube
Self-balancing devices are electronic devices that use sensors and motors to keep themselves balanc...
-
 How to make simple Variable HIGH VOLTAGE Power Supply
High Voltage Power Supply is usually understood as a device that is capable of generating a voltage...
How to make simple Variable HIGH VOLTAGE Power Supply
High Voltage Power Supply is usually understood as a device that is capable of generating a voltage...
-
 DIY 5-Day Rainfall Forecast Device - ESP32 E-Paper Project
In several of my previous projects I have presented ways to make weather stations, but this time I ...
DIY 5-Day Rainfall Forecast Device - ESP32 E-Paper Project
In several of my previous projects I have presented ways to make weather stations, but this time I ...
-
 Build simple Retro Style VFO (Variable frequency oscillator) with Crowoanel 1.28 inch Round Display
Today I received a shipment with a Small round LCD display from Elecrow. The device is packed in tw...
Build simple Retro Style VFO (Variable frequency oscillator) with Crowoanel 1.28 inch Round Display
Today I received a shipment with a Small round LCD display from Elecrow. The device is packed in tw...
-
 Human vs Robot – Rock Paper Scissors with MyCobot 280 M5Stack
Today I received a package containing the few Elephant Robotics products. The shipment is well pack...
Human vs Robot – Rock Paper Scissors with MyCobot 280 M5Stack
Today I received a package containing the few Elephant Robotics products. The shipment is well pack...
-
 How to Build a Simple Audio Spectrum Analyzer with Adjustable Settings
An audio spectrum analyzer is an electronic device or software tool that measures and visually disp...
How to Build a Simple Audio Spectrum Analyzer with Adjustable Settings
An audio spectrum analyzer is an electronic device or software tool that measures and visually disp...
-
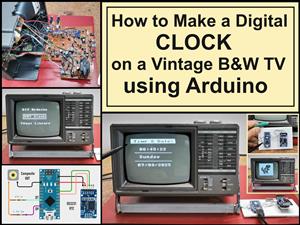 How to Make a Digital Clock on a Vintage B&W TV using Arduino
These days I accidentally came across this small retro Black and White TV with a built-in Radio, so ...
How to Make a Digital Clock on a Vintage B&W TV using Arduino
These days I accidentally came across this small retro Black and White TV with a built-in Radio, so ...
-
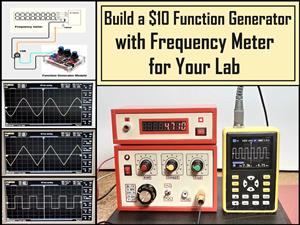 Build a $10 Function Generator with Frequency Meter for Your Lab
A function generator is a piece of electronic test equipment used to generate various types of elec...
Build a $10 Function Generator with Frequency Meter for Your Lab
A function generator is a piece of electronic test equipment used to generate various types of elec...
-
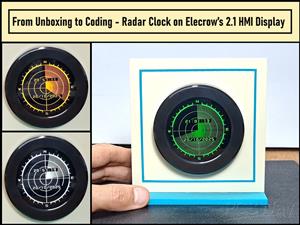 From Unboxing to Coding - Radar Clock on Elecrow’s 2.1 HMI Display
Today I received a shipment with a large round LCD display from Elecrow. The device is packed in two...
From Unboxing to Coding - Radar Clock on Elecrow’s 2.1 HMI Display
Today I received a shipment with a large round LCD display from Elecrow. The device is packed in two...
-
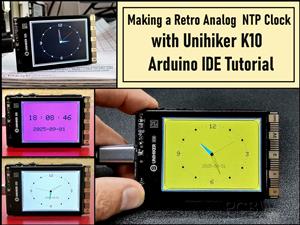 Making a Retro Analog NTP Clock with Unihiker K10 - Arduino IDE Tutorial
Some time ago I presented you a way to use standard Arduino libraries on the Unihiker k10 developme...
Making a Retro Analog NTP Clock with Unihiker K10 - Arduino IDE Tutorial
Some time ago I presented you a way to use standard Arduino libraries on the Unihiker k10 developme...
-
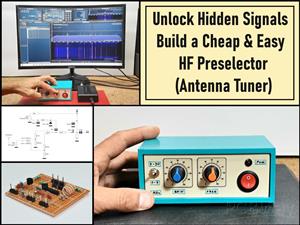 Build a Cheap & Easy HF Preselector - Antenna Tuner
HF antenna preselector is an electronic device connected between an HF radio antenna, and a radio r...
Build a Cheap & Easy HF Preselector - Antenna Tuner
HF antenna preselector is an electronic device connected between an HF radio antenna, and a radio r...
-
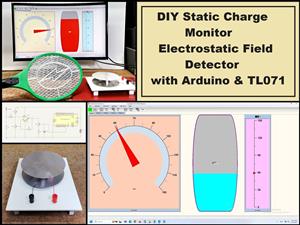 DIY Static Charge Monitor - Electrostatic Field Detector (Arduino & TL071)
A Static Charge Monitor also known as a Static Field Meter or Electrostatic Voltmeter is a device u...
DIY Static Charge Monitor - Electrostatic Field Detector (Arduino & TL071)
A Static Charge Monitor also known as a Static Field Meter or Electrostatic Voltmeter is a device u...
-
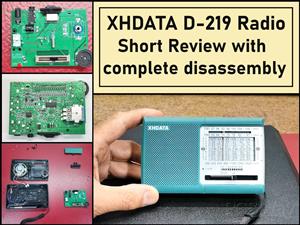 XHDATA D-219 Radio Short Review with complete disassembly
Some time ago I received an offer from XHDATA to be one of the first test users of their new radio m...
XHDATA D-219 Radio Short Review with complete disassembly
Some time ago I received an offer from XHDATA to be one of the first test users of their new radio m...
-
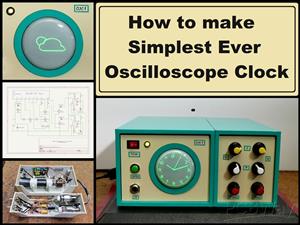 How to make Simplest ever Oscilloscope Clock
An oscilloscope clock is a unique and creative way to display the time using an oscilloscope, which...
How to make Simplest ever Oscilloscope Clock
An oscilloscope clock is a unique and creative way to display the time using an oscilloscope, which...
-
 DIY Digital Barograph with BME280 and ESP32 - 24 Hour Pressure Trends
A barograph is a self-recording barometer that continuously measures and records atmospheric pressu...
DIY Digital Barograph with BME280 and ESP32 - 24 Hour Pressure Trends
A barograph is a self-recording barometer that continuously measures and records atmospheric pressu...
-
 Build a Raspberry Pi Pico SDR Radio with Waterfall Display
Software-defined radio (SDR) is a radio communication system where components that have traditional...
Build a Raspberry Pi Pico SDR Radio with Waterfall Display
Software-defined radio (SDR) is a radio communication system where components that have traditional...
-
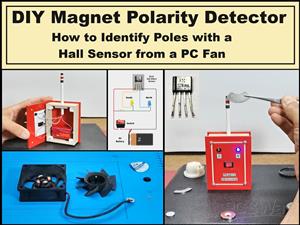 DIY Magnet Polarity Detector - How to Identify Poles with a Hall Sensor from a PC Fan
Recently, while working on a project, I needed to determine the polarity of several permanent magne...
DIY Magnet Polarity Detector - How to Identify Poles with a Hall Sensor from a PC Fan
Recently, while working on a project, I needed to determine the polarity of several permanent magne...
-
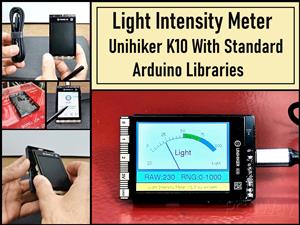 Light Meter Project - Making Dfrobot Unihiker K10 Work with Standard Arduino Libraries
The other day I received a shipment with a UNIHIKER K10 development board from DFRobot, which I rec...
Light Meter Project - Making Dfrobot Unihiker K10 Work with Standard Arduino Libraries
The other day I received a shipment with a UNIHIKER K10 development board from DFRobot, which I rec...
-
-
mammoth-3D SLM Voron Toolhead – Manual Drill & Tap Edition
169 0 0 -
-
-
-
Tester for Touch Screen Digitizer without using microcontroller
409 2 2 -
Audio reactive glow LED wristband/bracelet with NFC / RFID-Tags
372 0 1 -
-


