|
|
HV Neon sign Trafo |
x 1 | |
|
|
Primary coil |
x 1 | |
|
|
Secondary coil |
x 1 | |
|
|
Spark gap |
x 1 | |
|
|
Topload |
x 1 | |
|
|
HV Capacitor bank |
x 1 |

|
Soldering Iron Kit |
DIY simple Spark Gap Tesla Coil
Tesla coil is a type of resonant transformer circuit invented by Nikola Tesla around 1891. It is a high-frequency air-core transformer that produces high-voltage, low-current, and high-frequency alternating-current electricity. In general, Tesla coils can be divided into two groups, Spark Gap, and Solid State Tesla Coils. In some of my previous videos you can see some Solid State Tesla Coils made with Transistors and Vacuum Tubes. This time I will describe to you how to make a Spark Gap Tesla Coil which is actually the simplest type of Tesla Coil. I recently received as a gift, which was the main reason for starting this project.
"Spark Gap" Tesla coil consists of the following parts
- Primary Coil consisting of several turns of thick copper tube
- Secondary coil containing about 1000 turns of thin lacquered copper wire
- A high voltage source, in this case a Neon Sign Transformer
- Spark Gap
- high voltage capacitor bank
- and Toroidal Top Load Terminal

Let me briefly describe the function of each of these parts:

- The power source is this neon sign transformer with an output voltage of 8000 volts and a current of 30mA. The total power of the device depends on this transformer (the value of the output voltage, actually the length of the spark)

- The primary coil is the first coil in the transformer, typically consisting of a few turns of heavy wire, and it is connected to a power source.

- Capacitor connected in parallel with the primary coil, and it stores electrical energy during the charging phase.

- The spark gap is a switch that rapidly discharges the capacitor into the primary coil. It consists of electrodes separated by a small gap. When the voltage across the spark gap reaches a critical value, a spark jumps across the gap, allowing the capacitor to discharge rapidly.

- The secondary coil is a large number of turns of fine wire wound around the primary coil. It is not electrically connected to the primary coil but is in close proximity. The changing magnetic field induced by the primary coil in the secondary coil causes a voltage to be generated.

- And a top Load which is located at the top of the secondary coil, there is usually a toroid or a metal sphere, and this helps to concentrate the electric field and enhance the efficiency of the coil.
In an ideally tuned Tesla coil, the resonant frequency of the primary LC circuit should be equal to the resonant frequency of the secondary coil.

It is very difficult and almost impossible to achieve this by simply changing the number of windings, or the value of a capacitor bank, as most beginners in this field think. This can be achieved relatively easily using several online calculators of which I think the most used is JavaTC. Also a great source of information and online calculators is the deepfriedneon site.

For the sake of ease of manufacture and visibility, I made the Tesla coil on a flat board, but I soon realized that I could have problems with a spark jump on the HV transformer, which would be fatal for it. So for protection I installed metal mesh around the power transformer which is connected to the ground. Therefore, most often the drive part is placed under the primary and secondary coil.

And now let's see how this device works in real conditions. I should mention that for grounding I use a long metal rod stuck in wet soil.

As can be seen in the video, with a fully tuned Tesla coil I achieved a spark length of about 40+ cm, which is an good result for such a relatively small power neon sign transformer.


And finally a short conclusion. This was my first Spark Gap Tesla coil and it gave me a lot of pleasure both in making and in operation. However, it should be kept in mind that the manufacture and maintenance of such a device is relatively expensive, especially if we have to buy all the components. Fortunately, the most expensive parts, the power transformer and capacitor bank, I already had, and there was no need to buy them. Otherwise, the night view of a functioning Tesla Coil always attracts enormous attention with its audio and visual effect.
SAFETY NOTE: Please do not attempt to recreate the experiments shown on this video unless you are familiar with High Voltage Safety Techniques! Direct Current even above 60V maybe lethal, even when the AC supply voltage has been disconnected due to the stored energy in the capacitors. I have no responsibility on any hazards caused by the circuit. Be very careful. This is a humble request.

DIY simple Spark Gap Tesla Coil
- Comments(0)
- Likes(0)
- 0 USER VOTES
- YOUR VOTE 0.00 0.00
- 1
- 2
- 3
- 4
- 5
- 6
- 7
- 8
- 9
- 10
- 1
- 2
- 3
- 4
- 5
- 6
- 7
- 8
- 9
- 10
- 1
- 2
- 3
- 4
- 5
- 6
- 7
- 8
- 9
- 10
- 1
- 2
- 3
- 4
- 5
- 6
- 7
- 8
- 9
- 10
 More by Mirko Pavleski
-
 Arduino 3D Printed self Balancing Cube
Self-balancing devices are electronic devices that use sensors and motors to keep themselves balanc...
-
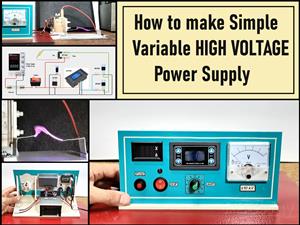 How to make simple Variable HIGH VOLTAGE Power Supply
High Voltage Power Supply is usually understood as a device that is capable of generating a voltage...
-
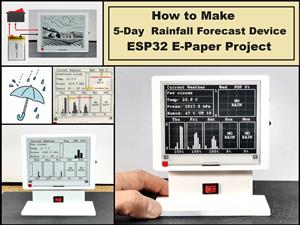 DIY 5-Day Rainfall Forecast Device - ESP32 E-Paper Project
In several of my previous projects I have presented ways to make weather stations, but this time I ...
-
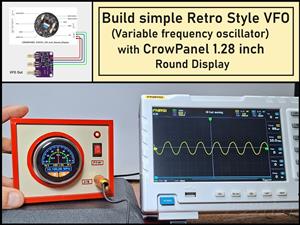 Build simple Retro Style VFO (Variable frequency oscillator) with Crowoanel 1.28 inch Round Display
Today I received a shipment with a Small round LCD display from Elecrow. The device is packed in tw...
-
 Human vs Robot – Rock Paper Scissors with MyCobot 280 M5Stack
Today I received a package containing the few Elephant Robotics products. The shipment is well pack...
-
 How to Build a Simple Audio Spectrum Analyzer with Adjustable Settings
An audio spectrum analyzer is an electronic device or software tool that measures and visually disp...
-
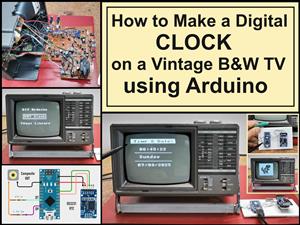 How to Make a Digital Clock on a Vintage B&W TV using Arduino
These days I accidentally came across this small retro Black and White TV with a built-in Radio, so ...
-
 Build a $10 Function Generator with Frequency Meter for Your Lab
A function generator is a piece of electronic test equipment used to generate various types of elec...
-
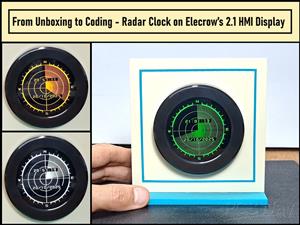 From Unboxing to Coding - Radar Clock on Elecrow’s 2.1 HMI Display
Today I received a shipment with a large round LCD display from Elecrow. The device is packed in two...
-
 Making a Retro Analog NTP Clock with Unihiker K10 - Arduino IDE Tutorial
Some time ago I presented you a way to use standard Arduino libraries on the Unihiker k10 developme...
-
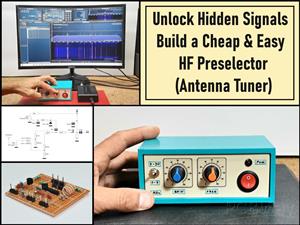 Build a Cheap & Easy HF Preselector - Antenna Tuner
HF antenna preselector is an electronic device connected between an HF radio antenna, and a radio r...
-
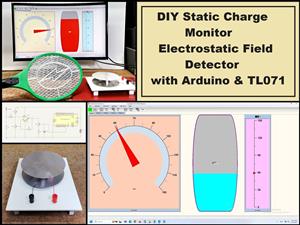 DIY Static Charge Monitor - Electrostatic Field Detector (Arduino & TL071)
A Static Charge Monitor also known as a Static Field Meter or Electrostatic Voltmeter is a device u...
-
 XHDATA D-219 Radio Short Review with complete disassembly
Some time ago I received an offer from XHDATA to be one of the first test users of their new radio m...
-
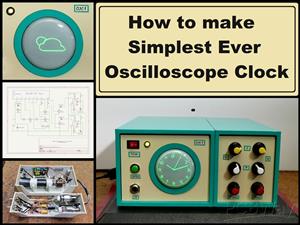 How to make Simplest ever Oscilloscope Clock
An oscilloscope clock is a unique and creative way to display the time using an oscilloscope, which...
-
 DIY Digital Barograph with BME280 and ESP32 - 24 Hour Pressure Trends
A barograph is a self-recording barometer that continuously measures and records atmospheric pressu...
-
 Build a Raspberry Pi Pico SDR Radio with Waterfall Display
Software-defined radio (SDR) is a radio communication system where components that have traditional...
-
 DIY Magnet Polarity Detector - How to Identify Poles with a Hall Sensor from a PC Fan
Recently, while working on a project, I needed to determine the polarity of several permanent magne...
-
 Light Meter Project - Making Dfrobot Unihiker K10 Work with Standard Arduino Libraries
The other day I received a shipment with a UNIHIKER K10 development board from DFRobot, which I rec...
-
-
mammoth-3D SLM Voron Toolhead – Manual Drill & Tap Edition
129 0 0 -
-
AEL-2011 Power Supply Module
639 0 2 -
AEL-2011 50W Power Amplifier
557 0 2 -
-
-
Custom Mechanical Keyboard
761 0 0 -
Tester for Touch Screen Digitizer without using microcontroller
389 2 2 -
Audio reactive glow LED wristband/bracelet with NFC / RFID-Tags
357 0 1 -
-


