|
|
radio module with TEF6686 chip |
x 1 | |
|
|
Arduino Nano R3 |
x 1 | |
|
|
Capacitor 10 µF |
x 2 | |
|
|
Antenna |
x 1 |

|
Soldering Iron Kit |
|

|
arduino IDEArduino
|
Simple TEF6686 Arduino + PC AM-FM Radio Receiver
This time I will prtesent you how to make a AM/FM Radio, based on radio module with TEF6686 chip from NXP. This miniature module has amazing possibilities, great sensitivity and selectivity, adjustable de-emphasis and filter. It has a output analog audio L + R, or MPX, depending on the configuration.
Also, this module has an I2C communication protocol, so the simplest way to communicate with a personal computer is an Arduino microcontroller with the appropriate code uploaded. For the PC there is an application called XDR-GTK through which we control the module. I mounted the module on proto board so I could connect it to the Arduino more easily.

So to make a complete radio receiver we need only a few components:
- radio module with TEF6686 chip
- Arduino microcontroller
- Two capacitors
- Audio jack and cable
- and Personal Computer

If you want to make a PCB for this project, or for any other electronic project, PCBway is a great choice for you. PCBway is one of the most experienced PCB manufacturing company in China in field of PCB prototype and fabrication. They provide completed PCB assembly service with worldwide free shipping , and ISO9001 quality control system. Also, on their site there is an online gerber viewer where you can upload your gerber and drill files to render your board.
Now I will describe the whole procedure in detail:
First of all, let me mention that on the Internet you can find more Arduino codes from different authors, and also versions of the XDR-GTK application. I first tested almost all of them, and this time I will describe only one way, which, at least in my specific case, was the simplest and worked best and most stably.
On the GitHub page:
https://github.com/marsel90-1/NXP-TEF6686_F8602_F8605-Arduino-Radio
it has everything we need for this project.
A few words about the Arduino code: there are two types of radio modules with F8602 and F8605 version of the chip. In my case it is F8602 chip version.

Similarly, the appropriate code "TEF6686-arduino-F8602" is uploaded to the Arduino microcontroller. How to upload the code has been described many times before in my videos, and there are also great tutorials online, so we will skip this step.
Next, the TEF-GTK.v1.1.2 application should be installed on the PC, actually you just need to unzip the archive to a certain location and extract the shortcut to the desktop.

Now we need to determine on which port is installed the Arduino microcontroller, because we will need this information later.

The consumption of the Tuner module is about 100 milliamps, so we can power it directly from the microcontroller. Now we start the PC Application, and select the communication method, in this case through serial port COM 6. We press OK and the radio starts working on the frequency that we can previously define in the settings tab.

In the central part you can see a graphic representation of the quality of the reception signal. The "STEREO" signal is also displayed, and if there is an "RDS" signal, that information is also marked with an appropriate sign. We can follow the RDS text in the upper right corner. There are also several buttons for setting the Antenna, AGC, and bandwidth.
The next super useful option is "Spectral Scan" wich alows us to scan the entire FM area.

TEF-GTK appplication also supports external Applications. One of them is "Station List" aplpplication, that shows the name of current radio station, the country from wich it is broadcast, the strenght and location of repeater, and other useful informations.

Also a useful external appplication is "RDS SPY" with the help of wich we get detailed information about the RDS signal.

And finally, a short conclusion. First of all, let me mention that for the FM band I used a 137 Mhz V-dipole antenna for weather satellites reception, as the closest option since I don't own an antenna for FM, and for the AM area I used a so-called Loop Over Ground Antenna that works perfectly with my amateur radio receivers. To my great surprise, the FM reception is excellent, even when I used a short wire of about 50 cm as an antenna. I was especially surprised by the sensitivity and quite solid reception of distant FM radio stations.

This receiver is superior to the Arduino radio receivers with RDA and TEA chip that I have built, and in my opinion it also has better reception than the well-known portable radios from the brands XHDATA, DEGEN, TECSUN, especially in terms of sensitivity weak FM signals.


Simple TEF6686 Arduino + PC AM-FM Radio Receiver
- Comments(0)
- Likes(0)
- 0 USER VOTES
- YOUR VOTE 0.00 0.00
- 1
- 2
- 3
- 4
- 5
- 6
- 7
- 8
- 9
- 10
- 1
- 2
- 3
- 4
- 5
- 6
- 7
- 8
- 9
- 10
- 1
- 2
- 3
- 4
- 5
- 6
- 7
- 8
- 9
- 10
- 1
- 2
- 3
- 4
- 5
- 6
- 7
- 8
- 9
- 10
 More by Mirko Pavleski
-
 Arduino 3D Printed self Balancing Cube
Self-balancing devices are electronic devices that use sensors and motors to keep themselves balanc...
-
 How to make simple Variable HIGH VOLTAGE Power Supply
High Voltage Power Supply is usually understood as a device that is capable of generating a voltage...
-
 DIY 5-Day Rainfall Forecast Device - ESP32 E-Paper Project
In several of my previous projects I have presented ways to make weather stations, but this time I ...
-
 Build simple Retro Style VFO (Variable frequency oscillator) with Crowoanel 1.28 inch Round Display
Today I received a shipment with a Small round LCD display from Elecrow. The device is packed in tw...
-
 Human vs Robot – Rock Paper Scissors with MyCobot 280 M5Stack
Today I received a package containing the few Elephant Robotics products. The shipment is well pack...
-
 How to Build a Simple Audio Spectrum Analyzer with Adjustable Settings
An audio spectrum analyzer is an electronic device or software tool that measures and visually disp...
-
 How to Make a Digital Clock on a Vintage B&W TV using Arduino
These days I accidentally came across this small retro Black and White TV with a built-in Radio, so ...
-
 Build a $10 Function Generator with Frequency Meter for Your Lab
A function generator is a piece of electronic test equipment used to generate various types of elec...
-
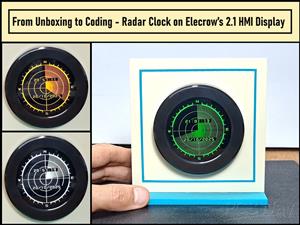 From Unboxing to Coding - Radar Clock on Elecrow’s 2.1 HMI Display
Today I received a shipment with a large round LCD display from Elecrow. The device is packed in two...
-
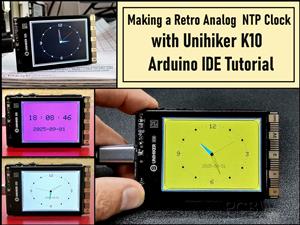 Making a Retro Analog NTP Clock with Unihiker K10 - Arduino IDE Tutorial
Some time ago I presented you a way to use standard Arduino libraries on the Unihiker k10 developme...
-
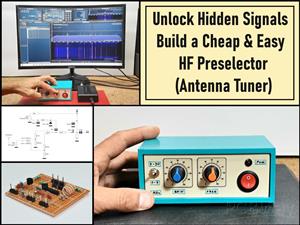 Build a Cheap & Easy HF Preselector - Antenna Tuner
HF antenna preselector is an electronic device connected between an HF radio antenna, and a radio r...
-
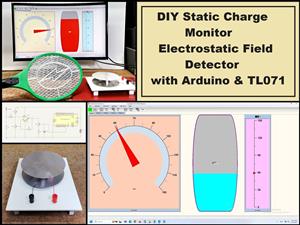 DIY Static Charge Monitor - Electrostatic Field Detector (Arduino & TL071)
A Static Charge Monitor also known as a Static Field Meter or Electrostatic Voltmeter is a device u...
-
 XHDATA D-219 Radio Short Review with complete disassembly
Some time ago I received an offer from XHDATA to be one of the first test users of their new radio m...
-
 How to make Simplest ever Oscilloscope Clock
An oscilloscope clock is a unique and creative way to display the time using an oscilloscope, which...
-
 DIY Digital Barograph with BME280 and ESP32 - 24 Hour Pressure Trends
A barograph is a self-recording barometer that continuously measures and records atmospheric pressu...
-
 Build a Raspberry Pi Pico SDR Radio with Waterfall Display
Software-defined radio (SDR) is a radio communication system where components that have traditional...
-
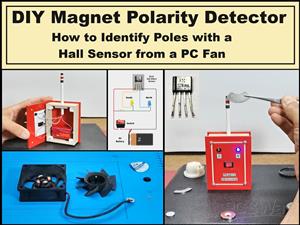 DIY Magnet Polarity Detector - How to Identify Poles with a Hall Sensor from a PC Fan
Recently, while working on a project, I needed to determine the polarity of several permanent magne...
-
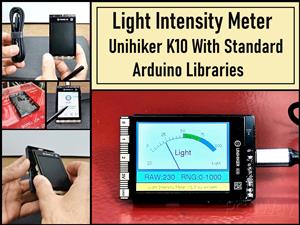 Light Meter Project - Making Dfrobot Unihiker K10 Work with Standard Arduino Libraries
The other day I received a shipment with a UNIHIKER K10 development board from DFRobot, which I rec...
-
-
AEL-2011 Power Supply Module
553 0 2 -
AEL-2011 50W Power Amplifier
512 0 2 -
-
-
Custom Mechanical Keyboard
710 0 0 -
Tester for Touch Screen Digitizer without using microcontroller
340 2 2 -
Audio reactive glow LED wristband/bracelet with NFC / RFID-Tags
321 0 1 -
-
-


