iPAD Pencil Backup Pocket Charger
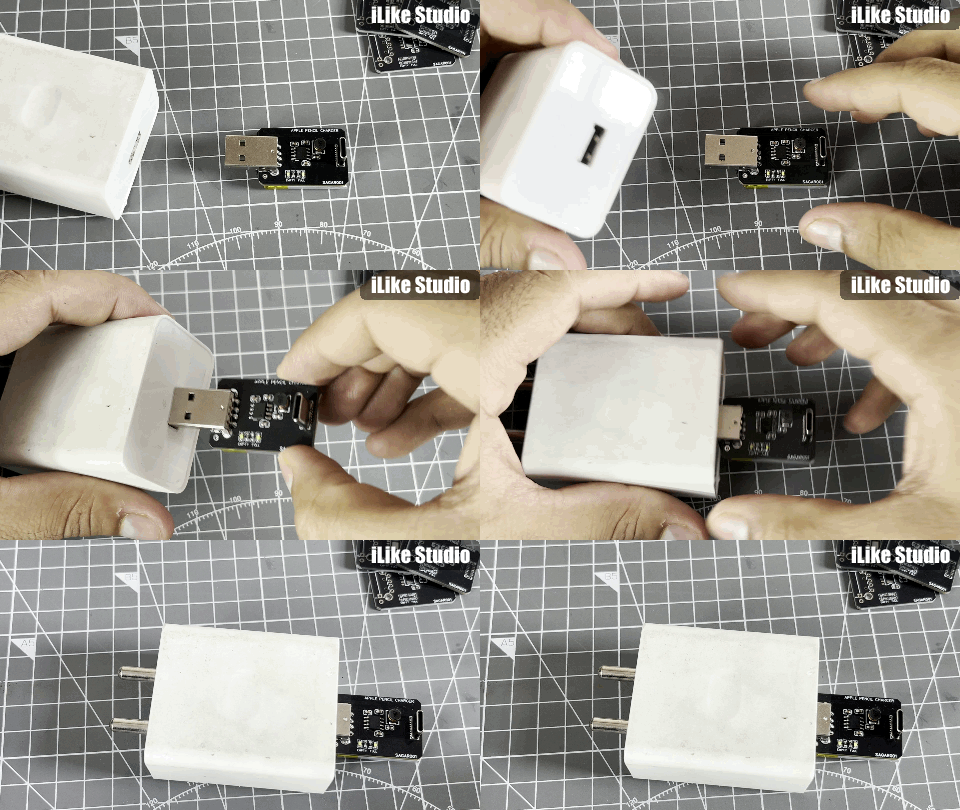
I have a clone iPAD pencil which works in the similar way of Apple pencil, but this one comes with C type and is priced me 1/4th of the original one. It comes with a 50mAH battery which gives an on time of 4 hrs only. This is the problem with most of these clone pencils even also with apple certified ones. And that's why I built a pocket charger for it, so whenever I carry my iPAD in college I can take notes flawlessly. This apple pencil pocket charger is a direct plug and play device. USB type C is used to plug into the pencil and charge it.
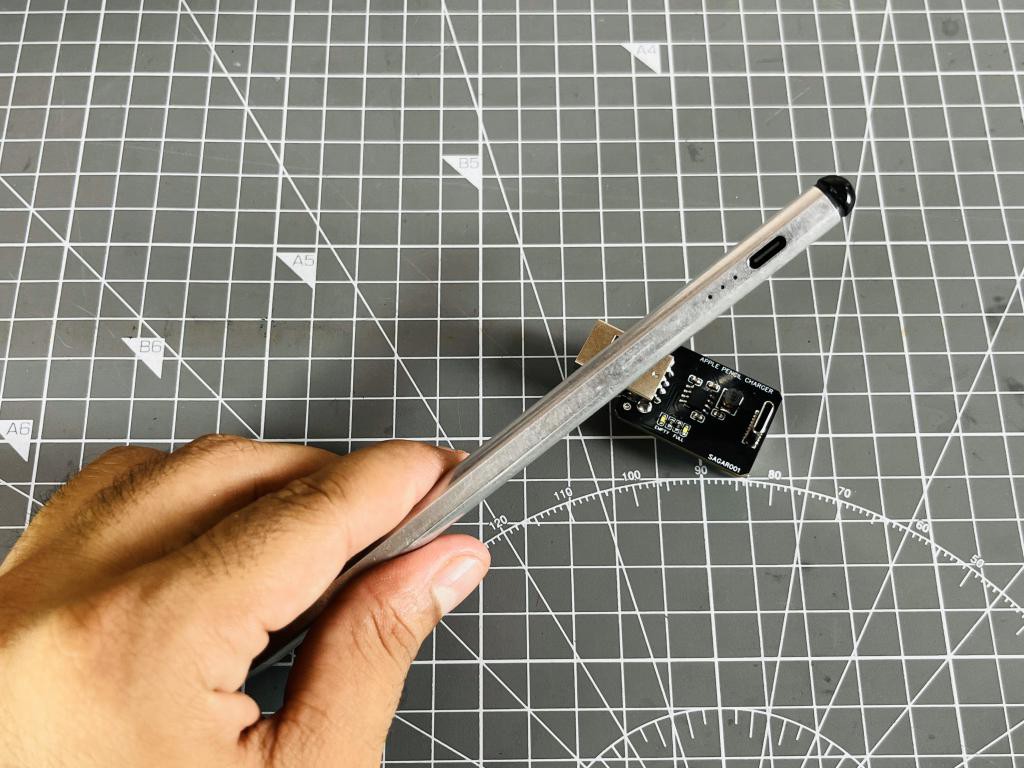
USB type A on the other side is used to directly plug into any charger or laptop type A port and charge the external 300mAH battery attached to it. Which gives me a total backup of up to 24hrs of constant time. This Apple pencil although have a fast charging mechanism which only takes 10 minutes to charge the internal battery.
This project is sponsored by PCBWAY, the leading PCB manufacturing company dealing in PCB related products and services. PCBWAY has 10 years experience of working with PCBA, PCB, Stencil, 3D printing and CNC services.
Components Required:
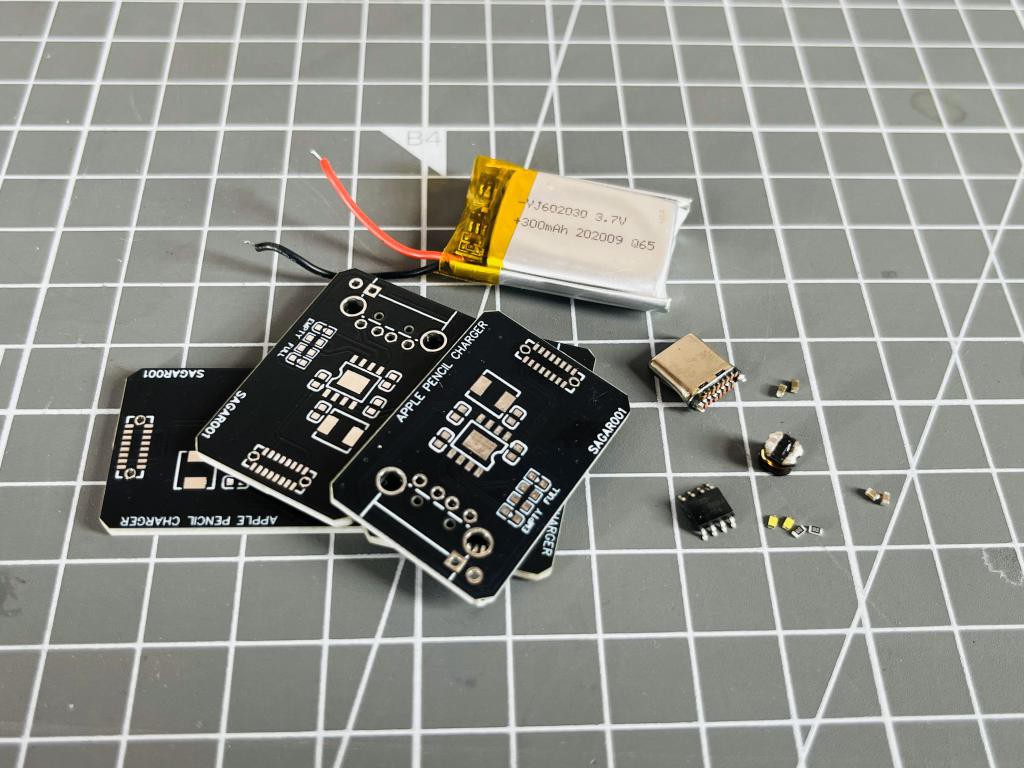
LP7800K4 charging and booster IC
10uf, 1uf ceramic 603 capacitor
1K resistor 0603 package
0603 package LEDs
USB male type A/ type C
Li-Po battery 300-600mAH
PCBs from PCBWAY
Circuit Description:
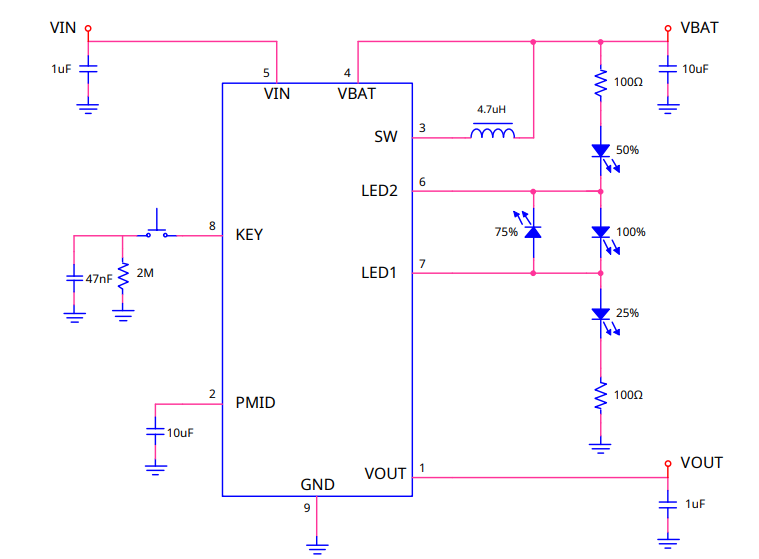
Usually USB devices use 5V charging, and the Li-Po battery is rated 3.7V. So an efficient boost and charge mechanism is required to charge the pencil. For this application an IC LP7800K4 is best suited. I can also make use of TP4056 charge and Mt3068 booster IC integrated on a PCB but then I have to add a lot more circuitry to the PCB. And to reduce all that effort of soldering and arranging parts I used this application specific IC available on digikey and LCSC. This IC has plug and play detection feature, which eliminates the need of any onboard switch. This charging detection function makes this device more convenient to use with any type C port.

LP7800K4 comes with thermal, overcurrent, overvoltage, undervoltage protections. To know more about battery protection circuits check my previous tutorial about battery charging. And the IC features an inbuilt boost converter circuit to convert 3.7V to 5V, with charging optimisation. A very few onboard components are required to make this circuit. See the above modified schematics which is made as per this iPAD pencil charging application. Download the Datasheet and all required PCB files from here.
PCB file:
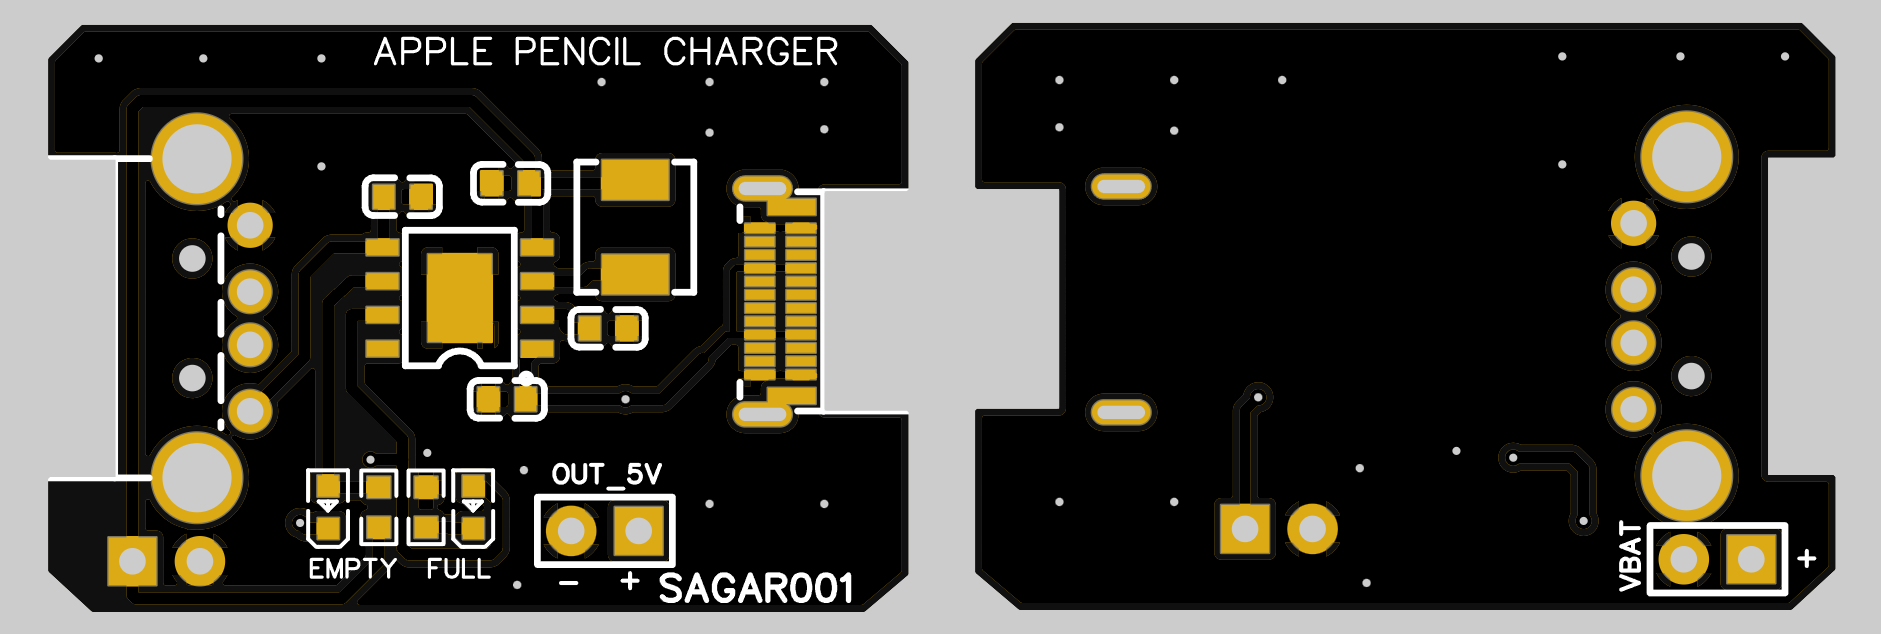
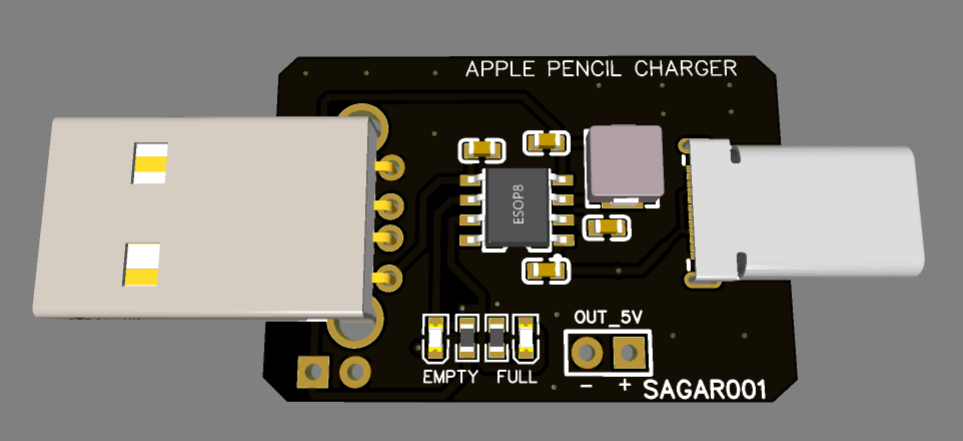
I turned my schematics into the PCB after completing the net routing. This PCB is sized 3cm X 2cm to fit in the pocket, standard USB ports are used for charging. It can be directly plugged in for charging the on board 300mAH battery or Pencil with its type C port. Two LED indicators show the remaining battery percentage and charge indication. Main IC is placed in the middle of the board surrounded by supported circuitry. Boost converter circuits need an external inductor and capacitor for the frequency generation, here we need a very small indicator with a small capacitor.

This is a 2 layer PCB and I covered all the basic precautions of EMI, Power tracks and Ground return paths. The power tracks and the signal tracks are routed manually for better signal propagation. The capacitors are placed near to the IC to support in power management and lower down input/output noise.
PCB Assembly:
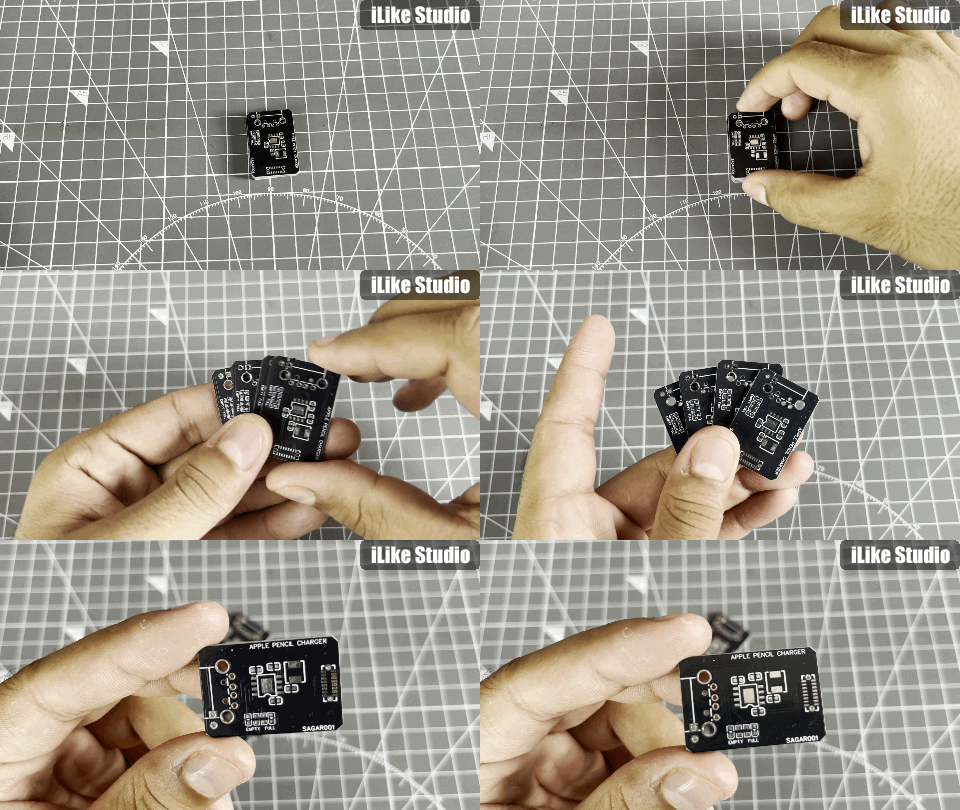
I got the PCB from PCBWAY, which offers better price to performance ratio, has less turnaround time and ships the boards all over the world. After gathering all the components, I soldered them onto this PCB. Starting from the Type C port because it has very small pins, if other components are soldered first then it becomes difficult to solder this USB port on the PCB.
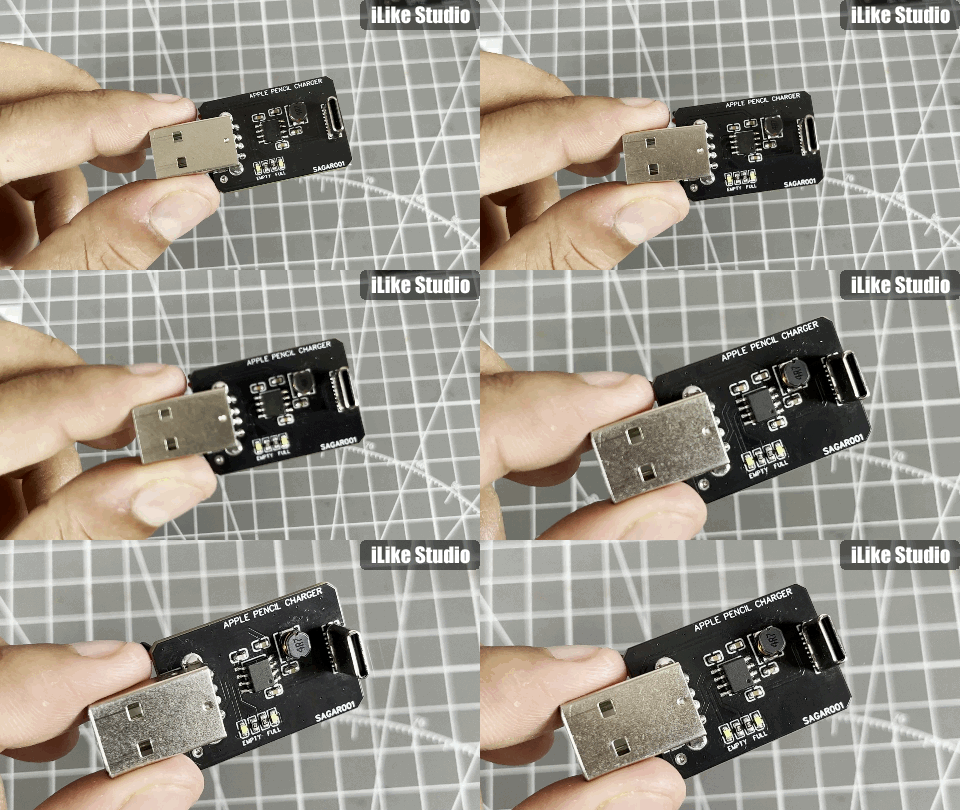
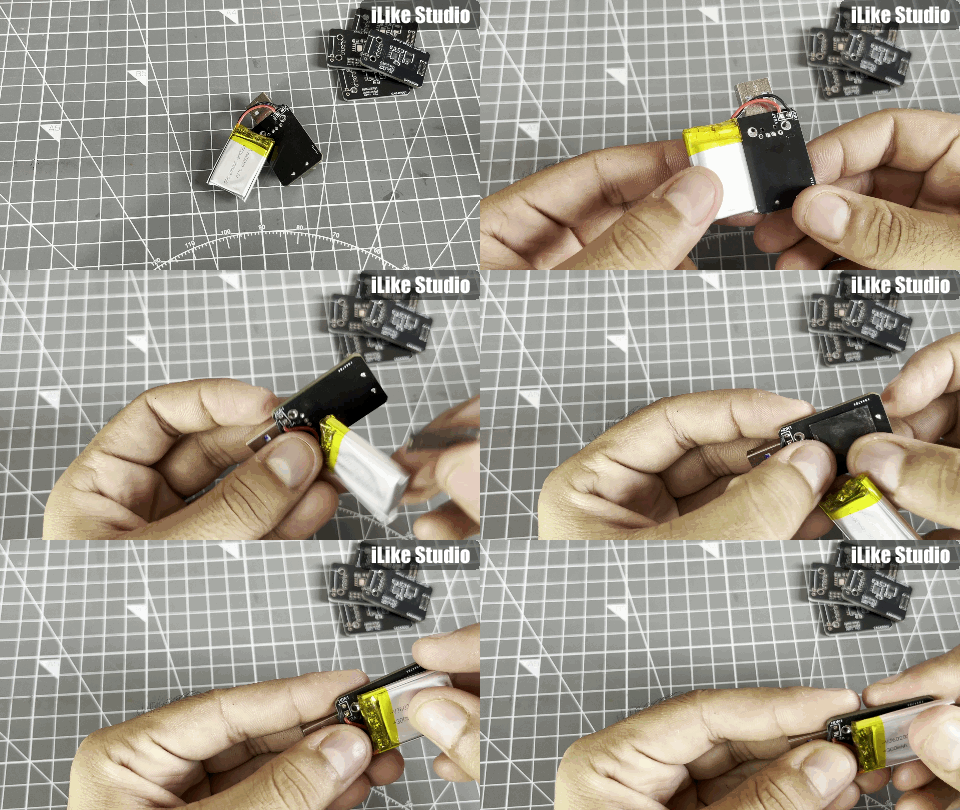
I will suggest using a HOT plate in case of manual soldering because these SMT components are very hard to solder with hands. In case you have a microscope to look into the solder joints, hand soldering can be done quickly, otherwise I will suggest going with a Stencil service or assembly service from the manufacturer. Then I stick the battery on the back side of the PCB, with a double sided tape. The connection pins for the battery are given on the back panel and can be easily soldered there.
Modifying the PCB:
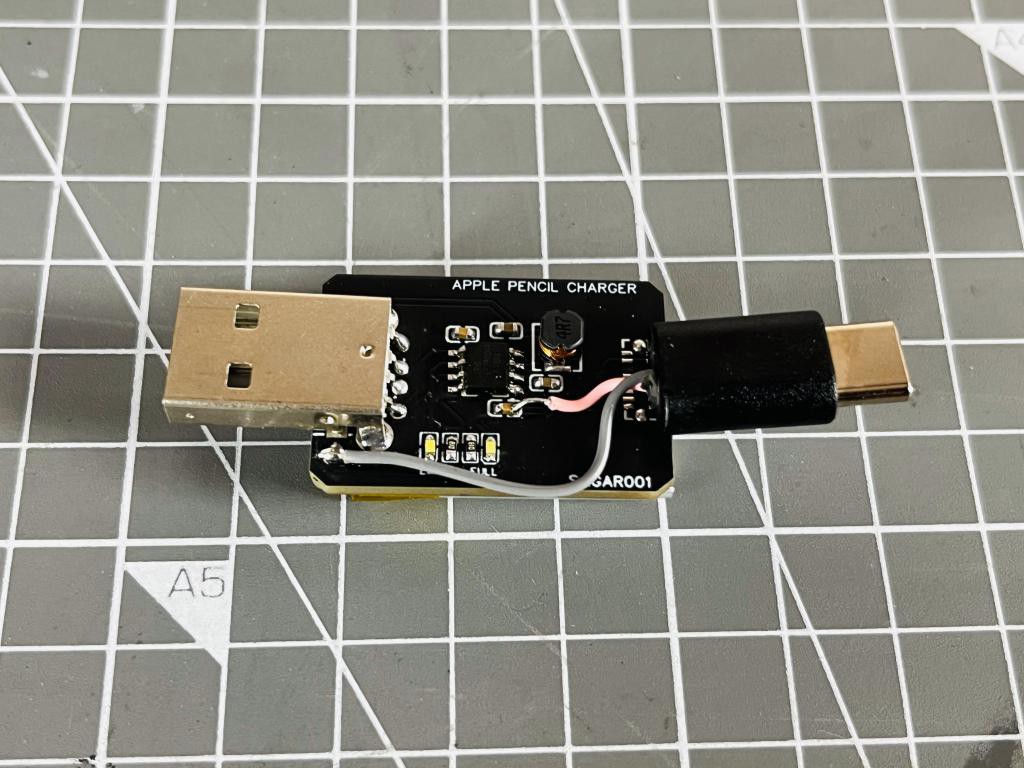
I tried many things but the onboard type C port doesn’t support charge detection feature in some cases. That’s why I opted to remove this port and mount a 2 wire USB C wire which comes with this pencil. I connected the red wire of USB C to the output of the IC and Black is grounded. I have changed the USB C port in the Geber file, and given an extra output port in case this thing happens with you. You can download the updated files from here.
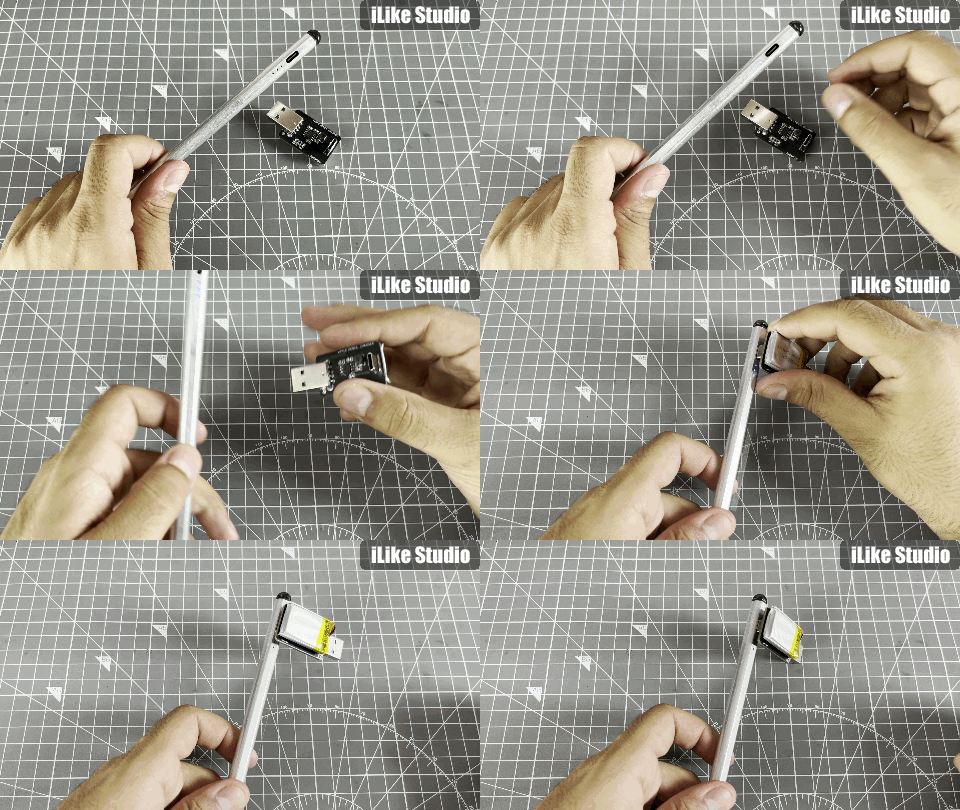
Testing and working:
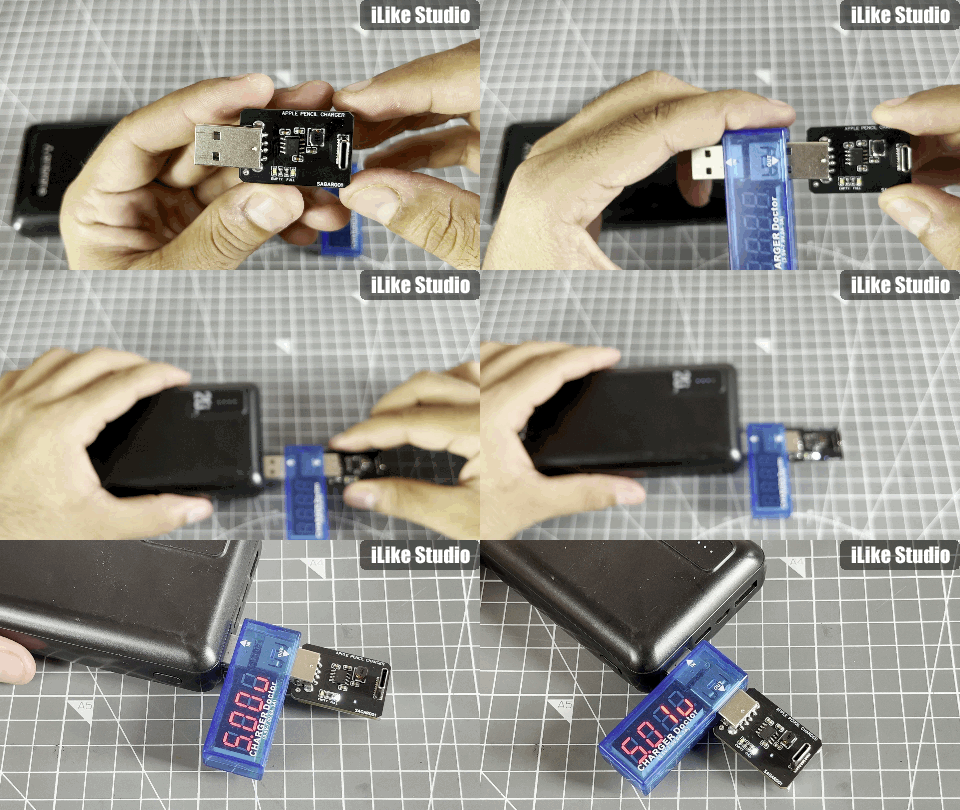
I have run some charging tests with this unit after glueing everything in place. It supports a charging current of 250mA which can fully charge the onboard battery in an hour. You can plug the device in any universal type A charger or in a laptop port. The device is very handy and easy to work with.
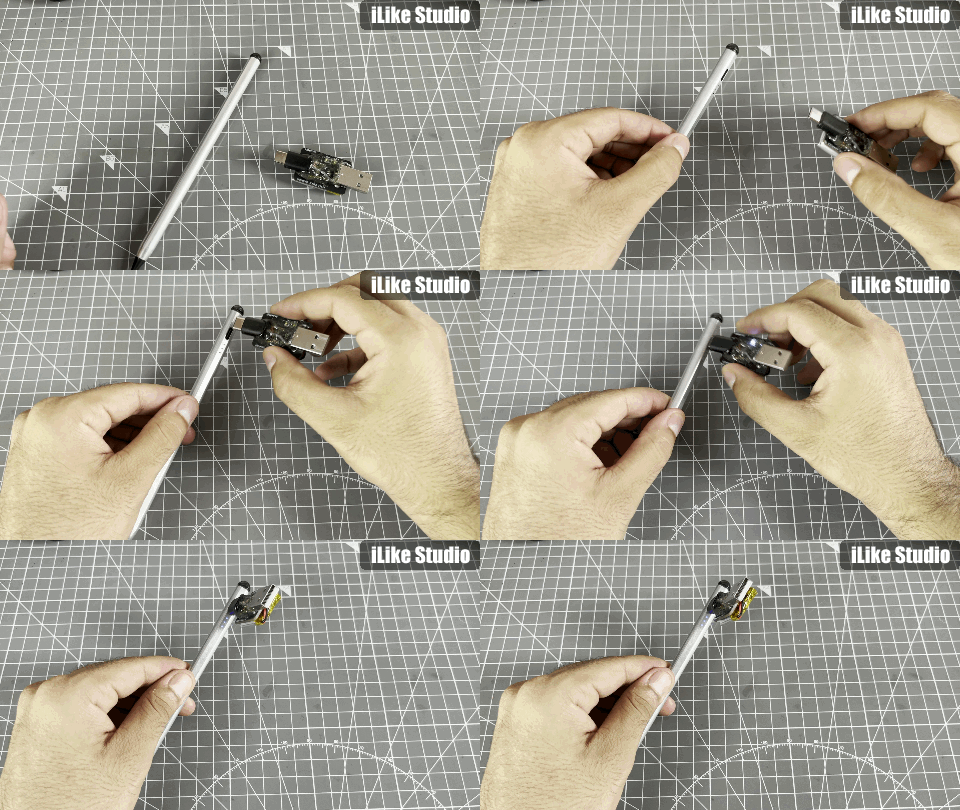
Pencil changing detection function is also working on this unit and it can fully charge my pencil in 10 minutes. Now I can keep taking notes on my New iPAD with this small pocket friendly backup charging unit.
PCBWAY is celebrating its 10th anniversary, marking a decade of providing PCB manufacturing and assembly services.
They typically run special promotions, contests, and offer discounts to celebrate milestones like this.
iPAD Pencil Backup Pocket Charger
*PCBWay community is a sharing platform. We are not responsible for any design issues and parameter issues (board thickness, surface finish, etc.) you choose.
- Comments(0)
- Likes(1)
-
 Engineer
Aug 24,2024
- 0 USER VOTES
- YOUR VOTE 0.00 0.00
- 1
- 2
- 3
- 4
- 5
- 6
- 7
- 8
- 9
- 10
- 1
- 2
- 3
- 4
- 5
- 6
- 7
- 8
- 9
- 10
- 1
- 2
- 3
- 4
- 5
- 6
- 7
- 8
- 9
- 10
- 1
- 2
- 3
- 4
- 5
- 6
- 7
- 8
- 9
- 10
 More by Engineer
-
 DIY a Smart NiMH/NiCd Battery Charger
When talking about standalone single cell battery chargers only one popular name came into my mind t...
-
 LiFePO4 Battery Charger With Protection
In the previous few months I tried to cover almost all types of battery charging integrated circuits...
-
 Comparison of Audio Bluetooth 3.0 and 5.0
Coming to bluetooth in audio applications, we have versions from 3.0 to 5.4. In the practical audio ...
-
 4 Channel SOLID STATE RELAY Module
I have designed a triac and optocoupler based project in the past, in which triac act as a relay and...
-
 A Look at Capacitive Water Overflow Sensor
Detection of Water overflow in a tank is one of the main topics when it comes to energy saving appli...
-
 Offline Voice Recognition Hub Based on ESPNOW
An offline voice recognition hub, no internet connection, no wifi router. Just a pair of ESP8266 wit...
-
 DIY a 200W Precise Electronic Load
Whenever I want to test some USB power supplies, drawing I-V characters of a power supply and workin...
-
 Smallest 220V to 5V Supply for IOT applications
The requirement of stable DC power supplies in the IOT applications and in electronics designed prod...
-
 I made 200Watt Class D amplifier
I have designed this 200W Class D amplifier board, which is separated into 100+100 Watt stereo chann...
-
 iPAD Pencil Backup Pocket Charger
I have a clone iPAD pencil which works in the similar way of Apple pencil, but this one comes with C...
-
 Digital Radio Transmitter and Receiver 433Mhz
Radio technology is the best monitoring and control solution for small and long range wireless hobby...
-
-
mammoth-3D SLM Voron Toolhead – Manual Drill & Tap Edition
176 0 0 -
-
AEL-2011 Power Supply Module
699 0 2 -
AEL-2011 50W Power Amplifier
592 0 2 -
-
-
Custom Mechanical Keyboard
788 0 0 -
Tester for Touch Screen Digitizer without using microcontroller
413 2 2 -
Audio reactive glow LED wristband/bracelet with NFC / RFID-Tags
377 0 1 -
-


