


|
|
CrowPanel 2.8 |
x 1 | |
|
|
Battery, 3.7 V |
x 1 | |
|
|
Speaker: 0.25W, 8 ohms |
x 1 | |
|
|
Switch |
x 1 |

|
Soldering Iron Kit |
|

|
arduino IDEArduino
|
DIY simple Advanced Weather station (5day forecast) and Internet Radio
ELECROW crow panel 2.8 inch esp32 display module is ideal for making simple but also relatively complex projects, where no soldering of components is required. In addition to the ESP32 microcontroller and Touch display, this module also contains an audio amplifier, an SD card reader, and even a lithium battery charger circuit.

If necessary, a large number of external modules can be connected to this module because it contains UART, I2C and GPIO ports, which makes this inexpensive device universal. Recently, in one of my videos , I presented you an Internet Radio project where eigh of these modules only needed a speaker, a battery and a switch.

For the device that I will present to you this time, we will only need one more button.
Building an internet weather station is a popular project among electronics enthusiasts. To display the local weather conditions, no sensors are used, but the requested information is received via the Internet. In particular, we will use the data from the OpenWeatherMap project which has an API that enables users to request weather data for your location. For this purpose, we need to create an API key on the OpenWeatherMap page that allows us 1,000 API calls per day for free.
This project is sponsored by PCBWay. This year, PCBWay organizes the Seventh Project Design Contest where, in addition to Electronic and Mechanical Project, also has been added a new category: STM32 Project. For the best selected projects are provided rich prizes in cash, coupons and special gifts. Submit your project for participation in this Contest from 2nd, Sep, 2024 to 19th, Jan, 2025. For more details and instructions visit the given page. Let PCBway always be your first choice

The author of the original project is Andrey Ushakov , and all credits go to him. He was also provide a link to the code. However, the archive is full of many different versions, and other data. In addition, the code is relatively complex and has too many options, such as the type of microcontroller used, MP3 player, FM radio, support for external sensors, different types of displays, the option of two displays for greater visibility, infrared control, calendar, and many others. It was really hard to navigate through all the code versions, options, and information. That's why I decided to modify the code so that it would completely match the previously mentioned Display module. I will try to explain all the steps in detail, so that even those with less experience in this field can make the device. After all, this is the biggest advantage of this compact Display module.
- First we need to enable display module in the Arduino environment. For this purpose we go to Arduino IDE - File - Preferences - where we add the ESP32 URL to "Board Manager URLs" as follows:
(https://raw.githubusercontent.com/espressif/arduino-esp32/gh-pages/package_esp32_index.json).

Now click "Tool-->Board-->Board Manager", and search for "esp32". This project requires it to be installed version 1.0.6 ESP32 package.

Next, on Arduino IDE -> Tools -> Boards manager -> ESP32 Arduino we choose: ESP32 Dev Module Module, and set the parameters as given in the image

With this, the procedure for entering support for the specific Display Мodule in the Arduino IDE is completed.
Next you need to Install ESP32 Filesystem Uploader. For this purpose we go to Documents - Arduino - Tools and here we copy the "ESP32FS" folder given below.

To check if the plugin was successfully installed, open your Arduino IDE. Select your ESP32 board, go to Tools and check that you have the option “ESP32 Sketch Data Upload“.

To check if the plugin was successfully installed, open your Arduino IDE. Select your ESP32 board, go to Tools and check that you have the option “ESP32 Sketch Data Upload“.

Before starting the installation, we first need to modify the "Config.txt" file, which is located in the meteo - data folder. Here we need to enter API key, timezone, as well as latitude and longitude for the given location. We need to enter the same data in the code in the appropriate place.

Next we open the "meteo.ino" file which is located in the folder of the same name. We go to Tools, select the appropriate COM port associated with the module and then press "ESP32 sketch data Upload"

After this, we press the upload button and with that the installation of the code will be finished.
When the device is started for the first time, a message appears on the screen that a Wi-fi access point with the name ESPMeteo and a corresponding password (password: 11111111) has been generated.

Now we need to connect to this access point and enter the address 192.168.11.11 in a web browser. Here we enter the credentials of our local Wi-Fi network.

After this, we turn on the device and the screen first shows data about the IP address and Wi-Fi signal strength, and after a few moments the main screen with a basic informations appears. It contains a medium-sized clock, date, current weather with UV index, wind speed and direction and air pressure, sunrise and sunset time, forecast for the next 3 and 6 hours, as well as for the next four days. Really a lot of useful weather information on one screen.

By pressing the button, we move through several screens containing different weather informations and graphs.

As I mentioned before, this module also contains an audio amplifier, so this time I also activated the Internet Radio part of the code, which uses the I2S protocol and there is no need to use an external audio decoder. The Internet radio menu is entered and exited with a double cl

As you can see, here we have a small analog clock and a list of Internet stations that can be activated in sequence with the click of a button. It is important to note that multiple groups of Internet stations with different genres can be formed, and groups can be accessed by triple clicking.
The streaming addresses as well as the names of the internet radios are entered in the meteo - data - i_stat.txt folder. These are the different groups of internet stations

And finally a short conclusion.
I think this is the most advanced internet weather station that you can easily make yourself thanks to the Elecrow display module. Internet radio is also a bonus, which does not have many options due to only one button used in the project, but is therefore fully functional and easy to set up.
This small, practical and inexpensive display module is ideal for making audiovisual applications with ESP32 quickly, without soldering, and without much knowledge if the code is previously prepared specifically for it.

DIY simple Advanced Weather station (5day forecast) and Internet Radio


- Comments(1)
- Likes(3)
More by Mirko Pavleski
-
 Arduino 3D Printed self Balancing Cube
Self-balancing devices are electronic devices that use sensors and motors to keep themselves balanc...
Arduino 3D Printed self Balancing Cube
Self-balancing devices are electronic devices that use sensors and motors to keep themselves balanc...
-
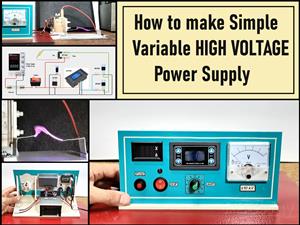 How to make simple Variable HIGH VOLTAGE Power Supply
High Voltage Power Supply is usually understood as a device that is capable of generating a voltage...
How to make simple Variable HIGH VOLTAGE Power Supply
High Voltage Power Supply is usually understood as a device that is capable of generating a voltage...
-
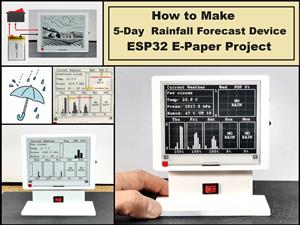 DIY 5-Day Rainfall Forecast Device - ESP32 E-Paper Project
In several of my previous projects I have presented ways to make weather stations, but this time I ...
DIY 5-Day Rainfall Forecast Device - ESP32 E-Paper Project
In several of my previous projects I have presented ways to make weather stations, but this time I ...
-
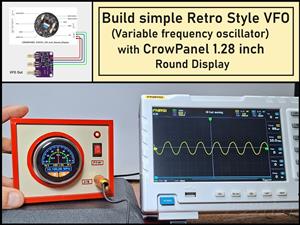 Build simple Retro Style VFO (Variable frequency oscillator) with Crowoanel 1.28 inch Round Display
Today I received a shipment with a Small round LCD display from Elecrow. The device is packed in tw...
Build simple Retro Style VFO (Variable frequency oscillator) with Crowoanel 1.28 inch Round Display
Today I received a shipment with a Small round LCD display from Elecrow. The device is packed in tw...
-
 Human vs Robot – Rock Paper Scissors with MyCobot 280 M5Stack
Today I received a package containing the few Elephant Robotics products. The shipment is well pack...
Human vs Robot – Rock Paper Scissors with MyCobot 280 M5Stack
Today I received a package containing the few Elephant Robotics products. The shipment is well pack...
-
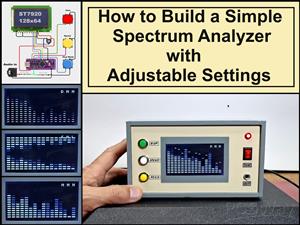 How to Build a Simple Audio Spectrum Analyzer with Adjustable Settings
An audio spectrum analyzer is an electronic device or software tool that measures and visually disp...
How to Build a Simple Audio Spectrum Analyzer with Adjustable Settings
An audio spectrum analyzer is an electronic device or software tool that measures and visually disp...
-
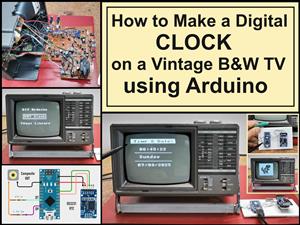 How to Make a Digital Clock on a Vintage B&W TV using Arduino
These days I accidentally came across this small retro Black and White TV with a built-in Radio, so ...
How to Make a Digital Clock on a Vintage B&W TV using Arduino
These days I accidentally came across this small retro Black and White TV with a built-in Radio, so ...
-
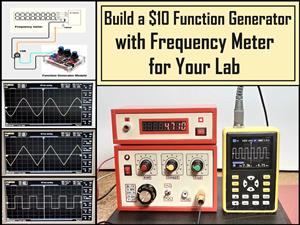 Build a $10 Function Generator with Frequency Meter for Your Lab
A function generator is a piece of electronic test equipment used to generate various types of elec...
Build a $10 Function Generator with Frequency Meter for Your Lab
A function generator is a piece of electronic test equipment used to generate various types of elec...
-
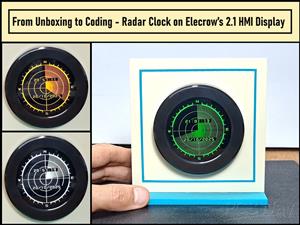 From Unboxing to Coding - Radar Clock on Elecrow’s 2.1 HMI Display
Today I received a shipment with a large round LCD display from Elecrow. The device is packed in two...
From Unboxing to Coding - Radar Clock on Elecrow’s 2.1 HMI Display
Today I received a shipment with a large round LCD display from Elecrow. The device is packed in two...
-
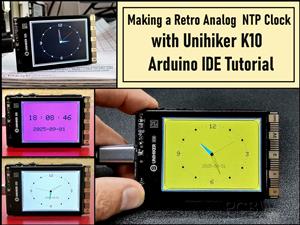 Making a Retro Analog NTP Clock with Unihiker K10 - Arduino IDE Tutorial
Some time ago I presented you a way to use standard Arduino libraries on the Unihiker k10 developme...
Making a Retro Analog NTP Clock with Unihiker K10 - Arduino IDE Tutorial
Some time ago I presented you a way to use standard Arduino libraries on the Unihiker k10 developme...
-
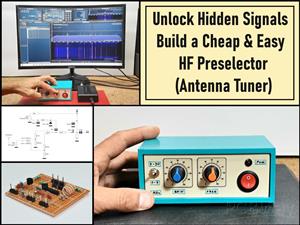 Build a Cheap & Easy HF Preselector - Antenna Tuner
HF antenna preselector is an electronic device connected between an HF radio antenna, and a radio r...
Build a Cheap & Easy HF Preselector - Antenna Tuner
HF antenna preselector is an electronic device connected between an HF radio antenna, and a radio r...
-
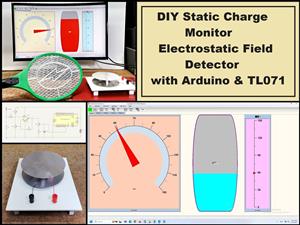 DIY Static Charge Monitor - Electrostatic Field Detector (Arduino & TL071)
A Static Charge Monitor also known as a Static Field Meter or Electrostatic Voltmeter is a device u...
DIY Static Charge Monitor - Electrostatic Field Detector (Arduino & TL071)
A Static Charge Monitor also known as a Static Field Meter or Electrostatic Voltmeter is a device u...
-
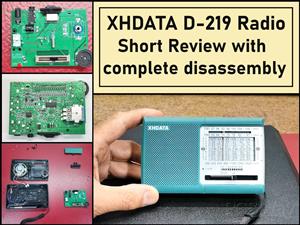 XHDATA D-219 Radio Short Review with complete disassembly
Some time ago I received an offer from XHDATA to be one of the first test users of their new radio m...
XHDATA D-219 Radio Short Review with complete disassembly
Some time ago I received an offer from XHDATA to be one of the first test users of their new radio m...
-
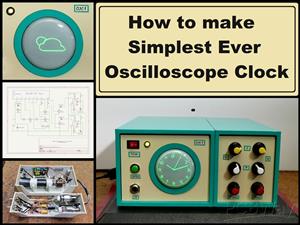 How to make Simplest ever Oscilloscope Clock
An oscilloscope clock is a unique and creative way to display the time using an oscilloscope, which...
How to make Simplest ever Oscilloscope Clock
An oscilloscope clock is a unique and creative way to display the time using an oscilloscope, which...
-
 DIY Digital Barograph with BME280 and ESP32 - 24 Hour Pressure Trends
A barograph is a self-recording barometer that continuously measures and records atmospheric pressu...
DIY Digital Barograph with BME280 and ESP32 - 24 Hour Pressure Trends
A barograph is a self-recording barometer that continuously measures and records atmospheric pressu...
-
 Build a Raspberry Pi Pico SDR Radio with Waterfall Display
Software-defined radio (SDR) is a radio communication system where components that have traditional...
Build a Raspberry Pi Pico SDR Radio with Waterfall Display
Software-defined radio (SDR) is a radio communication system where components that have traditional...
-
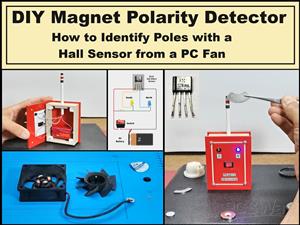 DIY Magnet Polarity Detector - How to Identify Poles with a Hall Sensor from a PC Fan
Recently, while working on a project, I needed to determine the polarity of several permanent magne...
DIY Magnet Polarity Detector - How to Identify Poles with a Hall Sensor from a PC Fan
Recently, while working on a project, I needed to determine the polarity of several permanent magne...
-
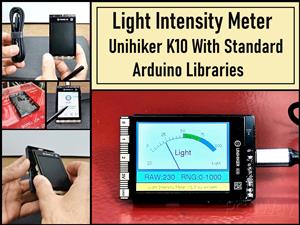 Light Meter Project - Making Dfrobot Unihiker K10 Work with Standard Arduino Libraries
The other day I received a shipment with a UNIHIKER K10 development board from DFRobot, which I rec...
Light Meter Project - Making Dfrobot Unihiker K10 Work with Standard Arduino Libraries
The other day I received a shipment with a UNIHIKER K10 development board from DFRobot, which I rec...
-
-
-
-
Tester for Touch Screen Digitizer without using microcontroller
340 2 2 -
Audio reactive glow LED wristband/bracelet with NFC / RFID-Tags
322 0 1 -
-
-


