PCB Prototype the Easy Way

Full feature custom PCB prototype service.

Help Center
Sending a message
9:00 - 23:00, Mon.- Sun. (GMT+8)
Service hotlines
+86 571 8531 7532

9:00 - 18:00, Mon.- Fri. (GMT+8)

9:00 - 12:00, Sat. (GMT+8)

(Except Chinese public holidays)

1 Upload Design and configure parts to get a quote
Drag and drop here or select files
File size < 200 MB (3D CAD: *.step, *.stp, *.x_t , *.iges, *.igs, *.sldprt )
You can add up to 12 rows of files. To ensure the efficiency of order review, do NOT upload the compressed ZIP folder.
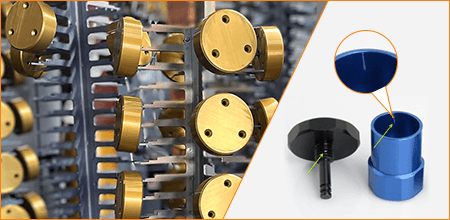
Note: By default, 1. the recessed corners of the part are made in round corners(fillets), 2. sharp edges and burrs would be removed.
You acknowledged that you have read and understand our content policy and certify that your technical data and any related item are not (1) controlled under the ITAR, (2) subject to the EAR, and controlled at any level beyond EAR99 or (3) a weapon or any similar or related item or component thereto. Your files are strictly confidential, sign an NDA here.
Quantity:
Qty
Unit Price
Total Price
Enter your personalized quantity here.
$0.00 /pc
$0.00
Design Units:
  • mm
  • inch
  • cm
Material:
  • Aluminum
  • Stainless steel
  • Brass
  • Copper
  • Titanium
  • Mild steel
  • Alloy steel
  • Tool steel
  • Spring steel
  • ABS
  • Polycarbonate (PC)
  • Nylon
  • Polypropylene (PP)
  • POM
  • PTFE (Teflon)
  • PMMA (Acrylic)
  • Polyethylene (PE)
  • PEEK
  • Bakelite
  • FR4
  • Rubber
  • Carbon Fiber
Type of Aluminum
  • Aluminum 6061
  • Aluminum 7075
  • Aluminum 5052
  • Aluminum 2A12
Color:
  • Silver white
Hardness:
Thickness:
Subject to 3D file
Standard thickness tip help
    * Unit: mm
Filler:
Material Additives:
Selected material
Show material description
Surface finish - 0 options tip helpDiscrepancy warning
Technical drawing:
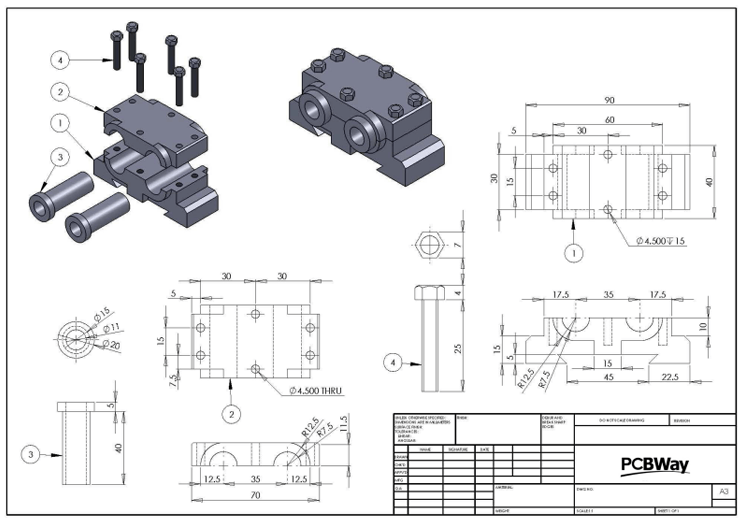
Please note that your 3D file and part specifications selected on this screen (eg. surface finish) will take priority over your technical drawing. Please ensure your technical drawing is up-to-date.
Upload a technical drawing
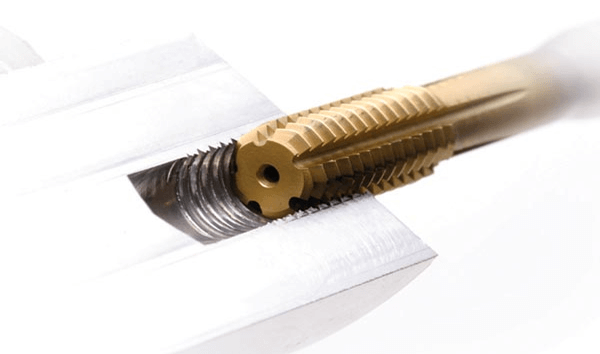
Threads and
Tapped Holes:
Do your parts need to tap threads?
Please specify if your part has any internal or external threads. PCBWay will not bear any assembly risk if it is a non-standard thread, unless all assembly parts are produced and assembled here. e.g.
No
Yes
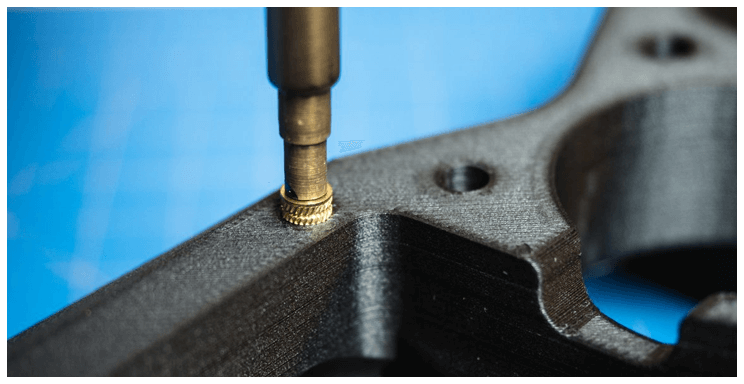
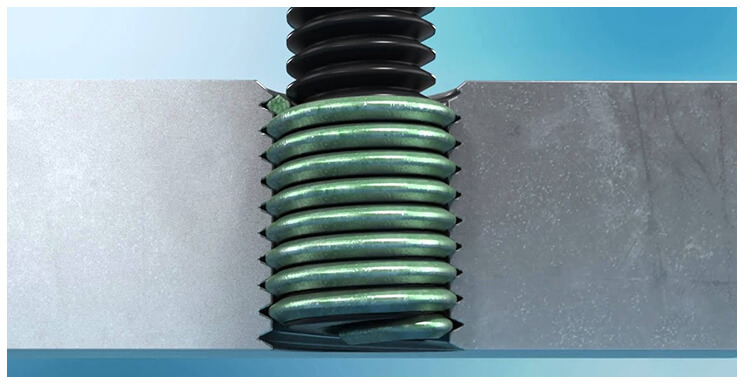
Inserts:
Please specify the standard inserts in your part. e.g.
No
Yes
Tolerance:
Tolerances will be controlled with ISO 2768-1. For other tighter tolerances, technical drawing will be required to indicate critical dimensions.
No tighter tolerances required (ISO 2768-1)
Tighter tolerances required Select
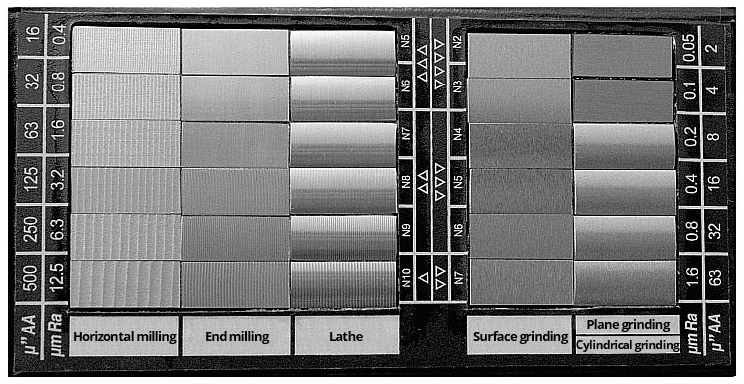
Surface Roughness:
Surface roughness will be controlled into 250uin/6.3um Ra unless you have other surface roughness required. e.g.
Part Marking: tip help
Parts assembly: tip help
Please specify the assembly requirements. PCBWay does not bear any assembly risk if you choose No assembly requirement. e.g.
No
Assembly test
Ship in assembly
Finished appearance:
Standard
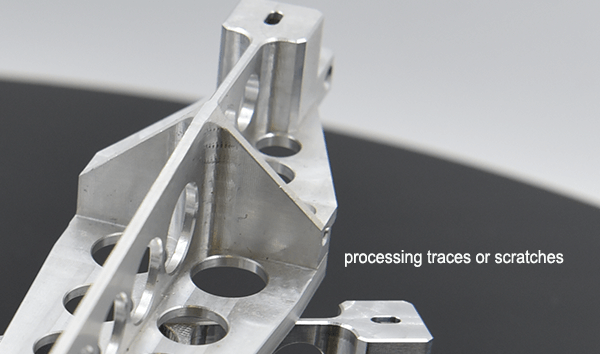
Normal processing traces or scratches caused during production, or subtle traces left after surface finish. e.g.
Premium (Extra charges)
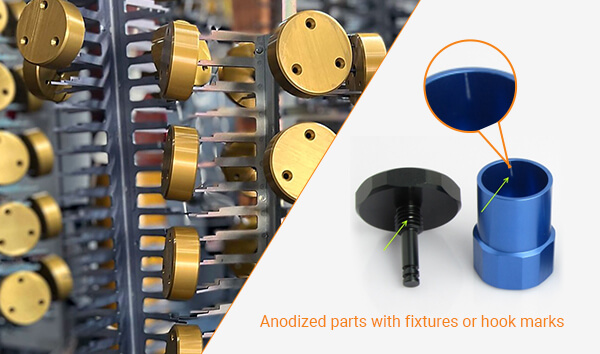
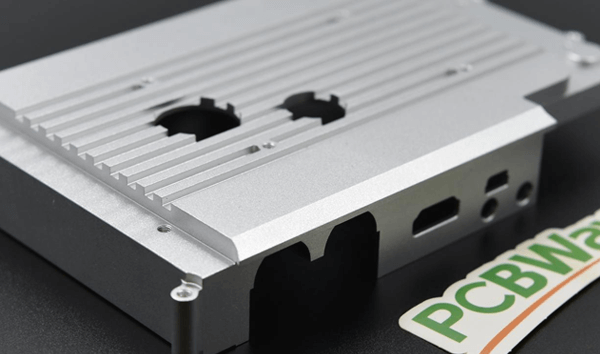
Higher appearance requirements, the surface is clean and smooth without obvious flaws. (Except for the inherent anodizing rack marks). Photos will be sent to confirm before shipment. e.g.
Inspection:
The inspection report will not be sent out with your parts unless you need it.
Standard Inspection (No report)
  • No extra fee
  • PCBWay will do the dimension and surface feature inspections based on the drawings provided by the customer.
Standard Inspection with Formal Report
  • Pay extra
  • 2D technical drawings are required.
CMM Inspection with Formal Report
  • Pay extra
  • 2D technical drawings are required.
Source Material Certification
  • Pay extra
  • 2D technical drawings are required.
Printing risk:
The parameter is checked by default. You can uncheck it and we will email you with issues when the part has a specific printing risk.
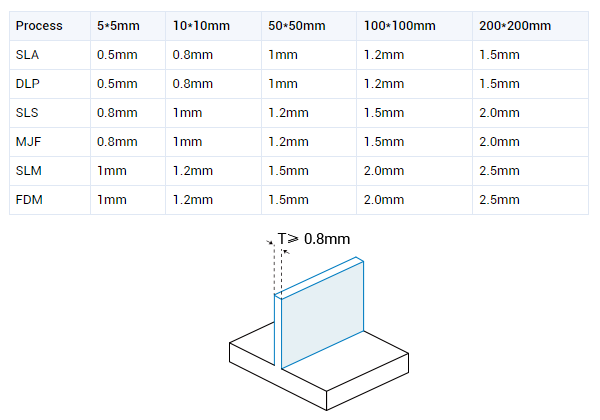
Customer knows about the thin walls designed do not meet the wall thickness standard, but needs to print as-is and take all risks. e.g.
The wall thickness standard:
The wall thickness directly determines the strength of the printed object, and also determines whether the model can be printed. Once the model is printed, it also goes through support removal, grinding and sandblasting, which determine the minimum wall thickness for different materials. The model is printable only when the wall thickness meets the minimum requirement.
Customer knows about the threads designed do not meet the thread printing standard, but needs to print as-is and take all risks. e.g.
The thread printing standard:
Pitch refers to the axial distance between the corresponding points of two adjacent teeth on the thread. Profile angle refers to the angle between the two sides of the whorl profile. Your design needs to meet the requirements of minimum pitch:0.6mm and minimum profile angle:20°
Other special request:
Subtotal (0 part)
RFQ
VAT and freight excluded
Lead Time
3-5 Business Days
Estimated shipment: 2025/4/2
Submit Request
By submit request, you agree to the Terms of Service and Privacy Policy & Agreement