


|
Soldering iron |
|

|
Soldering Iron Wire Welding Lead Roll |
Clone PI-W Atmega8 (Arduino) Metal Detector short Review
Quite by chance these days I got in my hands a "Clone PI W" metal detector module, so I decided to immediately do a small review and compare it with my previously made DIY Metal Detectors.
At first glance, the module is solidly made, the elements are precisely placed and well soldered. The price is less than $50, including postage.
In this case, it is an SMD version of this detector, and you can find the same metal detector made with standard components made according to an identical schematic diagram. For the power source I use three lithium-ion batteries connected in series and it is just under 12V.
The coil is identical to the one I use in my DIY Pulse Induction Metal Detectors, and consists of 25 turns of enameled copper wire with a diameter of 0.4 to 0.6mm. The diameter of the coil is 200 mm. This coil dimension represents a kind of compromise in relation to coils specialized for detecting small objects (which are mostly of smaller diameter), and those made for detecting larger massive objects at a greater distance (in these the diameter can be 1m or more ).

Several versions of Schematic diagrams of this detector, which are basically very similar, can be found on:
https://simplemetaldetector.com/pulse-induction-metal-detectors/clone-pi-w-metal-detector/clone-pi-w-metal-detector/
On this page there are also several blueprints for making PCBs that you can get the cheapest, fastest, and highest quality at PCBWay.
As I mentioned before, in order to put the metal detector into operation, it is necessary to solder only six wires, two from the power supply, two from the speaker, and two from the coil. The detector worked immediately after switching on, but only required some adjustment. As you can see on the plate there is a small multi-turn potentiometer that serves to adjust the metal detector. We need to set the maximum sensitivity of the device, but at the same time the stability during operation should be solid. SW3 and SW6 are barrier + and - buttons and by increasing the barrier we raise the response threshold of the Metal Detector to the metal, thereby lowering the sensitivity and vice versa. SW2 and SW5 are volume control buttons. SW4 is calibration (reset) button. First, with the Barrier buttons, we need to set three or 4 LEDs to light up, and with the Volume buttons, we set the desired volume. Next, we need to rotate the tuning resistor until the device begins to make sounds on its own, and then we turn the potentiometer a little so that the device is silent. At each position of the tuning resistor, we press the SW4 reset button and check sensivity. A good result by air can be considered 20-25cm for small coin. A well tuned device does not give false sounds at 3-4 barrier Leds. Let me mention that all these adjustments are made so that there should be no metal objects near the search coil. Just to emphasize that I purchased the device with my own funds, so I want to say that when testing the device there is no influence of any kind of sponsorship.

And finally, in conclusion, I am really pleasantly surprised by the features such as sensitivity and stability in operation, considering that it is a very inexpensive module, and to make a complete mid-range metal detector we need almost no knowledge from the field of electronics. All we have to do is solder a few wires, and the only thing is to be very careful about the polarity of the battery.

Clone PI-W Atmega8 (Arduino) Metal Detector short Review


- Comments(3)
- Likes(3)
More by Mirko Pavleski
-
 Arduino 3D Printed self Balancing Cube
Self-balancing devices are electronic devices that use sensors and motors to keep themselves balanc...
Arduino 3D Printed self Balancing Cube
Self-balancing devices are electronic devices that use sensors and motors to keep themselves balanc...
-
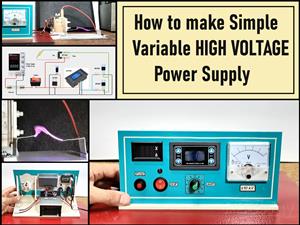 How to make simple Variable HIGH VOLTAGE Power Supply
High Voltage Power Supply is usually understood as a device that is capable of generating a voltage...
How to make simple Variable HIGH VOLTAGE Power Supply
High Voltage Power Supply is usually understood as a device that is capable of generating a voltage...
-
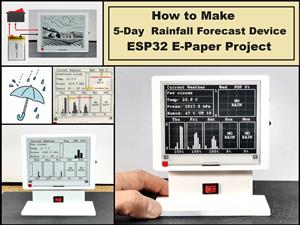 DIY 5-Day Rainfall Forecast Device - ESP32 E-Paper Project
In several of my previous projects I have presented ways to make weather stations, but this time I ...
DIY 5-Day Rainfall Forecast Device - ESP32 E-Paper Project
In several of my previous projects I have presented ways to make weather stations, but this time I ...
-
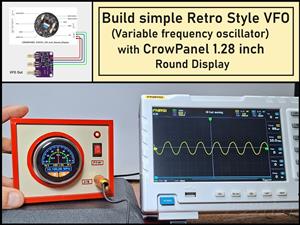 Build simple Retro Style VFO (Variable frequency oscillator) with Crowoanel 1.28 inch Round Display
Today I received a shipment with a Small round LCD display from Elecrow. The device is packed in tw...
Build simple Retro Style VFO (Variable frequency oscillator) with Crowoanel 1.28 inch Round Display
Today I received a shipment with a Small round LCD display from Elecrow. The device is packed in tw...
-
 Human vs Robot – Rock Paper Scissors with MyCobot 280 M5Stack
Today I received a package containing the few Elephant Robotics products. The shipment is well pack...
Human vs Robot – Rock Paper Scissors with MyCobot 280 M5Stack
Today I received a package containing the few Elephant Robotics products. The shipment is well pack...
-
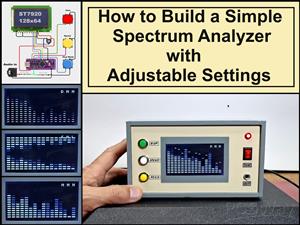 How to Build a Simple Audio Spectrum Analyzer with Adjustable Settings
An audio spectrum analyzer is an electronic device or software tool that measures and visually disp...
How to Build a Simple Audio Spectrum Analyzer with Adjustable Settings
An audio spectrum analyzer is an electronic device or software tool that measures and visually disp...
-
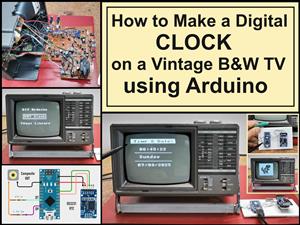 How to Make a Digital Clock on a Vintage B&W TV using Arduino
These days I accidentally came across this small retro Black and White TV with a built-in Radio, so ...
How to Make a Digital Clock on a Vintage B&W TV using Arduino
These days I accidentally came across this small retro Black and White TV with a built-in Radio, so ...
-
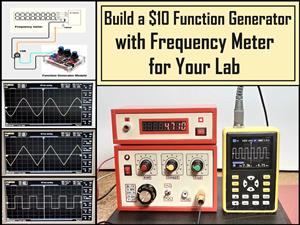 Build a $10 Function Generator with Frequency Meter for Your Lab
A function generator is a piece of electronic test equipment used to generate various types of elec...
Build a $10 Function Generator with Frequency Meter for Your Lab
A function generator is a piece of electronic test equipment used to generate various types of elec...
-
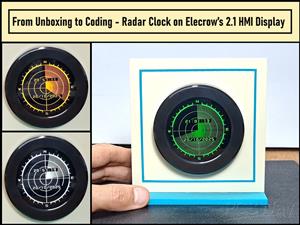 From Unboxing to Coding - Radar Clock on Elecrow’s 2.1 HMI Display
Today I received a shipment with a large round LCD display from Elecrow. The device is packed in two...
From Unboxing to Coding - Radar Clock on Elecrow’s 2.1 HMI Display
Today I received a shipment with a large round LCD display from Elecrow. The device is packed in two...
-
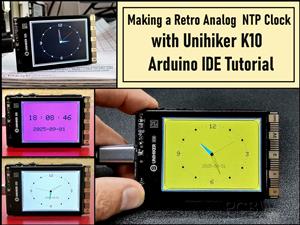 Making a Retro Analog NTP Clock with Unihiker K10 - Arduino IDE Tutorial
Some time ago I presented you a way to use standard Arduino libraries on the Unihiker k10 developme...
Making a Retro Analog NTP Clock with Unihiker K10 - Arduino IDE Tutorial
Some time ago I presented you a way to use standard Arduino libraries on the Unihiker k10 developme...
-
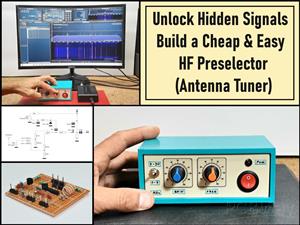 Build a Cheap & Easy HF Preselector - Antenna Tuner
HF antenna preselector is an electronic device connected between an HF radio antenna, and a radio r...
Build a Cheap & Easy HF Preselector - Antenna Tuner
HF antenna preselector is an electronic device connected between an HF radio antenna, and a radio r...
-
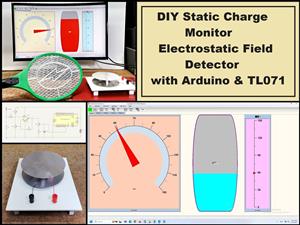 DIY Static Charge Monitor - Electrostatic Field Detector (Arduino & TL071)
A Static Charge Monitor also known as a Static Field Meter or Electrostatic Voltmeter is a device u...
DIY Static Charge Monitor - Electrostatic Field Detector (Arduino & TL071)
A Static Charge Monitor also known as a Static Field Meter or Electrostatic Voltmeter is a device u...
-
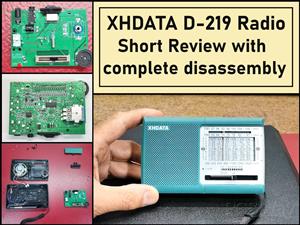 XHDATA D-219 Radio Short Review with complete disassembly
Some time ago I received an offer from XHDATA to be one of the first test users of their new radio m...
XHDATA D-219 Radio Short Review with complete disassembly
Some time ago I received an offer from XHDATA to be one of the first test users of their new radio m...
-
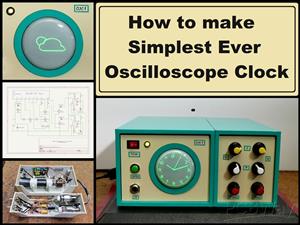 How to make Simplest ever Oscilloscope Clock
An oscilloscope clock is a unique and creative way to display the time using an oscilloscope, which...
How to make Simplest ever Oscilloscope Clock
An oscilloscope clock is a unique and creative way to display the time using an oscilloscope, which...
-
 DIY Digital Barograph with BME280 and ESP32 - 24 Hour Pressure Trends
A barograph is a self-recording barometer that continuously measures and records atmospheric pressu...
DIY Digital Barograph with BME280 and ESP32 - 24 Hour Pressure Trends
A barograph is a self-recording barometer that continuously measures and records atmospheric pressu...
-
 Build a Raspberry Pi Pico SDR Radio with Waterfall Display
Software-defined radio (SDR) is a radio communication system where components that have traditional...
Build a Raspberry Pi Pico SDR Radio with Waterfall Display
Software-defined radio (SDR) is a radio communication system where components that have traditional...
-
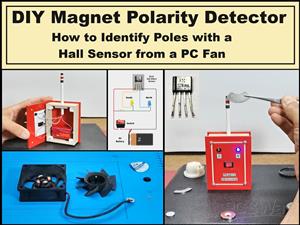 DIY Magnet Polarity Detector - How to Identify Poles with a Hall Sensor from a PC Fan
Recently, while working on a project, I needed to determine the polarity of several permanent magne...
DIY Magnet Polarity Detector - How to Identify Poles with a Hall Sensor from a PC Fan
Recently, while working on a project, I needed to determine the polarity of several permanent magne...
-
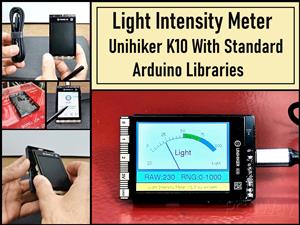 Light Meter Project - Making Dfrobot Unihiker K10 Work with Standard Arduino Libraries
The other day I received a shipment with a UNIHIKER K10 development board from DFRobot, which I rec...
Light Meter Project - Making Dfrobot Unihiker K10 Work with Standard Arduino Libraries
The other day I received a shipment with a UNIHIKER K10 development board from DFRobot, which I rec...
-
-
-
-
Tester for Touch Screen Digitizer without using microcontroller
335 2 2 -
Audio reactive glow LED wristband/bracelet with NFC / RFID-Tags
317 0 1 -
-
-


