|
|
Arduino Nano R3 |
x 1 | |
|
|
6 DOF Sensor - MPU6050 |
x 1 | |
|
|
8x32 Led Matrix Module MAX7219 |
x 1 | |

|
SD1209T3-A1TDK Corporation
|
x 1 | |

|
G3B25AB-S-YANKK Switches
|
x 1 | |
|
|
Resistor, 56 ohm |
x 1 |

|
Soldering Iron Wire Welding Lead Roll |
|

|
Soldering iron |
Arduino MPU6050 Interactive scrolling game on 32x8 Led Matrix
This time I will show you how to make an interesting interactive game, on a 32 by 8 LED matrix, which is controlled by moving the device. During a certain movement of the device, the MPU6050 sensor sends a signal to the microcontroller, and based on that information, the microcontroller performs a given action on the screen.
In fact, the sensor represents a so-called air controller that we can find as part of remote controls for modern TVs. The project is featured on Benjamin Balogh's GiHub page (https://github.com/benibalogh/LEDMatrix-Games), where you can find the original code. The source code is made in Visual Studio with support for Arduino, known as Visual Micro.
Unfortunately, after compiling and uploading the original code to the Arduino, the device did not process data from MPU6050, and only scrolled the text "Wall Scroller". I tried to contact the author several times, but without success. After certain time of studying the code, with one small modification, I managed to adapt it. Also, instead of Visual Micro, I compiled it into a standard Arduino IDE.

To compile the code without errors, you should open the code from the given folder that contains all the required libraries. Let me emphasize that if you have previously installed any of these libraries in the Arduino IDE, you should delete them. I also added some simple tones to the code that don't interfere with gameplay and make the game much more interesting.

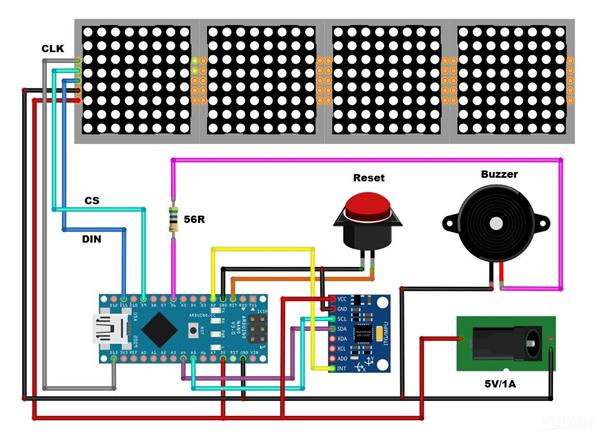
The device is extremely simple to build and consists of only few components:
- Arduino nano microcontroller
- MPU6050 Gyroscope + Accelerometer sensor module
- Buzzer
- 32x8 Led matrix module with MAX7219 drivers
- Battery, optionally like in my case one 3.7 Volts Lithium battery with charger, and boost module. Of cource you can use ordinary 9V battery, or external Power Supply.
- and two switches

if you want to make a PCB for this project, or for any other electronic project, PCBway is a great choice for you. PCBway is one of the most experienced PCB manufacturing company in China in field of PCB prototype and fabrication. They have a large online community where you can find a Open Source projects, and you can also share your project there. From my personal experience I can tell you that on this community you can find many useful projects with alredy designed PCBs, from where you can place an order directly.

After uploading the code, we need to make some settings. Depending on the mounting position of the sensor, we need to perform a calibration by changing the values in the following lines of code
constexpr float INIT_PITCH = radians(175.0f);
constexpr float MENU_BACK_ROLL = radians(-90.0f);
constexpr float MENU_ENTER_ROLL = radians(-155.0f)
constexpr auto TILT_ANGLE = 145;
constexpr float MENU_NAVIGATION_PITCH = radians(TILT_ANGLE + 30);
Angles can have positive and negative values
Immediately after switching on, a scrolling text with the name of the game appears. By tilting to the left we move through the menu. To activate an option, we tilt the device down. We return to the menu by tilting the device upwards. To start playing the game, when we are in the PLAY menu, we tilt the device down and then to the left. Now we play the game by moving left and right, trying not to hit the wall. With each passed segment, a certain number of points are obtained. After a certain time, the movement speed increases. When we collide into the wall, the end of the game is signaled and the result appears. By tilting up, we return to the main menu again.
Let me mention that the power supply is made with a 3.7V Lithium battery, a charger board for charging the battery, and a boost module that raises the voltage from 3.7V to 5V. The schematic diagram for the power supply is given in the figure below.

Finally, the device is installed in a suitable case made of PVC board and covered with colored wallpaper.
Arduino MPU6050 Interactive scrolling game on 32x8 Led Matrix
- Comments(0)
- Likes(0)
- 0 USER VOTES
- YOUR VOTE 0.00 0.00
- 1
- 2
- 3
- 4
- 5
- 6
- 7
- 8
- 9
- 10
- 1
- 2
- 3
- 4
- 5
- 6
- 7
- 8
- 9
- 10
- 1
- 2
- 3
- 4
- 5
- 6
- 7
- 8
- 9
- 10
- 1
- 2
- 3
- 4
- 5
- 6
- 7
- 8
- 9
- 10
 More by Mirko Pavleski
-
 Arduino 3D Printed self Balancing Cube
Self-balancing devices are electronic devices that use sensors and motors to keep themselves balanc...
-
 DIY 5-Day Rainfall Forecast Device - ESP32 E-Paper Project
In several of my previous projects I have presented ways to make weather stations, but this time I ...
-
 Build simple Retro Style VFO (Variable frequency oscillator) with Crowoanel 1.28 inch Round Display
Today I received a shipment with a Small round LCD display from Elecrow. The device is packed in tw...
-
 Human vs Robot – Rock Paper Scissors with MyCobot 280 M5Stack
Today I received a package containing the few Elephant Robotics products. The shipment is well pack...
-
 How to Build a Simple Audio Spectrum Analyzer with Adjustable Settings
An audio spectrum analyzer is an electronic device or software tool that measures and visually disp...
-
 How to Make a Digital Clock on a Vintage B&W TV using Arduino
These days I accidentally came across this small retro Black and White TV with a built-in Radio, so ...
-
 Build a $10 Function Generator with Frequency Meter for Your Lab
A function generator is a piece of electronic test equipment used to generate various types of elec...
-
 From Unboxing to Coding - Radar Clock on Elecrow’s 2.1 HMI Display
Today I received a shipment with a large round LCD display from Elecrow. The device is packed in two...
-
 Making a Retro Analog NTP Clock with Unihiker K10 - Arduino IDE Tutorial
Some time ago I presented you a way to use standard Arduino libraries on the Unihiker k10 developme...
-
 Build a Cheap & Easy HF Preselector - Antenna Tuner
HF antenna preselector is an electronic device connected between an HF radio antenna, and a radio r...
-
 DIY Static Charge Monitor - Electrostatic Field Detector (Arduino & TL071)
A Static Charge Monitor also known as a Static Field Meter or Electrostatic Voltmeter is a device u...
-
 XHDATA D-219 Radio Short Review with complete disassembly
Some time ago I received an offer from XHDATA to be one of the first test users of their new radio m...
-
 How to make Simplest ever Oscilloscope Clock
An oscilloscope clock is a unique and creative way to display the time using an oscilloscope, which...
-
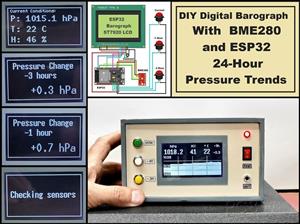 DIY Digital Barograph with BME280 and ESP32 - 24 Hour Pressure Trends
A barograph is a self-recording barometer that continuously measures and records atmospheric pressu...
-
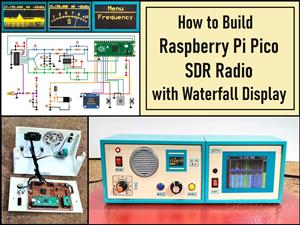 Build a Raspberry Pi Pico SDR Radio with Waterfall Display
Software-defined radio (SDR) is a radio communication system where components that have traditional...
-
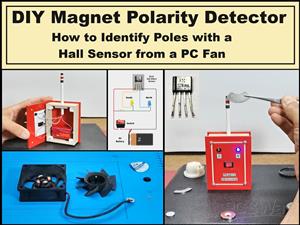 DIY Magnet Polarity Detector - How to Identify Poles with a Hall Sensor from a PC Fan
Recently, while working on a project, I needed to determine the polarity of several permanent magne...
-
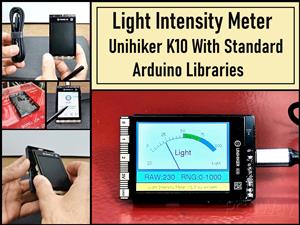 Light Meter Project - Making Dfrobot Unihiker K10 Work with Standard Arduino Libraries
The other day I received a shipment with a UNIHIKER K10 development board from DFRobot, which I rec...
-
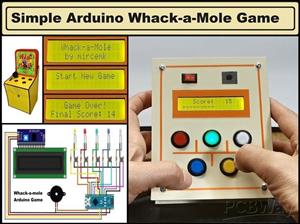 DIY Simple Arduino Whack-a-Mole Game
A "Whack-a-Mole" game is a classic arcade-style game where moles pop up randomly from holes, and th...
-
-
AEL-2011 Power Supply Module
525 0 2 -
AEL-2011 50W Power Amplifier
485 0 2 -
-
-
Custom Mechanical Keyboard
693 0 0 -
Tester for Touch Screen Digitizer without using microcontroller
330 2 2 -
Audio reactive glow LED wristband/bracelet with NFC / RFID-Tags
310 0 1 -
-
-


