|
Arduino UNO R3 development sensor expansion board |
x 1 | |
|
|
dc motorsvarious
|
x 4 | |
|
|
LN Bridge |
x 1 | |
|
|
Batteryvarious
|
x 3 |

|
arduino IDEArduino
|
Bluetooth Controlled LEGO Toy Car
Motivation
My motivation was my kids. I want to share time and have fun with them teaching them some basic concepts about projects and electronics.
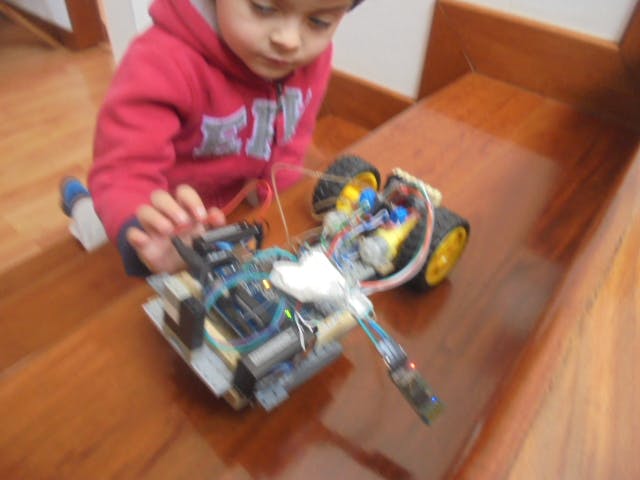
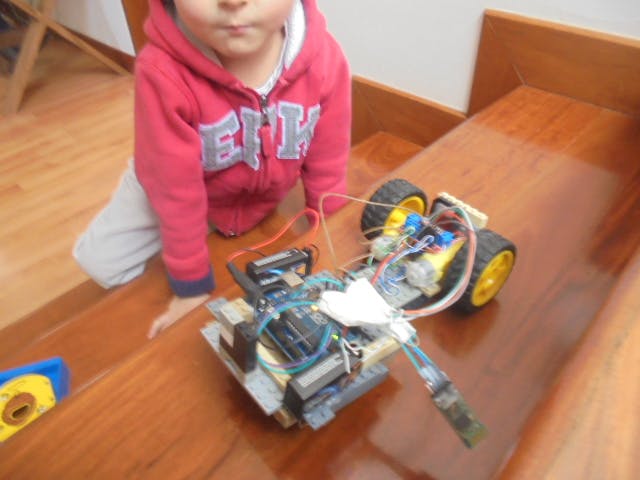
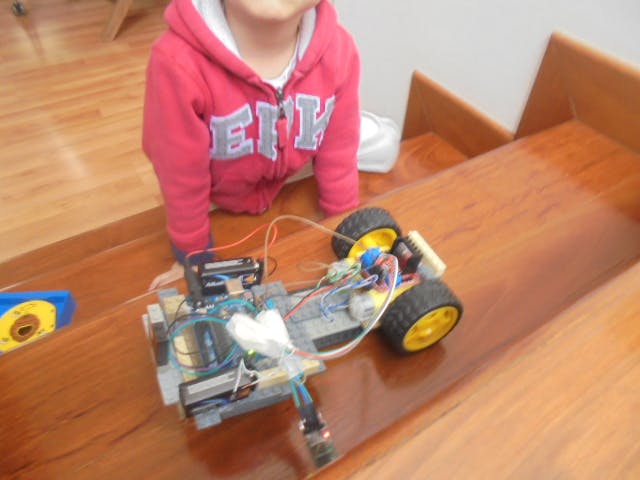
As PM I assigned some tasks for one of them in this project: to build a Lego car to be used for installing the Arduino board, the wheels and motors coupled and space to install 9V batteries. This mission was given in a piece of paper and a specific date was established. My intention is to use this experience in the near future for a GO-KART prototype.
Conceptual idea
To copy the old idea of building a TOY CAR controlled by Bluetooth from a smartphone.
Main Concern
My main concern about this project is that doesn't exist batteries that really can be cheap and long time feeder for this kind of toys. So the scientific community has a challenge to solve the problem: How to obtain electric power supply cheap and easy for portable devices and toys and other future devices with motors?
Project development
In this case I went on agile techniques to develop projects: few documents, quick schemes and drafts, not complicated engineering, just selecting parts, buying parts, connecting parts, interconnecting parts, plugging and playing with the toy. In projects this orientation is called FFP - Fit For Purpose.
The steps were:
1. Selecting and buying the parts:
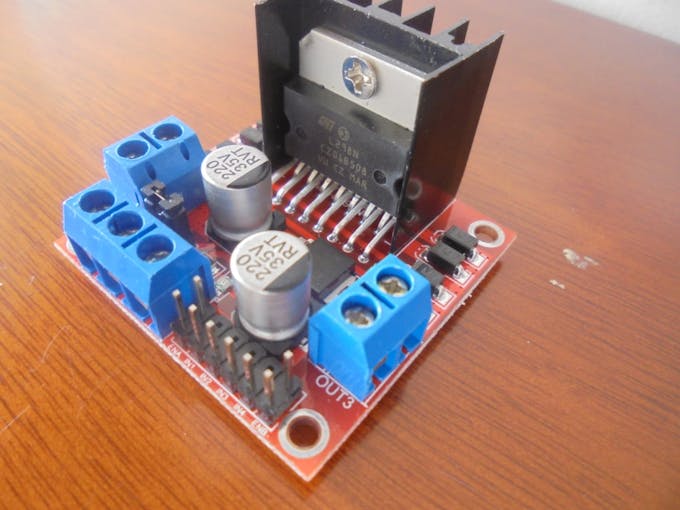
L298N -BRIDGE
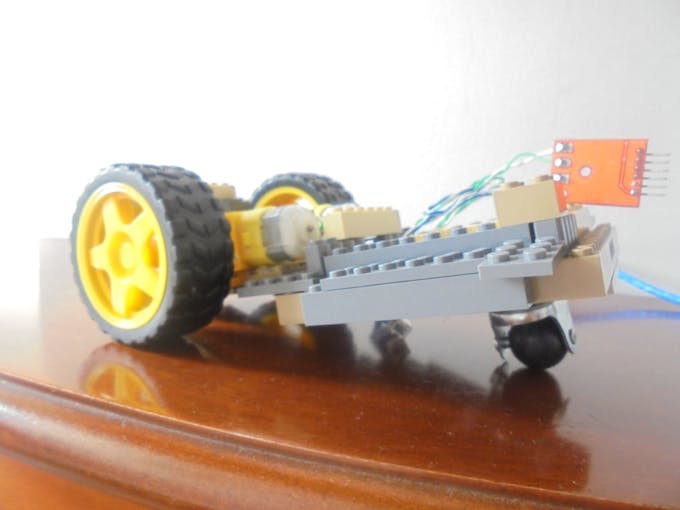
MOTORS AND WHEELS
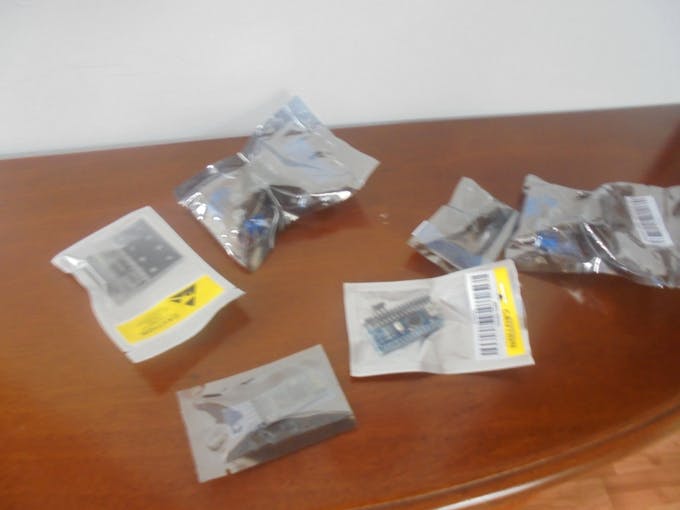
PARTS
2. Interconnecting parts
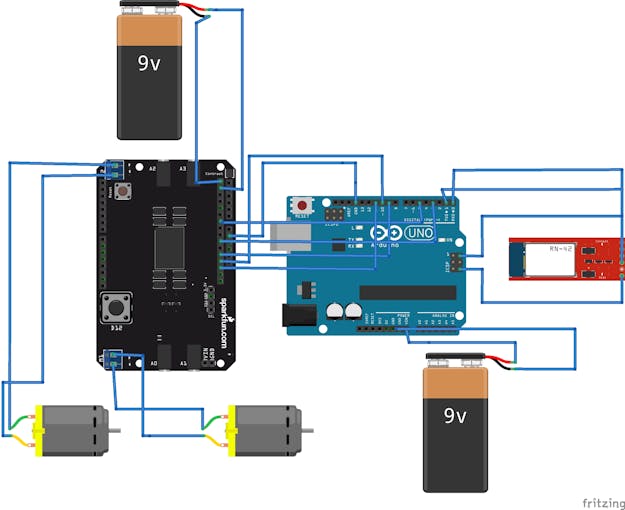
FRITZING SCHEME
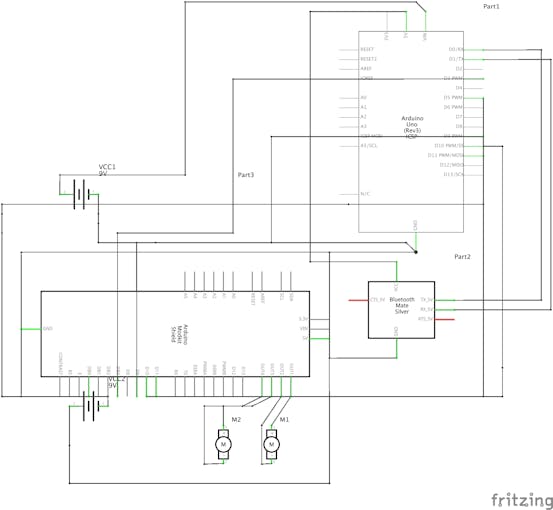
SCHEMATIC INTERCONNECTION
3. Bill of materials issuing
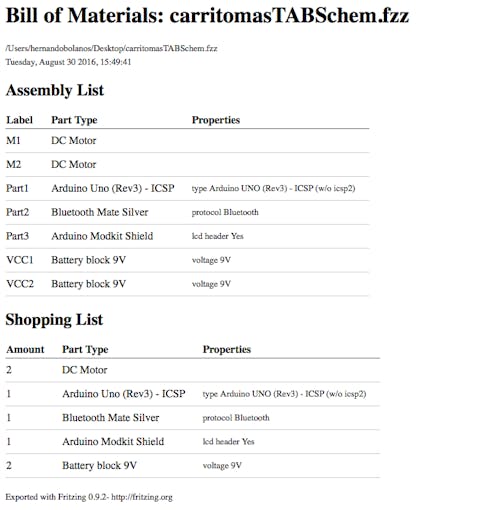
BoM
4. Assembling parts in the LEGO toy car
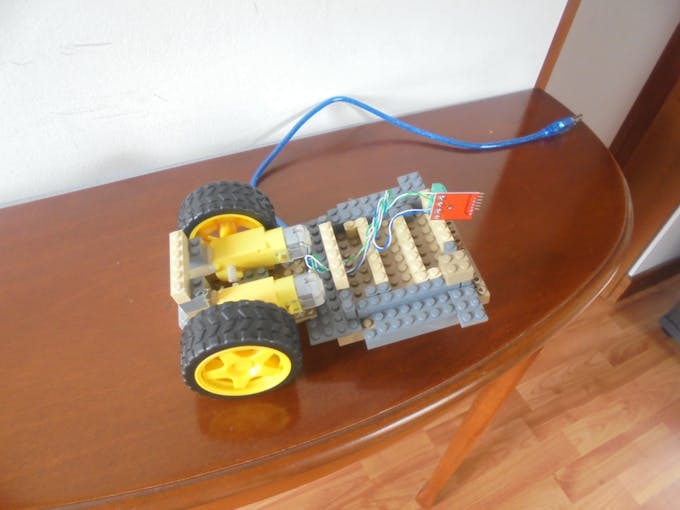
Assembly of Motors and Wheels in the LEGO toy car
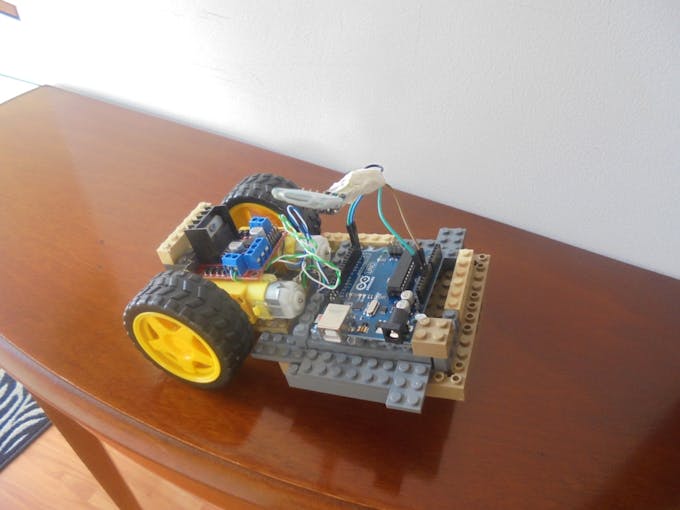
Final Test Assembly
5. Code development. See software details.
6. App Development- CarriTomas
7. Testing the LEGO Toy Car in the prototype garage
With the APP available we tested all the commands and speed selection available for the LEGO Toy Car.
We even spent a lot of time tuning right-turn and left-turn instructions and concluded that it would better to use Direction with servo instead a Free Wheel. The behavior of the toy is random. Looking at this in a positive way, the random behavior of the Lego car is a source of fun for the kids. Using servo will have more power consumption but a smooth control.
In this video we can see the test in the "garage" of the LEGO Toy Car:
Testing
8. Normal operation
Prototype Operation
Final Notes and Lessons Learned
- Kids really enjoy this project, and it is impossible to prevent them from touching the parts, so be sure you have the best safety practices. Remember, always check your practices, design isolation, before start the toy with kids. App should be always operated by an adult.
- We are far away from having commercial and cheap batteries that can be used with this kind of toys - this is a market opportunity.
- My GO-Kart Project should be developed based on combustion motors, it is mandatory if I want to enjoy the investment having a low price of operation power source, to move it.
- SCRUM projects techniques used on this prototype were very important in this kind of developments.
- Bluetooth controls could be disconnected if your car is moving quickly and far from you or for random conditions, so it would be nice to install a local on/off switch, and be all the time as near as possible.
- When the battery voltage level (used to feed the motor) goes down it is possible to loose control of one motor control for forward and backward commands.
- The L298N bridge has very good performance and power output, so the creativity for using this part is triggered doing this prototype.
- Android studio platform is quickly adjustable for this APP requirement.
Bluetooth Controlled LEGO Toy Car
- Comments(0)
- Likes(0)
- 0 USER VOTES
- YOUR VOTE 0.00 0.00
- 1
- 2
- 3
- 4
- 5
- 6
- 7
- 8
- 9
- 10
- 1
- 2
- 3
- 4
- 5
- 6
- 7
- 8
- 9
- 10
- 1
- 2
- 3
- 4
- 5
- 6
- 7
- 8
- 9
- 10
- 1
- 2
- 3
- 4
- 5
- 6
- 7
- 8
- 9
- 10
 More by Bolaños Hernando
-
 How to built a Hybrid Bike Computer
Hybrid Bike ComputerThis PCB is a Cheap solution to track your training preformanceBased o esp32 , r...
-
 My nunchuck adapter (PCB) for my Galagino Retro console_Running on a ESP32 device
Galagino is an open source idea of hardware and software from Tiil Harbaum (https://github.com/harba...
-
 PCB DESIGN FOR BIKE COMPUTER DIY
PCB DESIGN FOR A BIKE COMPUTER DIY - QBIKOThis PCB was designed to run a BIke computer based on ESP3...
-
 How to build a Mecanum Wheels Robot with an Arduino Mega and a PCB
Once I finished my first version of this robot I found it interesting to develop a PCB, mount and so...
-
 How to build a Bike computer DIY-Heart Rate sensor comparison and selection
This project is about a tutorial to evaluate 3 hear rate Sensor. In this way I will choose the bette...
-
 How to build a Bike computer with a ESP32 -WROOM + 2 Reed Switches + 1 Cellular Phone(old with GPS and BTH)
The complete tutorial explaining all the details for this project, can be watched in the next vide...
-
 How to build a Table Tennis Robot - V2
Story: Once I finished my first protoype for a TTR , I recognize and learnt about a lot of improveme...
-
 How to build a Mecanum Wheels Robot_V1
The storyHow to bulild a Robot usually is an assay and error process, you can see my first prototype...
-
 How to use AI to program a 2DOF ROBOT- Arduino+ pyhton+opencv+chatgp+ps3eyecam
The challenge was to obtanin a mix of code generated by chatgpt for pyhton, opencv, and arduino and ...
-
 Node MCU based Wi Fi Servo Switch- DIY
About:Regulations usually forbide to introduce pieces of equipment in the conecctions and wiring of ...
-
 CNC_DIY_LASER_PLOTTER_VYNIL CUTTER
ABOUT THIS PROJECTSummaryTo develop a CNC need you to learn about code, IT, electricity, electronics...
-
 Arduino Based Table Tennis Robot V1 DIY
AboutThis project is about a TTR(Table Tennis Robot) made at home with cardboard and wood, using som...
-
 Robot Arm to implement CV projects
StoryFour years ago I was looking for a good robot arm, this year I have time and decided to replica...
-
 MINI ROBOT ARM
 - YouTubeIdea based on Tutorials shared by Mr. Pinaut for :software -schematics -inst...
MINI ROBOT ARM
MINI ROBOT ARM - YouTubeIdea based on Tutorials shared by Mr. Pinaut for :software -schematics -inst...
-
 Bluetooth Controlled LEGO Toy Car
MotivationMy motivation was my kids. I want to share time and have fun with them teaching them some ...
-
 Integrated HOME Irrigation System
Motivation:Since I left the university, 24 years ago, I haven't had the chance to update my knowledg...
-
 Rubik's Cube Solver Robot DIY - V.3.0
Scope of the projectThe idea was to build a Rubik's cube solver robot, as simple as possible, easy t...
-
 Rubik's Cube Solver Robot v1
The drivers to develop my project were:Rubik′s cube is a "best seller" category toy, more than 350 m...
-
-
mammoth-3D SLM Voron Toolhead – Manual Drill & Tap Edition
169 0 0 -
-
AEL-2011 Power Supply Module
688 0 2 -
AEL-2011 50W Power Amplifier
584 0 2 -
-
-
Custom Mechanical Keyboard
786 0 0 -
Tester for Touch Screen Digitizer without using microcontroller
409 2 2 -
Audio reactive glow LED wristband/bracelet with NFC / RFID-Tags
372 0 1 -
-


